Small Kitchen With No Upper Cabinets? Wall Storage That Fills the Gap
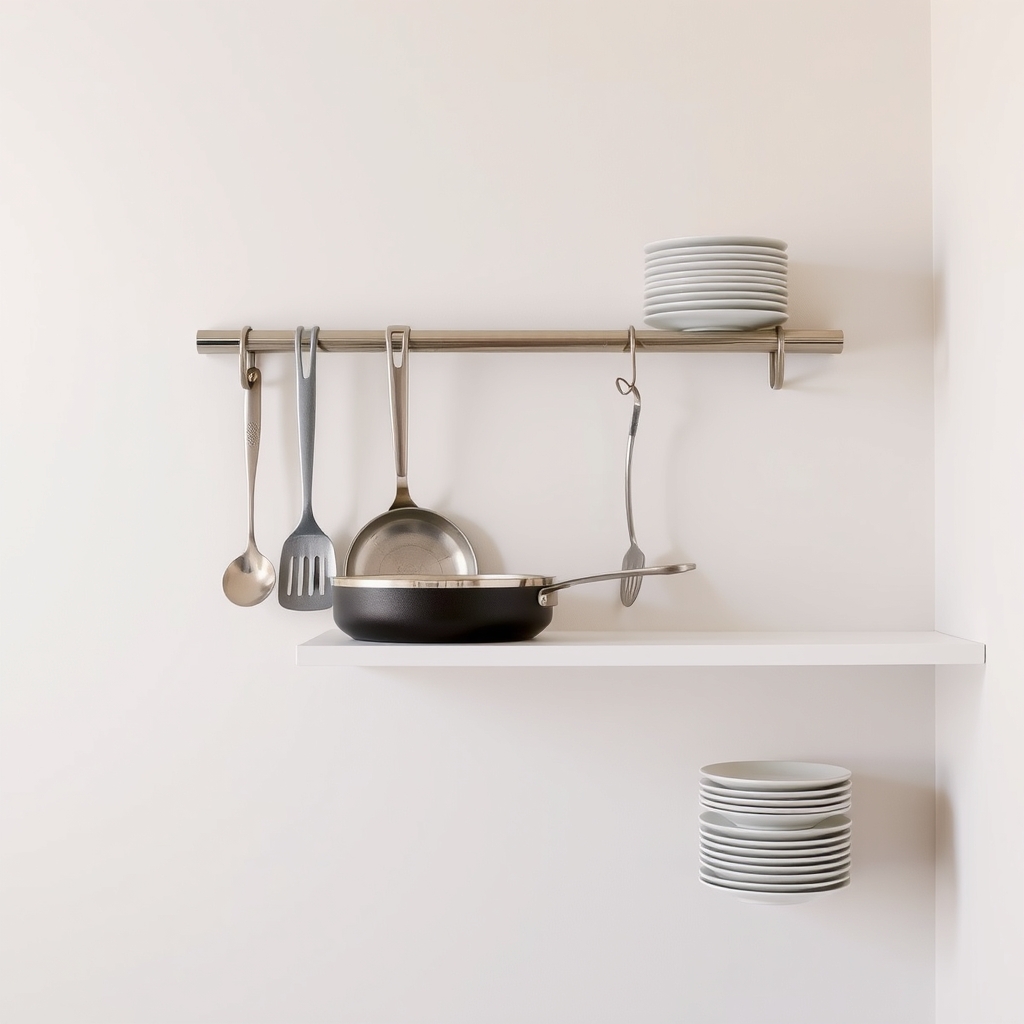
No upper cabinets means pots, plates and tools crowd your counters. A wall-mounted rail system turns bare wall into storage in an afternoon.
By Jamilur Rahman Updated November 5, 2026 · 6 min read
- Time
- 1 hour
- Cost
- $50-$150
- Difficulty
- Medium
In this guide
Quick answer
In a small kitchen with no upper cabinets, the fastest fix is wall storage: a mounted rail with hooks and a shelf holds pots, tools and everyday dishes off the counter. Find the studs, mount the rail about 15 to 18 inches above the counter and away from the stove, and check each rail's weight rating. Rails give you hanging space, and a floating shelf gives you plate space.
Free fix vs. permanent fix
Clear the counter and plan the wall
- Sort counter clutter into daily, weekly and rarely used
- Move rarely used items into a base cabinet or bin
- Hang only light items on adhesive hooks, within their label's limit
- Mark the wall zone you could use and note where the studs are
How long it lasts: Weeks to months. It frees room, but it does not add storage.
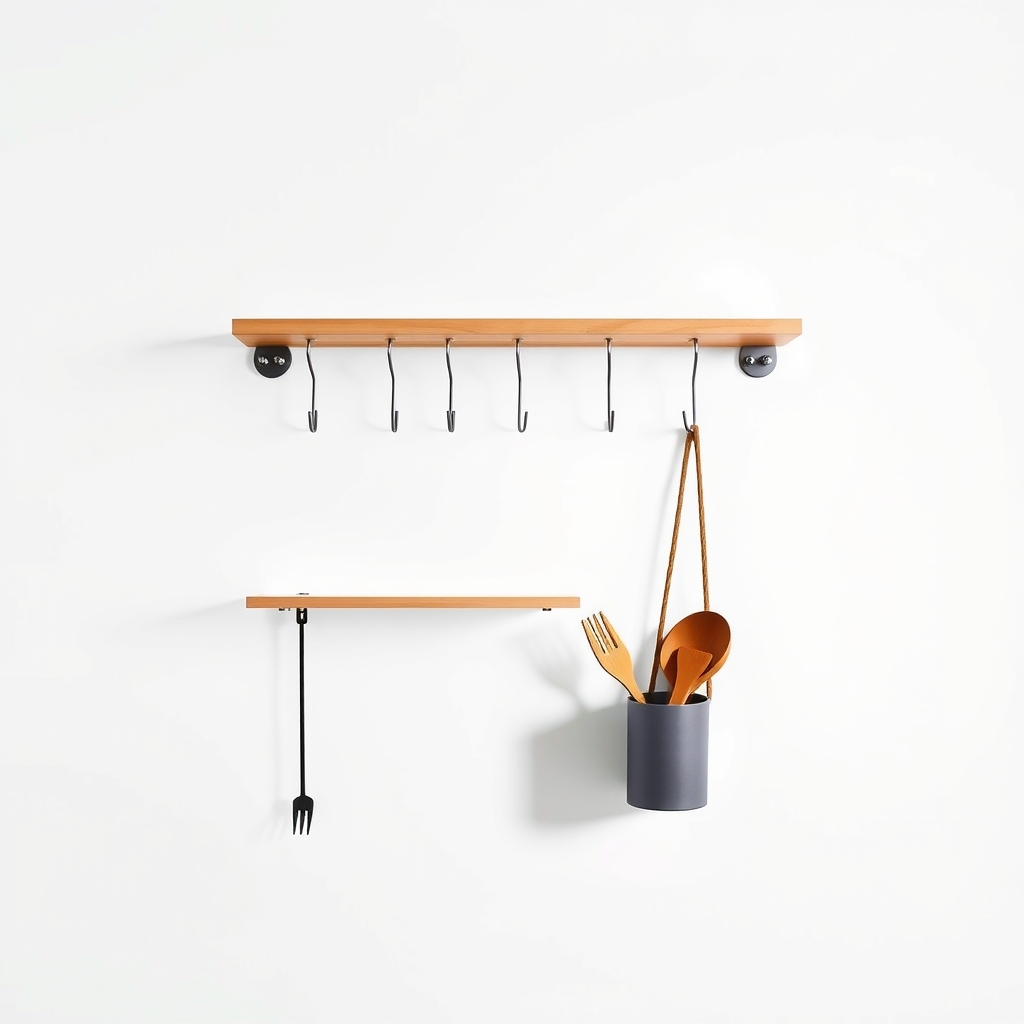
A wall-mounted rail system
A rail with hooks, a shelf and containers gives you the hanging and shelf space that upper cabinets would. It puts daily items within reach and clears the counter. It is the one fix here that adds storage instead of only tidying.
What to get: Wall-mounted kitchen rail system with hooks, shelf and utensil cup
How long it lasts: Years. Mounted into studs, it holds pots and tools for as long as you live there.
As an Amazon Associate I earn from qualifying purchases.
What you'll need
- Illustration
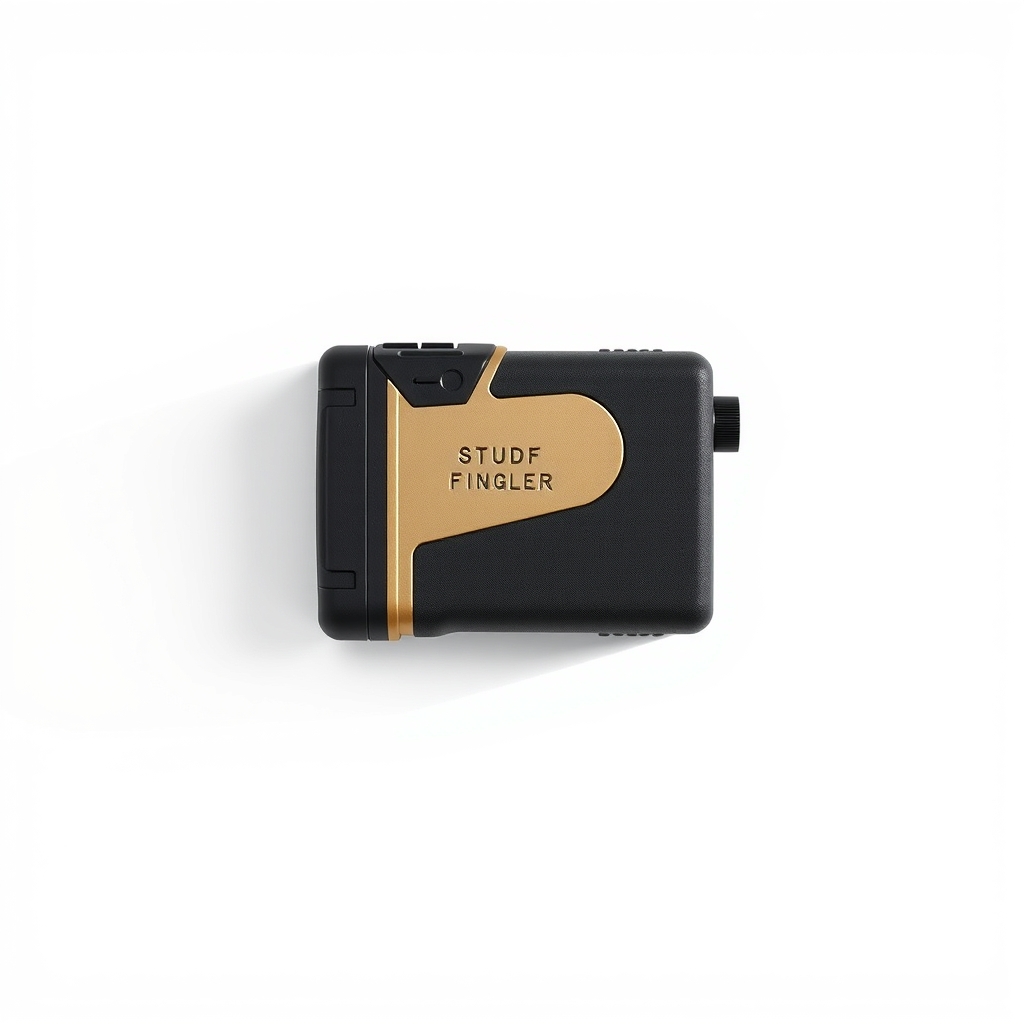
Stud finder
Finds studs and live wires before you drill
-
Level
A phone level app works too
You have it -
Drill and driver bits
For pilot holes and screws
You have it - Our pick Illustration
Wall rail system with hooks and shelf
Rail, hooks, small shelf and a utensil cup
- Illustration
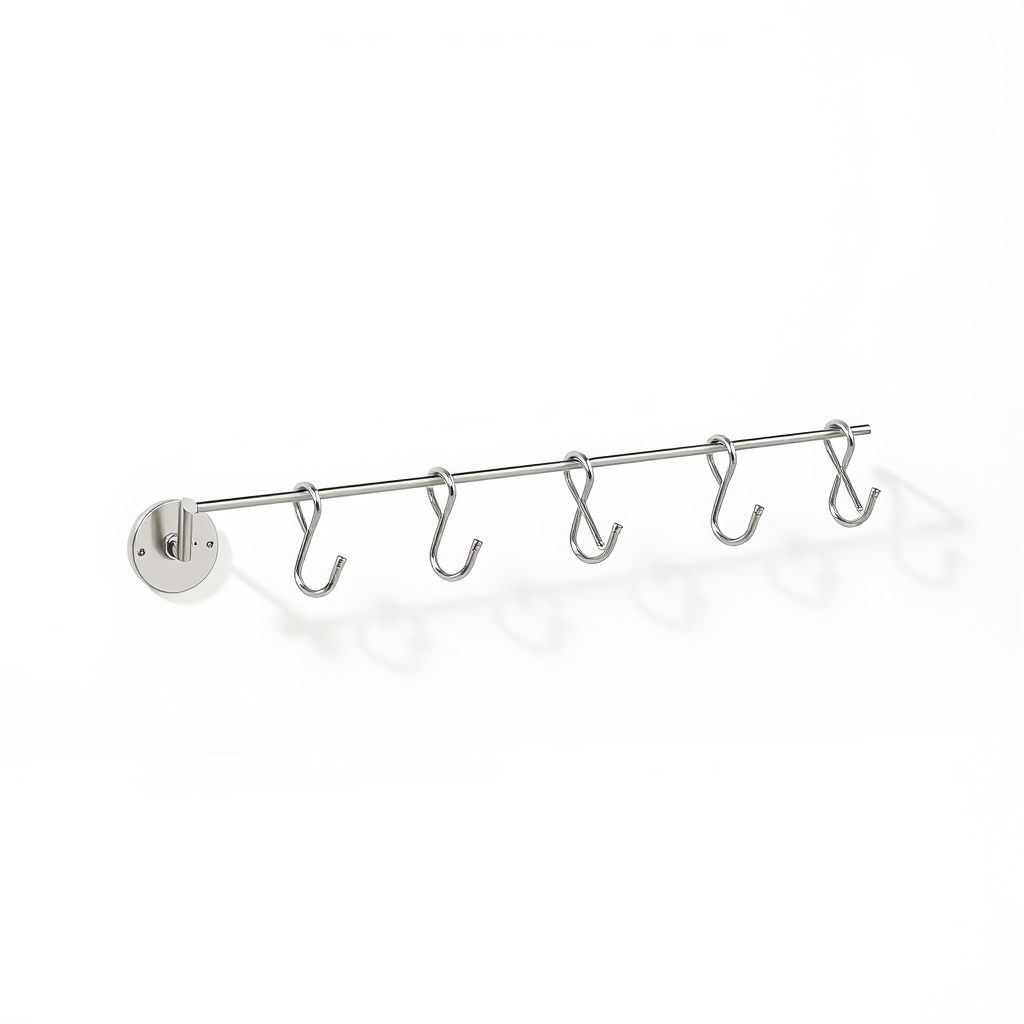
Stainless steel rail with S-hooks
Hanging only, lowest price
- Illustration
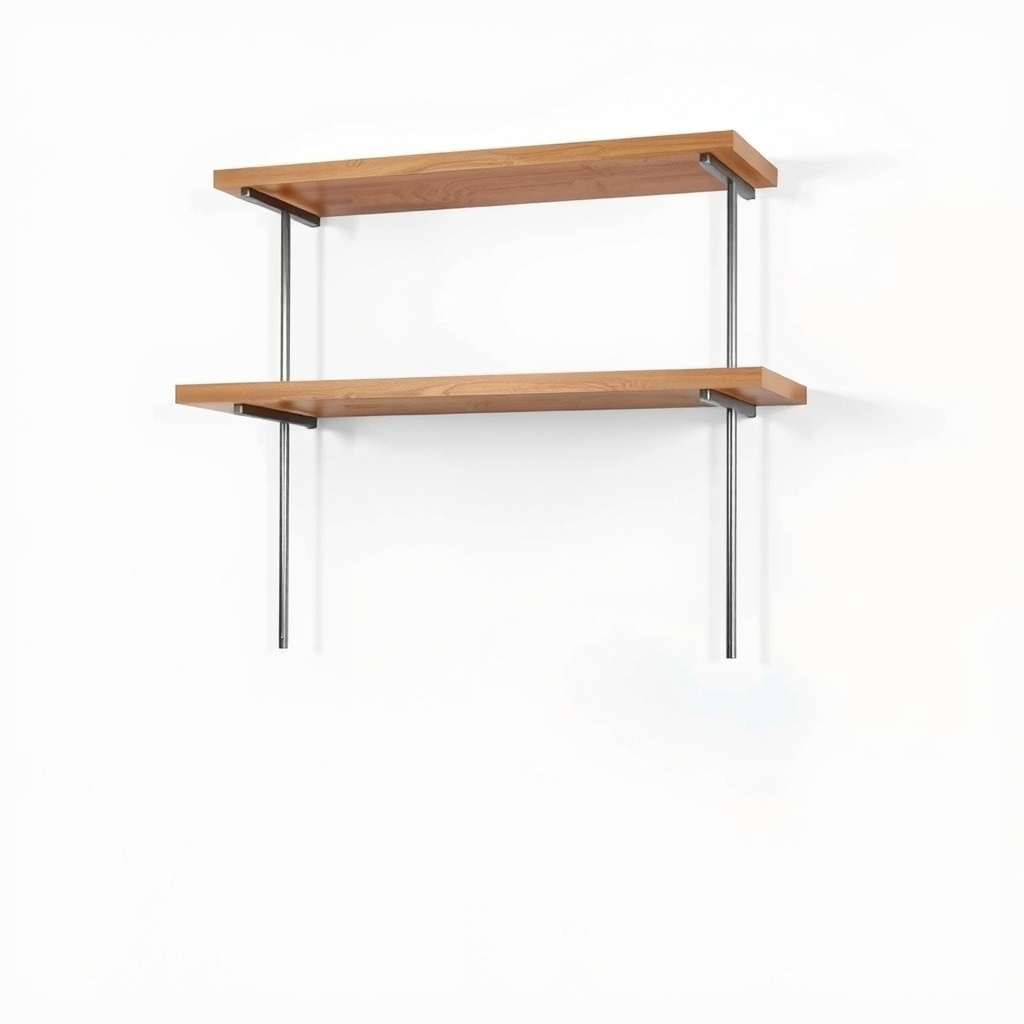
Heavy-duty floating shelves
For plates, bowls and glasses
Why it happens
The counter becomes the storage
Without uppers, everything lives on the counter or in base cabinets, so your prep space shrinks.
Base cabinets are hard to use
Deep lower cabinets bury items at the back. You stoop and dig for the things you use every day.
The wall is the biggest unused area
The wall above a counter is empty space. A rail or shelf turns it into storage without changing the room.
Renting limits what you can add
Many renters cannot add cabinets. Rails and shelves use a few screw holes that can be patched when you leave.
Try this first (free)
Do these in order, starting with the simplest.
-
Sort the counter
Put everything on the counter into three groups: daily, weekly and rarely. Daily items earn wall space. Rarely used items go into a base cabinet or bin.
-
Find the studs
Tool used: Stud finderSlide a stud finder along the wall at the height you want and mark each stud. Studs are usually 16 inches apart. Check for wires and pipes first, and avoid the area directly behind outlets and the stove.
IllustrationCheck price on AmazonTool for this step
Stud finder · Finds studs and live wires before you drill
-
Plan the height
Mount a rail about 15 to 18 inches above the counter so hanging pans clear it and you can still reach the top. Keep towels and anything flammable away from the burners.
-
Mark and mount it level
Tool used: LevelHold the rail on the wall, set it level, mark the holes and drill pilot holes. Heavy loads go into studs. Drywall anchors are for light loads only, so follow the weight rating on the box.
-
Load it and test it
Hang the heaviest items closest to a stud. Add weight gradually over a few days and check that nothing shifts.
When free fixes aren't enough
Tidying cannot create space that is not there. If your counters are still crowded and plates, pots and tools have no home, hanging storage is the fix. A rail system handles the daily-use items, and a floating shelf covers dishes. If your wall is tile or old plaster, or you rent and cannot drill, use adhesive hooks only for light items and look at a freestanding cart or shelf instead. Do not mount anything over a stove without checking clearance and your landlord's rules.
Buy the fix
Still stuck after the free fixes? These are the products we would look at.
| Pick | Product | Fixes | Who it's for | Buy |
|---|---|---|---|---|
| Best pick | Wall-mounted kitchen rail system with hooks, shelf and utensil cup | no hanging or shelf space where upper cabinets would be | Anyone cooking daily in a small kitchen who needs pots, tools and spices within reach. | Check price |
| Budget pick | Stainless steel rail with S-hooks | pans and tools piled on the counter, at the lowest price | Renters who can put in a few screws, or cooks with just a handful of items. | Check price |
| Upgrade pick | Heavy-duty floating shelves | no home for dishes and glasses without cabinets | People who want to reach plates, bowls and glasses from the wall. | Check price |
Wall-mounted kitchen rail system with hooks, shelf and utensil cup
Fixes: no hanging or shelf space where upper cabinets would be
Look for: A steel or stainless rail with a listed weight capacity; Screws and anchors included, with stud-mount instructions; Hooks and containers that you can rearrange; A rail at least 24 inches long.
- Who it's for
- Anyone cooking daily in a small kitchen who needs pots, tools and spices within reach.
- Honest downside
- Your wall is old plaster or you cannot drill. Rails need real fixings.
Stainless steel rail with S-hooks
Fixes: pans and tools piled on the counter, at the lowest price
Look for: A weight rating listed per rail; Mounting hardware included; Hooks that slide along the rail.
- Who it's for
- Renters who can put in a few screws, or cooks with just a handful of items.
- Honest downside
- You also need a home for plates and glasses. A rail only hangs things.
Heavy-duty floating shelves
Fixes: no home for dishes and glasses without cabinets
Look for: A weight rating listed for the full shelf; Steel or hidden brackets that screw into studs; Deep enough for your dinner plates, since many are 10 to 11 inches; A moisture-resistant finish.
- Who it's for
- People who want to reach plates, bowls and glasses from the wall.
- Honest downside
- You rent and cannot drill several holes, or you are on a tight budget. Shelves need solid mounting and cost more.
As an Amazon Associate I earn from qualifying purchases. We don't show prices because they change, so use the button to see today's price.
How we picked: How we picked: this page is based on kitchen storage and wall-mounting guides, anchor and weight-rating instructions, and what owners report in reviews about rail systems. We do not test products by hand.
What to hang, what to shelve
- On the rail: pans, ladles, spatulas, a cutting board and a utensil cup.
- On a floating shelf: plates, bowls, glasses and spice jars.
- On a magnetic strip: knives, mounted at a safe height away from children.
What to skip
Adhesive hooks for heavy cookware
Stick-on hooks hold what their label says, which is usually a few pounds, and grease and steam weaken them. Use them for light tools, not for cast iron. Also skip hanging cloth towels close to burners.
Frequently asked questions
How much weight can a kitchen wall rail hold?
How high should I mount a kitchen rail above the counter?
Can I install a rail in a rental kitchen?
How do I find studs on a kitchen wall?
Related problems
 Free fix inside
Small Spaces & Storage · Small Kitchen
Small Kitchen, No Counter Space? 5 Ways to Add Prep Room
Read the fix Free fix inside
Small Spaces & Storage · Small Kitchen
Small Kitchen With No Pantry? Freestanding Options That Fit
Read the fix Free fix inside
Small Spaces & Storage · Small Kitchen
Small Kitchen, No Island? A Rolling Cart That Earns Its Floor Space
Read the fix Free fix inside
Small Spaces & Storage · Small Apartment
Small Apartment, Too Much Stuff? Storage That Works Up the Walls
Read the fixAs an Amazon Associate I earn from qualifying purchases. Affiliate disclosure