Small Kitchen, No Counter Space? 5 Ways to Add Prep Room
Clear what you can, prep in stages, then turn the sink into a worktop with an over-the-sink cutting board for the room you are still missing.
By Jamilur Rahman Updated November 5, 2026 · 6 min read
- Time
- 15 min
- Cost
- $20-$50
- Difficulty
- Easy
In this guide
Quick answer
Five moves add prep room to a small kitchen: clear the counter you have, prep in stages, borrow a table, cover cool stovetop burners with a board, and add an over-the-sink cutting board. The sink board is the most reliable. It turns space you already have into a work surface, and the sink is right there to catch scraps and rinse. Measure the sink first so it fits.
Free fix vs. permanent fix
Clear, stage and borrow surfaces
- Move the toaster and canisters to a shelf or cabinet
- Prep in stages: wash, chop, clear, then cook
- Use a table, or a board over cool stovetop burners
- Keep one clear spot beside the stove
How long it lasts: As long as you keep the counter clear. Appliances creep back, and a table is not always nearby.
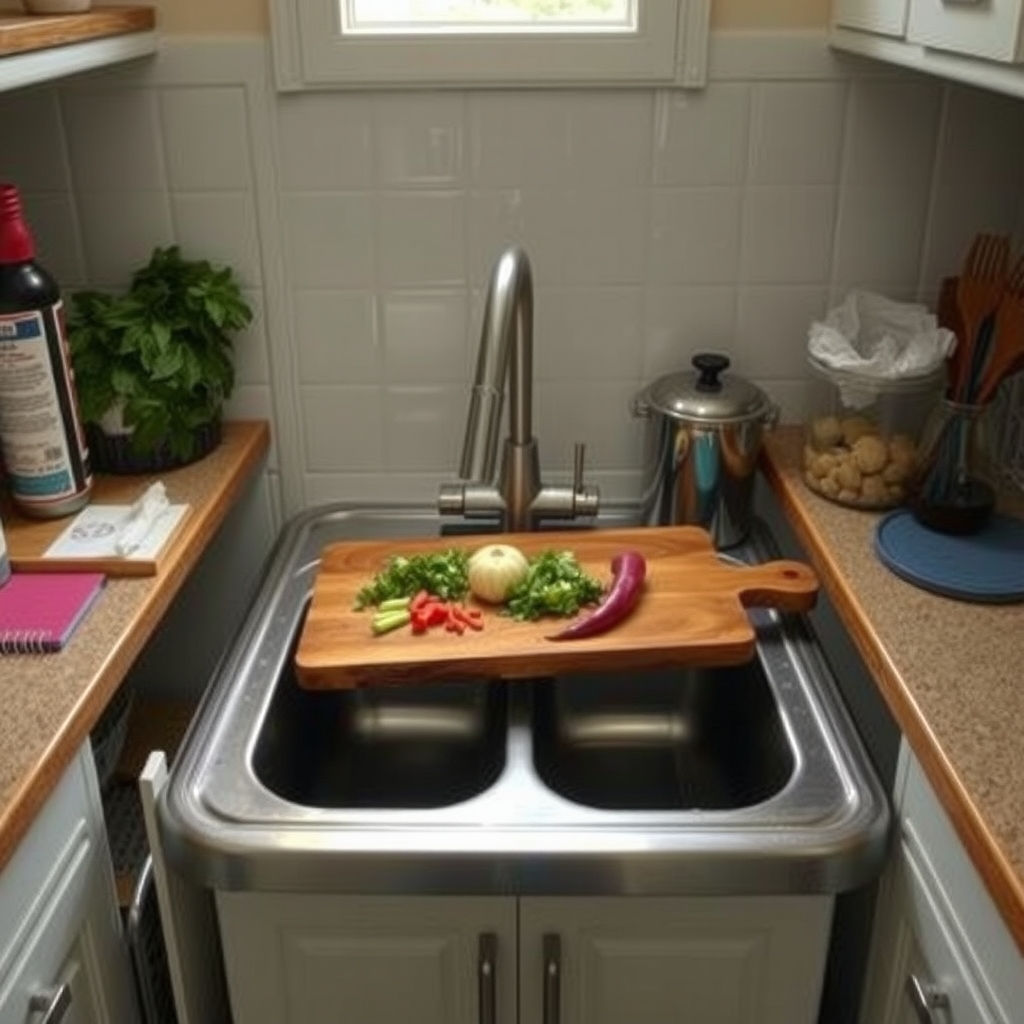
An over-the-sink cutting board
The sink is the one space in a small kitchen that is always empty. A board across the rim gives you a flat work surface where there was none, with the sink below to catch scraps and juices. Clear counters help, but this adds area you never had.
What to get: Over-the-sink cutting board
How long it lasts: Years. A sturdy board is a daily workspace.
As an Amazon Associate I earn from qualifying purchases.
What you'll need
-
Tape measure
Measure the sink length and the rim the board rests on
You have it -
Large cutting board
Use it on a table or over cool burners
You have it - Our pick Illustration
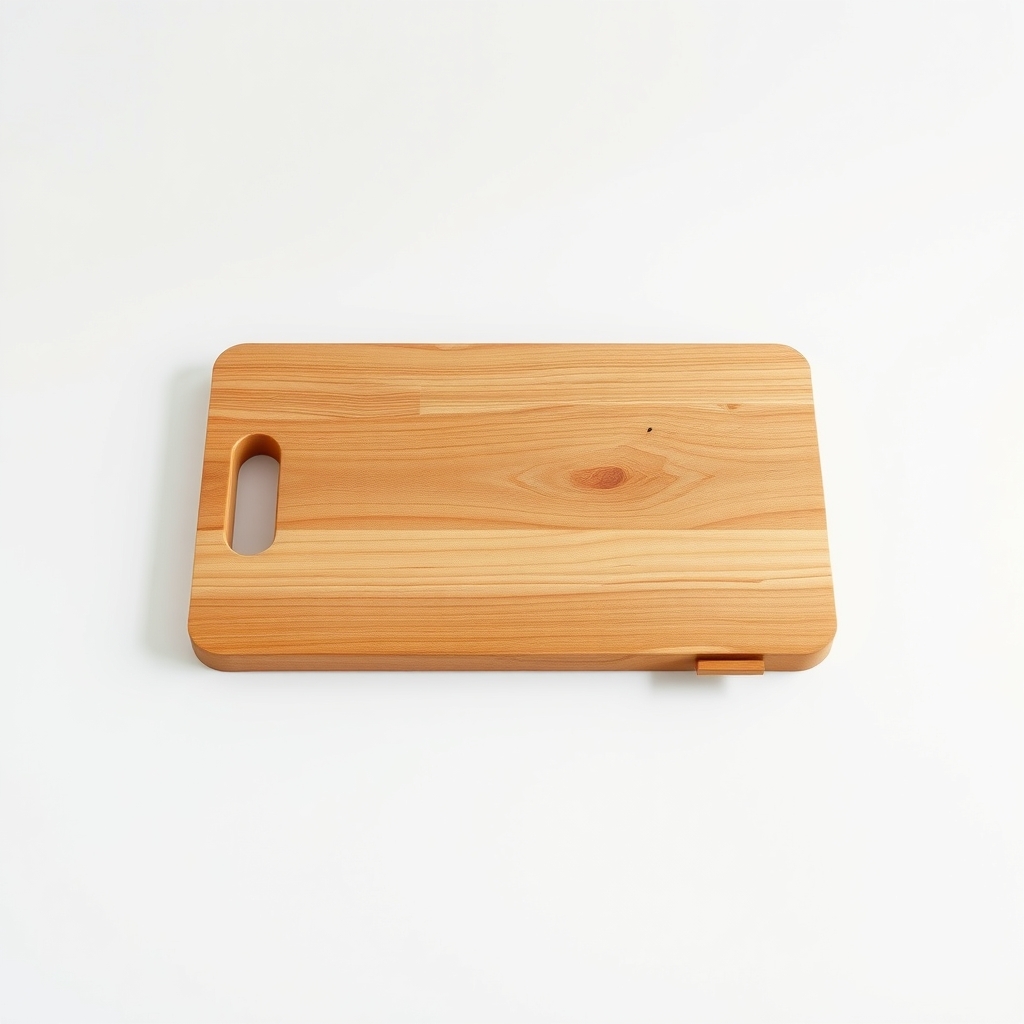
Over-the-sink cutting board
The lasting fix; check it against your sink size
- Illustration
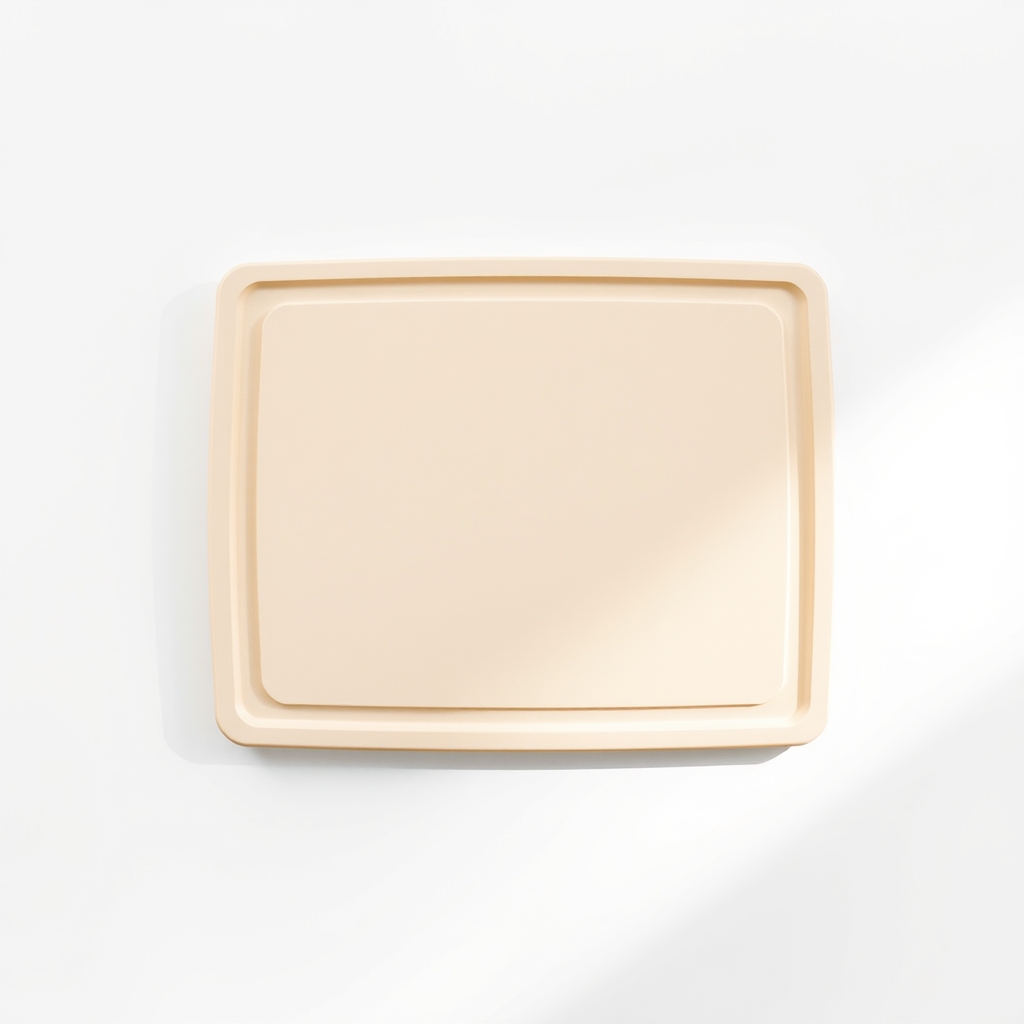
Stovetop cover cutting board
A flat worktop over cool burners
- Illustration
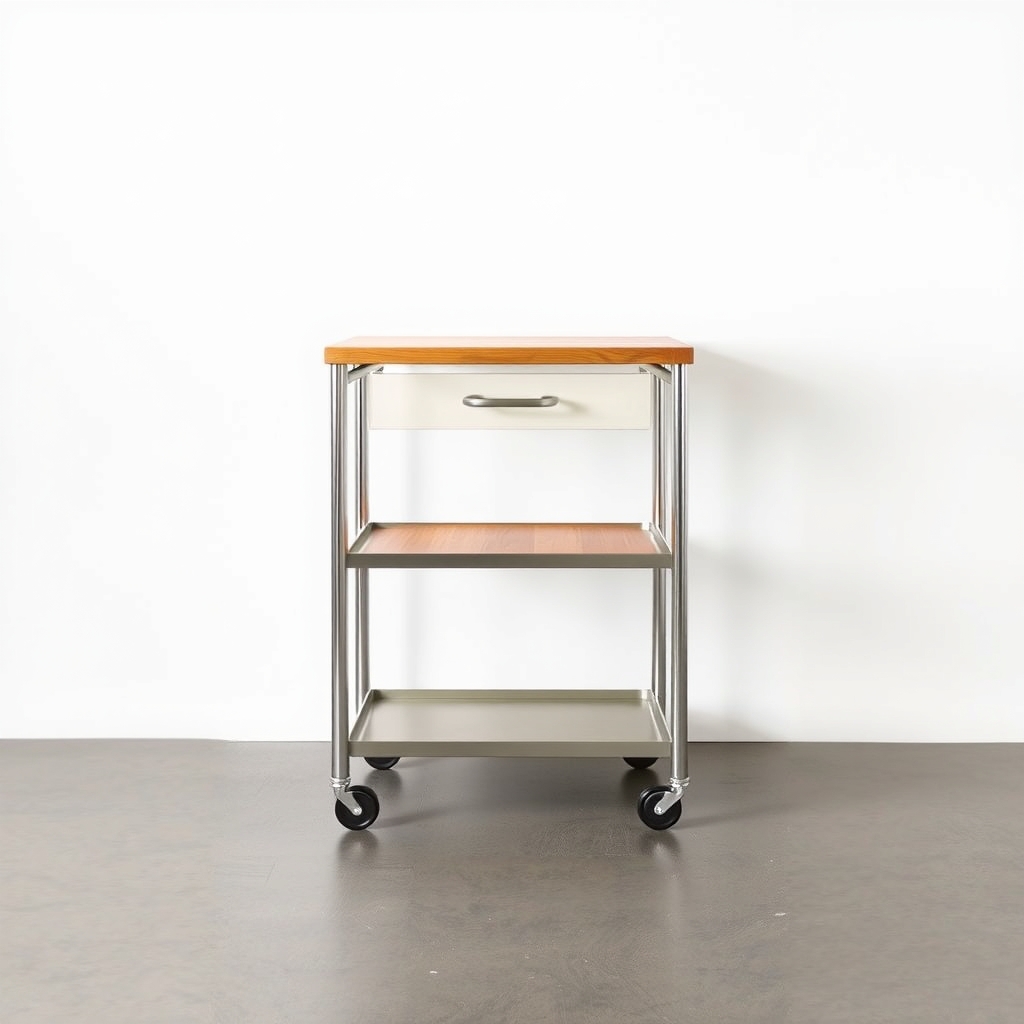
Small rolling kitchen cart
Adds a worktop and storage, but takes floor space
Why it happens
Appliances living on the counter
A toaster, a coffee maker and a few canisters can swallow most of a small counter. Once they are out of the way, the work surface often doubles.
One work zone doing every job
Chopping, drying dishes and parking groceries share the same few inches. Each task blocks the next.
A short strip between sink and stove
Most small kitchens have a narrow stretch of counter between the sink and stove. Everything lands there, and there is no room left for a cutting board.
Try this first (free)
Do these in order, starting with the simplest.
-
Clear and rehome the counter
Move small appliances to a shelf, the top of the fridge or a cabinet. Keep only the two things you use daily. Most small counters hold more once they are empty.
-
Prep in stages
Do all the washing and peeling first, then chop, then cook, and clear each stage before the next. A small counter is enough if it only holds one task at a time.
-
Borrow a flat surface
Tool used: Large cutting boardUse a table, or lay a large board over completely cool stovetop burners. Take it off before you turn any burner on, and never cover a hot one.
-
Measure the sink
Tool used: Tape measureMeasure the length of the sink opening, the width of the rim it will rest on, and the space under the faucet. Note whether the sink is single or double.
-
Set a board across the sink
Tool used: Over-the-sink cutting boardRest an over-the-sink board across the rim so each end sits firmly. Tuck a bowl in the basin for scraps. Wash up first, since the board covers the sink.
IllustrationCheck price on AmazonTool for this step
Over-the-sink cutting board · The lasting fix; check it against your sink size
When free fixes aren't enough
If you have cleared the counter and still chop on a board balanced beside the stove, the problem is not clutter. It is the lack of surface. A table is not always nearby, and a stove cover has to come off before you cook. An over-the-sink board is the one fix that adds a stable worktop in the kitchen itself. The limits: it blocks the sink while it is in place, so wash up first, and it only works if your rim is wide enough to hold it. If you need more than a board, a rolling cart adds both space and storage.
Buy the fix
Still stuck after the free fixes? These are the products we would look at.
| Pick | Product | Fixes | Who it's for | Buy |
|---|---|---|---|---|
| Best pick | Over-the-sink cutting board | no flat prep area when the counters are full | Anyone with a standard sink and a counter too small to prep on. | Check price |
| Budget pick | Stovetop cover cutting board | a flat worktop right beside where you cook | Someone who preps before cooking and can lift the board off before turning on a burner. | Check price |
| Upgrade pick | Small rolling kitchen cart with a worktop | no work surface and no storage at the same time | Someone with about two square feet of spare floor. | Check price |
Over-the-sink cutting board
Fixes: no flat prep area when the counters are full
Look for: A length, or an adjustable range, that rests on your sink's rim at both ends; Non-slip feet or a lip that grips the edge; A groove or colander to catch juices and scraps; A material that handles moisture and washes easily.
- Who it's for
- Anyone with a standard sink and a counter too small to prep on.
- Honest downside
- Your faucet leaves no clearance, or the rim is rounded or very narrow, so the board cannot sit firmly. Measure first.
Stovetop cover cutting board
Fixes: a flat worktop right beside where you cook
Look for: A size that fully covers your burners, gas or electric; Feet or a lip that keeps it from sliding; A note from the maker that it is only for cool burners.
- Who it's for
- Someone who preps before cooking and can lift the board off before turning on a burner.
- Honest downside
- You chop while you cook. The board has to come off before any burner is used.
Small rolling kitchen cart with a worktop
Fixes: no work surface and no storage at the same time
Look for: Locking wheels; A solid top at counter height; A footprint that fits the gap in your walkway.
- Who it's for
- Someone with about two square feet of spare floor.
- Honest downside
- The aisle would drop below a comfortable walking width.
As an Amazon Associate I earn from qualifying purchases. We don't show prices because they change, so use the button to see today's price.
How we picked: How we picked: this page is based on small-kitchen organizing guides, fit and sizing notes from cutting-board makers, and the problems and fixes people report in reviews of over-the-sink boards. We do not test products by hand.
The five ways in one line each
- Clear the counter so the space you have is usable.
- Prep in stages, so one task uses it at a time.
- Borrow a table or a board over cool burners.
- Add a rolling cart if you have floor to spare.
- Add an over-the-sink board to turn the sink into a worktop.
How to measure for a sink board
- Sink length: measure the opening from edge to edge, and note any lip or rim.
- Rim width: the board must rest on a flat edge at both ends.
- Faucet clearance: check the board will not hit the faucet when slid across.
What to skip
Loose boards over drawers and sink rims
A board balanced on an open drawer or an unsecured sink rim can slip with a knife in your hand. Use a board that grips the edge, or work flat on a table.
Frequently asked questions
Will an over-the-sink board fit my sink?
Can I use the sink while the board is on?
Is it safe to put a cutting board on the stove?
What else adds counter space in a rental?
Related problems
 Free fix inside
Small Spaces & Storage · Small Kitchen
Small Kitchen, No Island? A Rolling Cart That Earns Its Floor Space
Read the fix Free fix inside
Small Spaces & Storage · Small Kitchen
Small Kitchen With No Pantry? Freestanding Options That Fit
Read the fix Free fix inside
Small Spaces & Storage · Drawer Organizing
Kitchen Drawer Tool Organizer: Trays That End the Utensil Jumble
Read the fix Free fix inside
Small Spaces & Storage · Drawer Organizing
Kitchen Drawer Too Deep? Stackable Trays That Use the Space
Read the fixAs an Amazon Associate I earn from qualifying purchases. Affiliate disclosure