Kitchen Cabinet Paint Keeps Chipping? Why It Peels and the Fix
Grease, shine and the wrong paint make cabinet finishes flake. Degrease, sand, prime and repaint with a cabinet-grade enamel so it grips this time.
By Jamilur Rahman Updated November 5, 2026 · 6 min read
- Time
- A weekend
- Cost
- $50-$150
- Difficulty
- Medium
In this guide
Quick answer
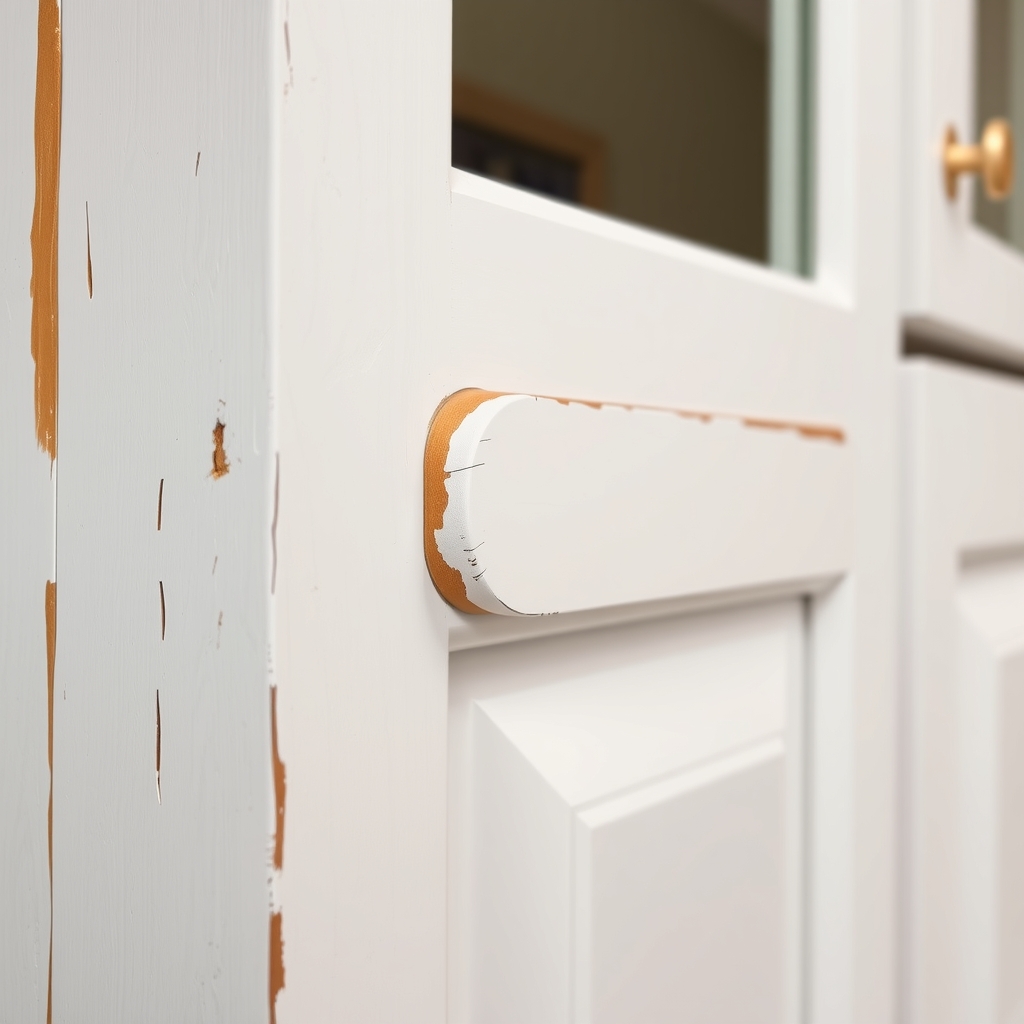
When kitchen cabinet paint keeps chipping, the paint is usually sitting on cooking grease or a glossy finish it cannot grip, or it is a wall paint that was never meant to take hits. Wash off the grease, scrape loose paint and sand every surface. The fix that lasts is a bonding primer under a cabinet-grade enamel, which bonds to the old finish and cures hard.
Free fix vs. permanent fix
Degrease, scrape and touch up
- Wash the doors with hot water and dish soap to cut the grease
- Scrape off every loose flake with a plastic scraper
- Sand the edges smooth so the chip does not show
- Touch up with leftover paint, thin coats only
How long it lasts: A few months at best on chipped spots. It does not fix a coat that was never bonded, so new chips appear nearby.
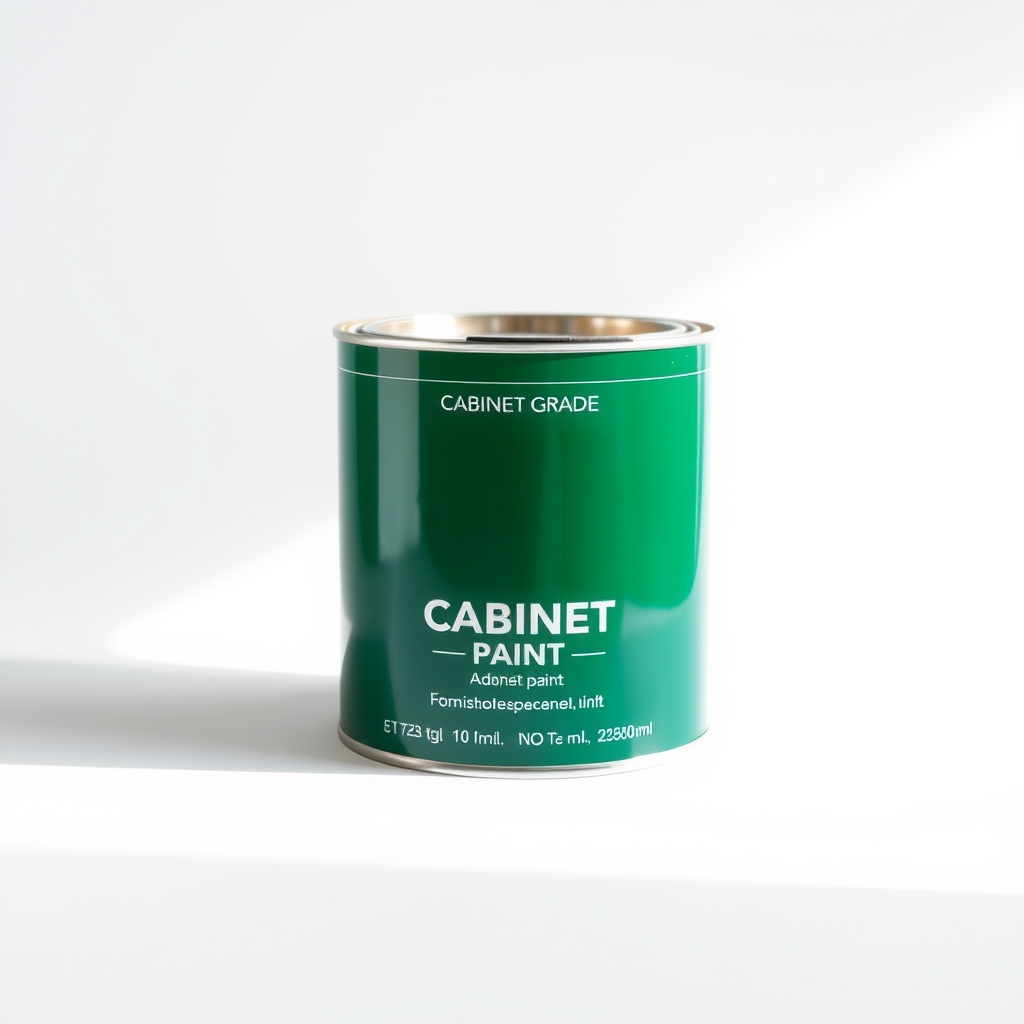
Cabinet-grade enamel over a bonding primer
A bonding primer grips glossy or slick surfaces, and a cabinet enamel dries into a hard film that resists scuffs, steam and handling. Together they fix the real cause, which is a coat that never stuck.
What to get: Cabinet-grade enamel paint
How long it lasts: Years of daily use if you let it fully cure.
As an Amazon Associate I earn from qualifying purchases.
What you'll need
-
Dish soap and warm water
A first wash cuts surface grease
You have it -
Plastic scraper and sanding sponge
To remove loose paint and smooth edges. Use 180 to 220 grit
You have it - Illustration
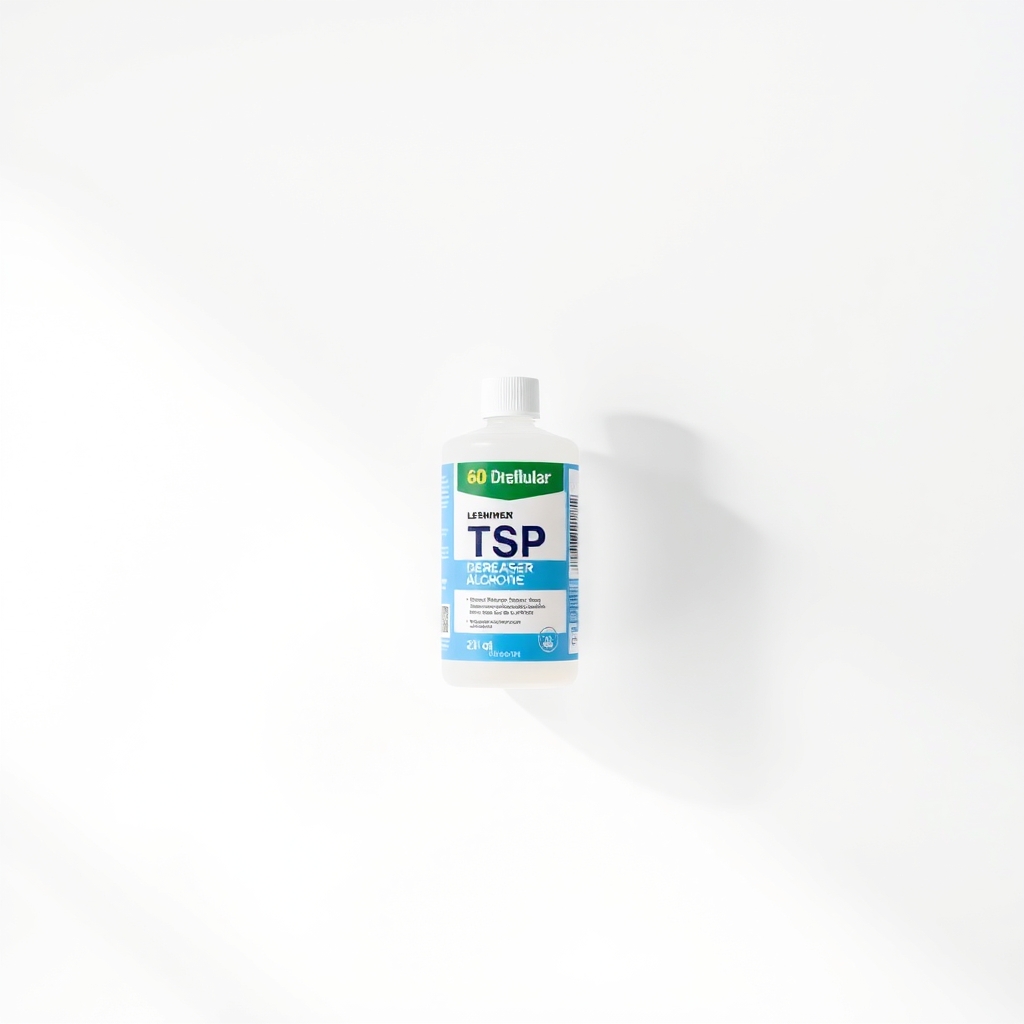
Degreaser or TSP substitute
For doors near the stove, where dish soap is not enough
- Illustration
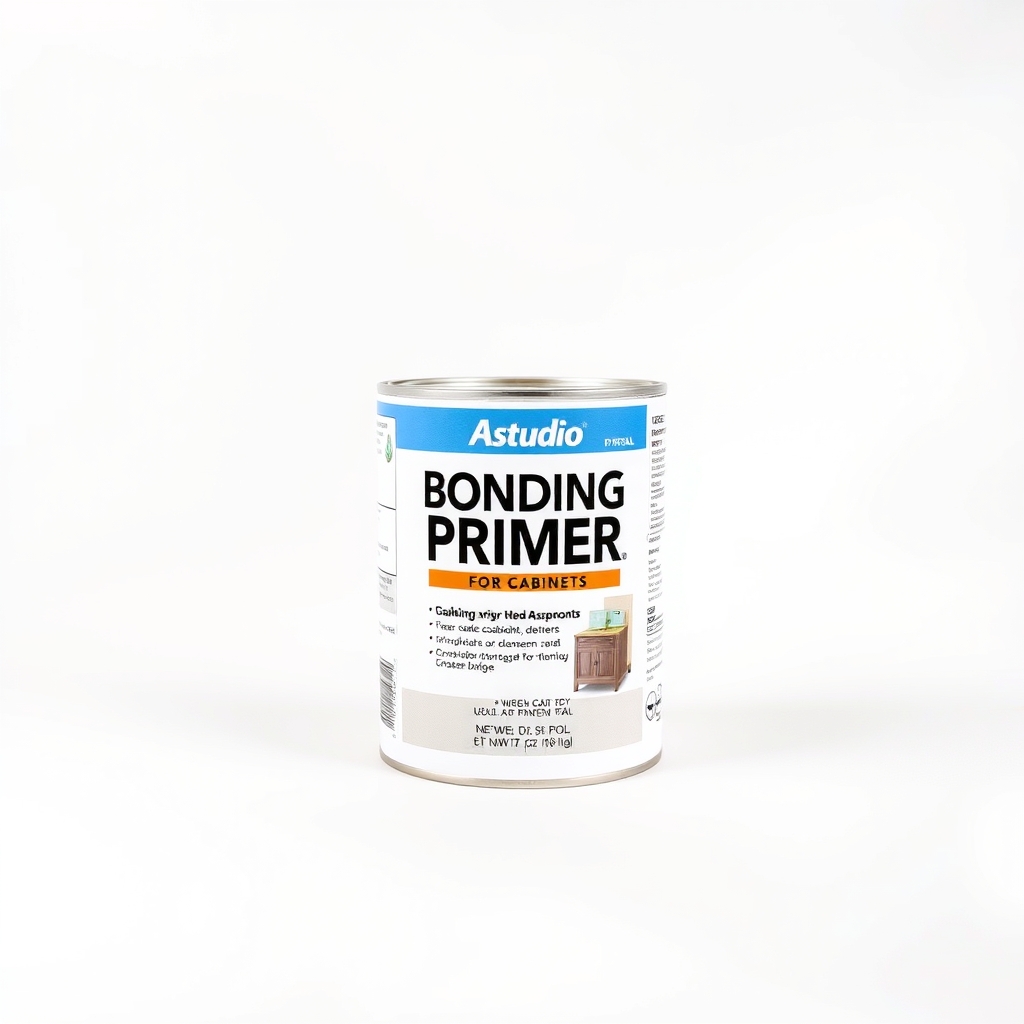
Bonding primer
The step most failed jobs skipped
- Our pick Illustration
Cabinet-grade enamel paint
Pick a satin or semi-gloss finish made for cabinets
Why it happens
Grease left on the surface
Kitchen air carries a fine film of cooking oil. If it is not washed off, paint grips the grease instead of the cabinet and peels in sheets.
No primer on a glossy or slick surface
Varnished wood, laminate and thermofoil are slick. Paint without a bonding primer sits on top and chips at the edges first.
Wall paint instead of cabinet enamel
Wall paint stays soft and scuffs easily. Doors and edges take knocks all day, and the film chips under them.
Not enough time to cure
Paint feels dry in hours but keeps hardening for days or weeks. Loading shelves, or banging doors, in the first week leaves marks and chips.
Thick coats and no sanding
One heavy coat dries on the surface and stays soft below. A slick edge with no light sanding gives the paint nothing to hold.
Try this first (free)
Do these in order, starting with the simplest.
-
1. Test for lead if the house is old
If your home was built before 1978, test old paint with a lead test kit before you scrape or sand. Do not dry-sand if it tests positive.
-
2. Degrease every door and frame
Tool used: Dish soap and warm waterWash with hot water and dish soap, then a degreaser near the stove. Rinse and let dry. Paint will not hold on a greasy surface.
-
3. Scrape and sand the chips
Tool used: Plastic scraper and sanding spongeScrape off loose paint, then sand the chipped edges until they feel smooth. Scuff the shiny surface lightly with 180 to 220 grit.
-
4. Prime the bare spots
Tool used: Bonding primerWipe off the dust and brush a bonding primer onto bare wood and any slick patches. Let it dry as the can says.
IllustrationCheck price on AmazonTool for this step
Bonding primer · The step most failed jobs skipped
-
5. Repaint in thin coats and wait
Tool used: Cabinet-grade enamel paintApply two thin coats of cabinet enamel, and let the first dry fully. Go easy on the doors for the first week. Full cure can take up to several weeks.
IllustrationCheck price on AmazonTool for this step
Cabinet-grade enamel paint · Pick a satin or semi-gloss finish made for cabinets
When free fixes aren't enough
Touching up with leftover wall paint hides a chip for a few weeks, but if the paint is lifting in sheets or chipping everywhere, the whole coat never bonded. Another sign is paint that peels off with a strip of tape. Then you need to strip the loose coat, prime and repaint with a cabinet-grade enamel, as scraping alone only trades one chip for the next. If the cabinets are laminate or thermofoil that is peeling itself, paint will not help and the surface needs replacing.
Buy the fix
Still stuck after the free fixes? These are the products we would look at.
| Pick | Product | Fixes | Who it's for | Buy |
|---|---|---|---|---|
| Best pick | Cabinet-grade enamel paint | a soft finish that scuffs and chips with daily use | Anyone repainting whole doors and drawer fronts, or redoing a finish that has failed. | Check price |
| Budget pick | Bonding primer for cabinets | paint that peels off slick surfaces | Someone with a few chipped spots and leftover cabinet paint at home. | Check price |
Cabinet-grade enamel paint
Fixes: a soft finish that scuffs and chips with daily use
Look for: Labeled for cabinets, trim and furniture; A hard-curing urethane-modified or alkyd-style formula; Satin or semi-gloss, which wipes clean; Low-odor and low-VOC for indoor use.
- Who it's for
- Anyone repainting whole doors and drawer fronts, or redoing a finish that has failed.
- Honest downside
- You only have two or three small chips. A small touch-up pot of matching paint is enough. Do not use it without a bonding primer on glossy surfaces.
Bonding primer for cabinets
Fixes: paint that peels off slick surfaces
Look for: Sticks to glossy, laminate and previously painted surfaces; Sands smooth and dries fast; Works under your chosen enamel.
- Who it's for
- Someone with a few chipped spots and leftover cabinet paint at home.
- Honest downside
- You plan to repaint every door. Buy the enamel too, so the topcoat is a tough one.
As an Amazon Associate I earn from qualifying purchases. We don't show prices because they change, so use the button to see today's price.
How we picked: How we picked: this page is based on paint maker instructions, cabinet refinishing guides, and the problems and fixes people report in reviews of cabinet paint. We do not test products by hand.
Where it chips first, and how to protect it
Edges, corners and the area around handles take the most hits. Sand these spots smooth, give them an extra thin coat, and add small clear bumpers inside the door corners, so doors stop banging the frame.
What to skip
Wall paint, thick coats and quick drying fans
Regular wall paint stays soft and chips again. One thick coat traps solvent and wrinkles, and a fan or heater on wet paint dries the skin too fast. Thin coats of cabinet enamel and patience are the fix.
Frequently asked questions
How do I stop kitchen cupboard paint chipping?
Why does my cabinet paint peel off in sheets?
How long does cabinet paint take to cure?
Can I paint over chipped cabinet paint?
Related problems
 Free fix inside
Kitchen · Kitchen Cabinets
Grease on Kitchen Cabinets? Strip It Without Ruining the Finish
Read the fix Free fix inside
Kitchen · Cabinet Hardware
Kitchen Cabinet Door Hitting the Wall? Bumpers That Stop the Dents
Read the fix Free fix inside
Kitchen · Kitchen Cabinets
Kitchen Cabinet Doors Slamming? Soft-Close Bumpers Quiet Them Fast
Read the fix Free fix inside
Cleaning · Walls
Peeling Paint on Walls? Scrape, Prime, and Repaint So It Sticks
Read the fixAs an Amazon Associate I earn from qualifying purchases. Affiliate disclosure