Bathroom Sink Loose or Moving? Re-Secure It With Silicone
A sink that shifts when you lean on it has lost its seal or its clips. Tighten what you can, then lock it down with silicone sealant.
By Jamilur Rahman Updated November 5, 2026 · 6 min read
- Time
- 45 min plus 24 hours to cure
- Cost
- Under $20
- Difficulty
- Easy
In this guide
Quick answer
To stop a bathroom sink from moving, find out what is loose: the clips under the rim, the seal around the edge, or the wall bracket. Tighten the hardware first. If the sink still shifts, a fresh bead of 100% silicone sealant, plus mounting adhesive where the sink meets the counter, locks it in place.
Free fix vs. permanent fix
Tighten the hardware
- Push the sink to see what moves: the sink, the counter, or the faucet
- Tighten the mounting clips under a drop-in sink rim
- Snug the faucet and drain nuts from below
- Check the wall bracket screws on a pedestal or wall-hung sink
How long it lasts: Holds if the problem was only a loose clip or nut. If the seal around the rim has failed, the sink loosens again within weeks.
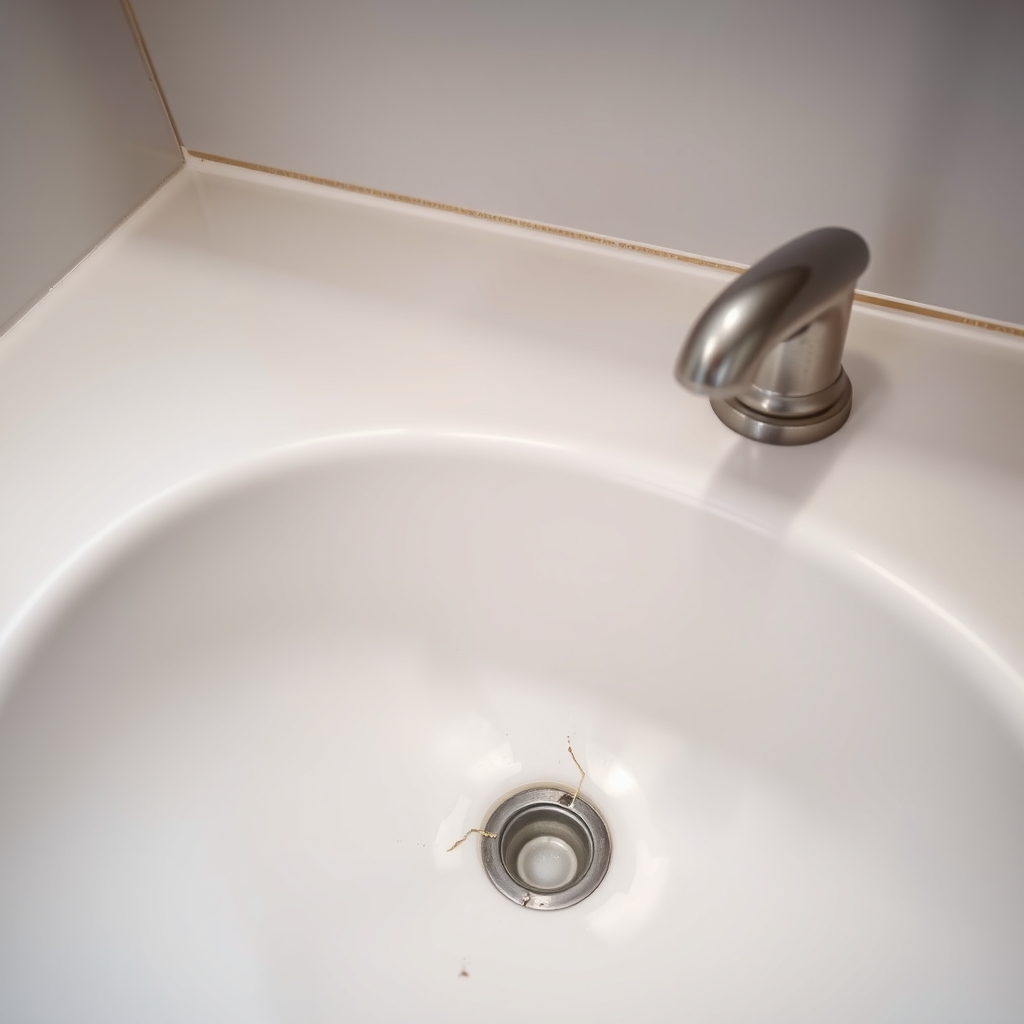
A fresh silicone seal that bonds the sink down
A loose sink moves because its seal and bond have failed. A clean bead of silicone glues the rim to the counter and keeps water from seeping underneath, where it rots the cabinet top. Tightening alone cannot rebuild that bond.
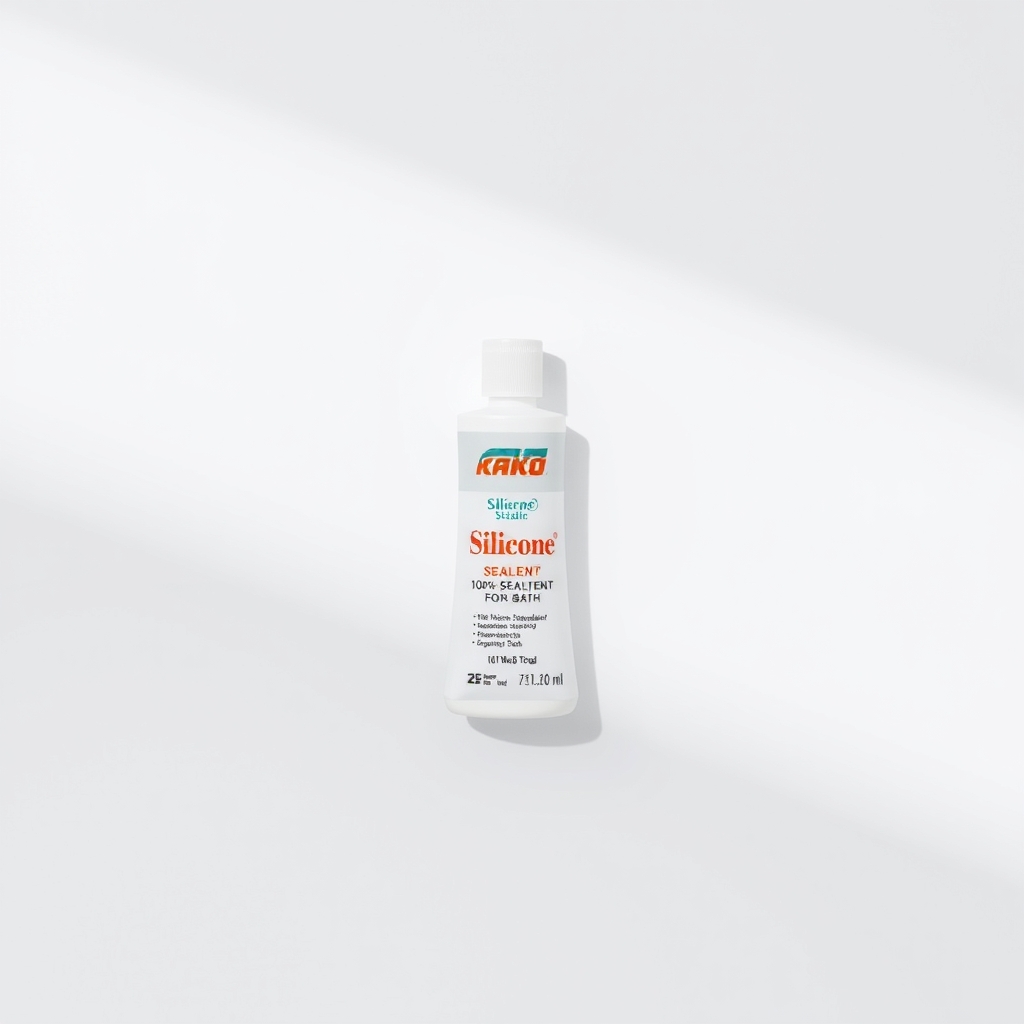
What to get: 100% silicone sealant for kitchen and bath
How long it lasts: Years, until the bead cracks or yellows. Look at it once a year.
As an Amazon Associate I earn from qualifying purchases.
What you'll need
-
Flashlight, screwdriver and wrench
To see and tighten the clips and nuts under the sink
You have it -
Utility knife and rag
Cut out the old caulk and wipe the joint clean
You have it -
Painter's tape
Gives you a straight, tidy caulk line
You have it - Our pick Illustration
Silicone sealant
100% silicone for kitchen and bath, mold resistant
- Illustration
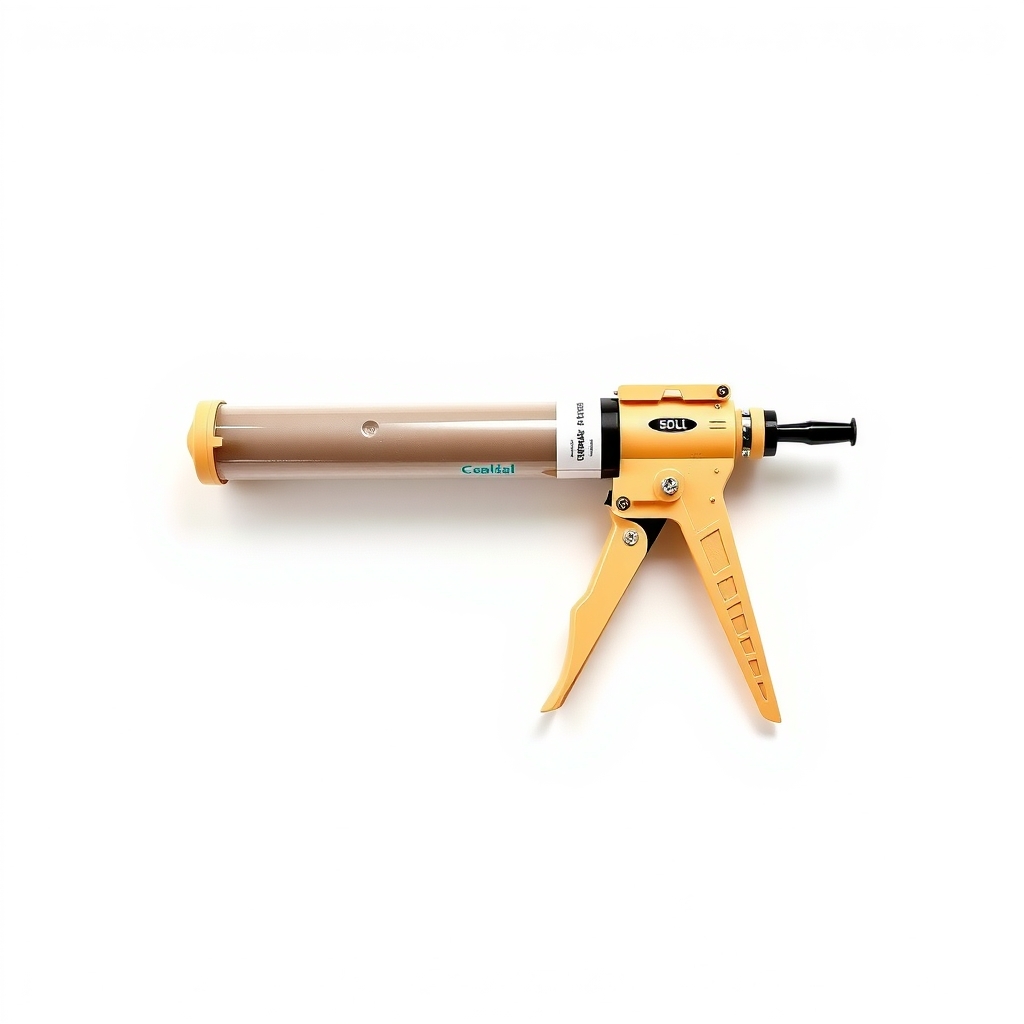
Caulk gun
Only if your tube is the kind that does not squeeze by hand
- Illustration
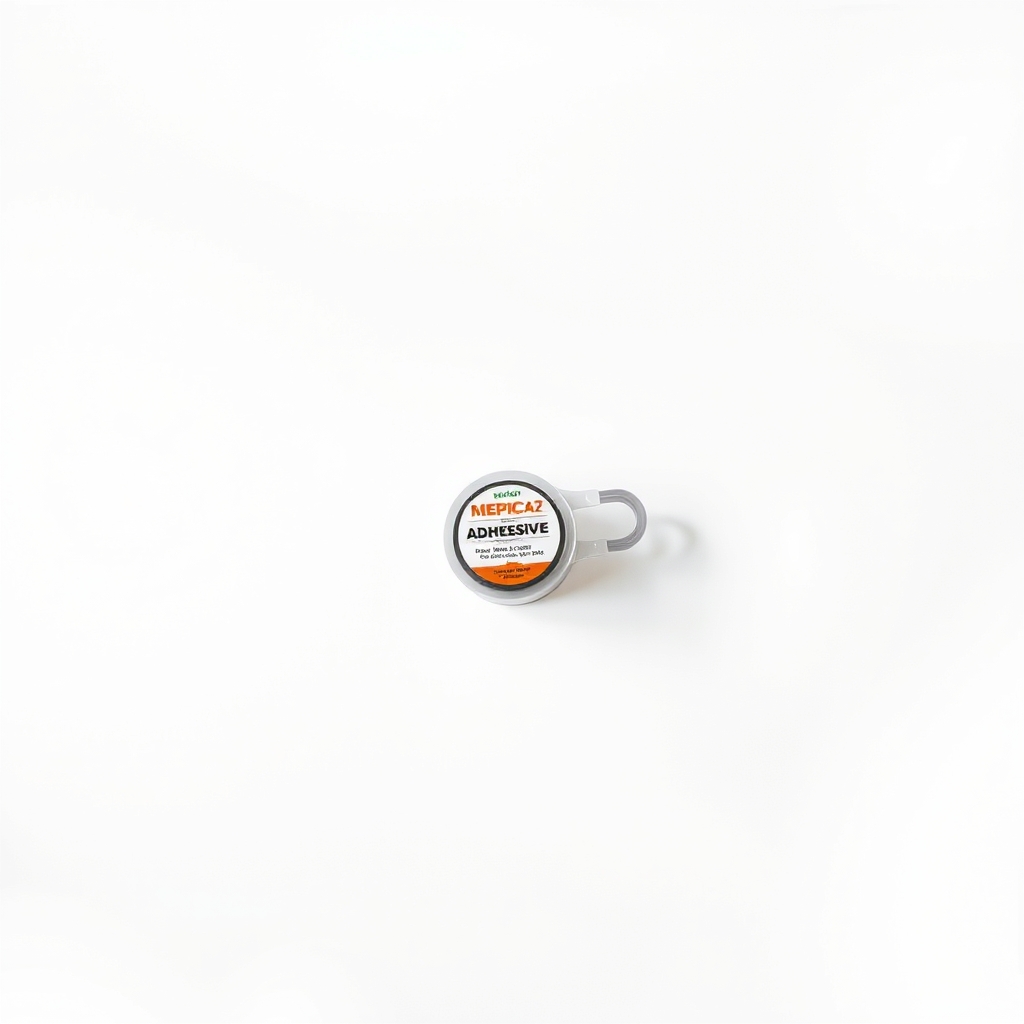
Sink mounting adhesive
Extra grip for heavy sinks or ones that still move after re-sealing
Why it happens
A failed caulk or silicone seal
Most drop-in sinks are held by clips and a sealed rim. Old caulk dries out, cracks and lets go. Once it does, the sink can slide a little every time you lean on it.
Loose mounting clips
Clips under the rim press the sink down onto the counter. Vibration and damp wood can back the screws out over the years.
A loose wall bracket or pedestal screws
Wall-mounted and pedestal sinks rely on a bracket or screws in the wall. If those fixings loosen, the whole basin rocks.
A counter or cabinet that moves
If the sink is solid but the counter wobbles on the cabinet, the sink is only following it. Fix the counter fastening first.
Try this first (free)
Do these in order, starting with the simplest.
-
Find what is moving
Tool used: Flashlight, screwdriver and wrenchPush the sink front, back and side to side. Watch whether the sink shifts against the counter, the counter against the cabinet, or the faucet in the sink. A flashlight under the cabinet shows loose clips.
-
Tighten what you can reach
Tool used: Flashlight, screwdriver and wrenchTurn each mounting clip a little at a time so the pressure stays even. Snug the faucet and drain nuts too. Stop when a clip feels firm, since cranking harder can crack a porcelain or stone sink.
-
Cut out the old seal
Tool used: Utility knife and ragIf the rim caulk is cracked or peeling, slice along both edges with the knife and pull out the strip. Wipe the joint with rubbing alcohol on a rag and let it dry fully.
-
Run a new bead of silicone
Tool used: Silicone sealantTape both sides of the joint, then squeeze one steady bead of 100% silicone along the rim. Smooth it with a wet gloved finger, peel off the tape right away, and keep water off it for the cure time on the tube, usually 24 hours.
IllustrationCheck price on AmazonTool for this step
Silicone sealant · 100% silicone for kitchen and bath, mold resistant
-
Test it after the cure
Push on the sink again. If it still moves, the cabinet or wall fixing is the loose part, and adhesive or a pro is next.
When free fixes aren't enough
If you tighten the clips and the sink still shifts, the seal between the sink and the counter has gone. Tightening cannot replace that glue-like bond, and the gap lets water in. Silicone fixes that on most drop-in sinks, and a mounting adhesive adds grip for heavier ones. Stop if the sink is pulling away from the wall, the supply pipes are bending, or the wood under it is soft or stained. That points to water damage or a bracket that needs a plumber.
Buy the fix
Still stuck after the free fixes? These are the products we would look at.
| Pick | Product | Fixes | Who it's for | Buy |
|---|---|---|---|---|
| Best pick | 100% silicone sealant for kitchen and bath | a failed seal around the sink rim that lets it shift | Anyone with a drop-in or undermount sink that rocks or has a cracked caulk line. | Check price |
| Upgrade pick | Sink mounting adhesive | a sink that needs a stronger bond than silicone alone gives | Heavier stone or cast sinks, or any sink that still moves after re-sealing. | Check price |
100% silicone sealant for kitchen and bath
Fixes: a failed seal around the sink rim that lets it shift
Look for: 100% silicone, not acrylic latex caulk; Labeled for kitchen and bath with mold-resistant protection; A color that matches your sink and counter, or clear.
- Who it's for
- Anyone with a drop-in or undermount sink that rocks or has a cracked caulk line.
- Honest downside
- Your sink is wall-hung or on a pedestal and the wall bracket is what has loosened. Fix the bracket first.
Sink mounting adhesive
Fixes: a sink that needs a stronger bond than silicone alone gives
Look for: Labeled for your sink material, such as porcelain, ceramic or stone; Waterproof once cured; A cure time you can plan around.
- Who it's for
- Heavier stone or cast sinks, or any sink that still moves after re-sealing.
- Honest downside
- You may need to lift the sink out later. Adhesive makes that much harder.
As an Amazon Associate I earn from qualifying purchases. We don't show prices because they change, so use the button to see today's price.
How we picked: How we picked: this page is based on sink installation guides, the instructions printed on sealant and adhesive tubes, and the fixes owners report in reviews. We do not test products by hand.
Which sink do you have? Match the fix
- Drop-in sink: the rim rests on the counter. Tighten the clips from below and re-seal the rim with silicone.
- Undermount sink: it hangs under the counter. Look at the clips and the bond from below. If the bond has let go, use an adhesive rated for your counter material or call a pro.
- Pedestal sink: the basin usually bolts to the wall. Tighten those screws, and seal the back edge to the wall.
- Wall-hung sink: the wall bracket carries the load. If it moves, stop and have it checked. Sealant will not hold it.
What to skip
Acrylic latex caulk and spray foam
Painter's acrylic latex caulk is easy to apply, but it is not built for a wet sink edge. It shrinks, cracks and lets go again. Skip spray foam too. It swells under the sink and can push it out of place.
Frequently asked questions
What holds a bathroom sink to the vanity?
Why does my bathroom sink move when I lean on it?
Can silicone alone hold a heavy sink in place?
How long before I can use the sink after sealing it?
Related problems
 Free fix inside
Bathroom · Bathroom Sink
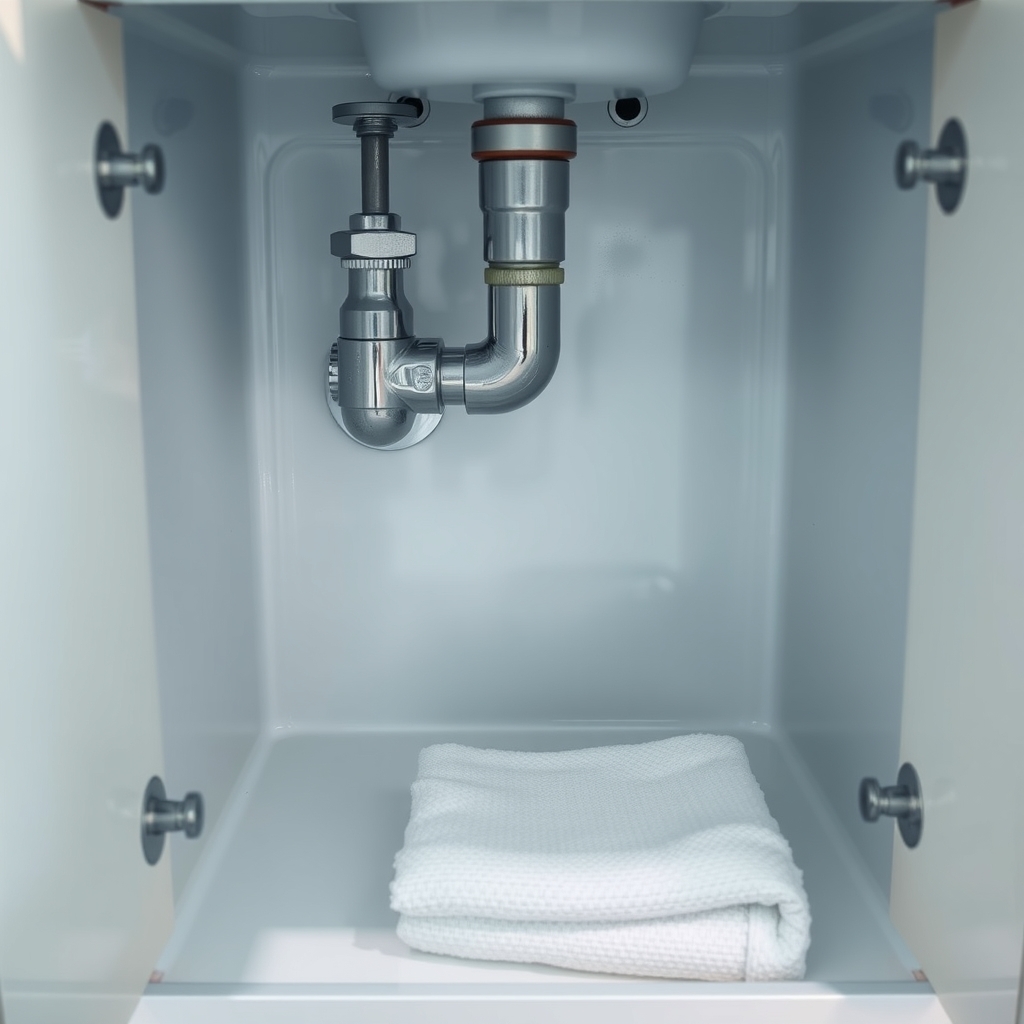
Bathroom Sink Leaking Underneath? Find the Source in 3 Minutes
Read the fix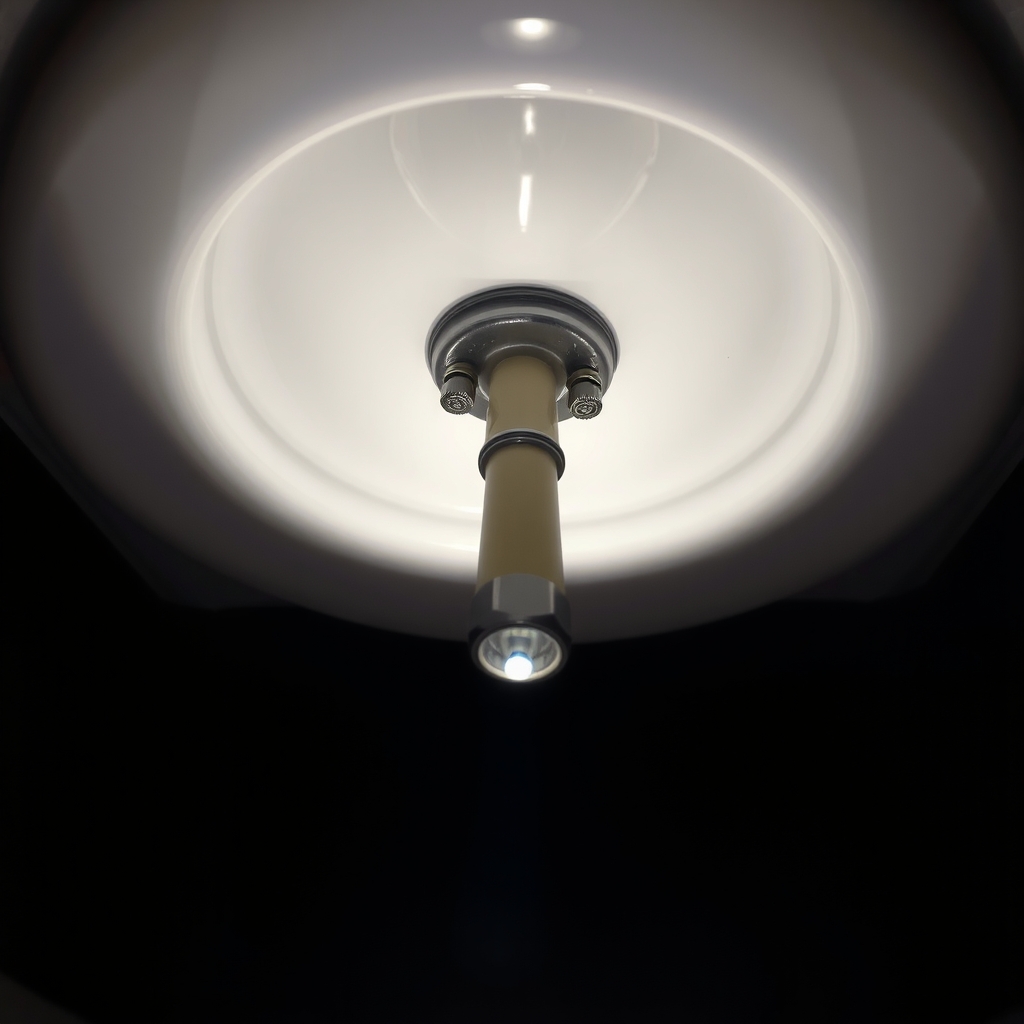 Free fix inside
Bathroom · Bathroom Faucet
Bathroom Faucet Loose or Spinning? Tighten It With a Basin Wrench
Read the fix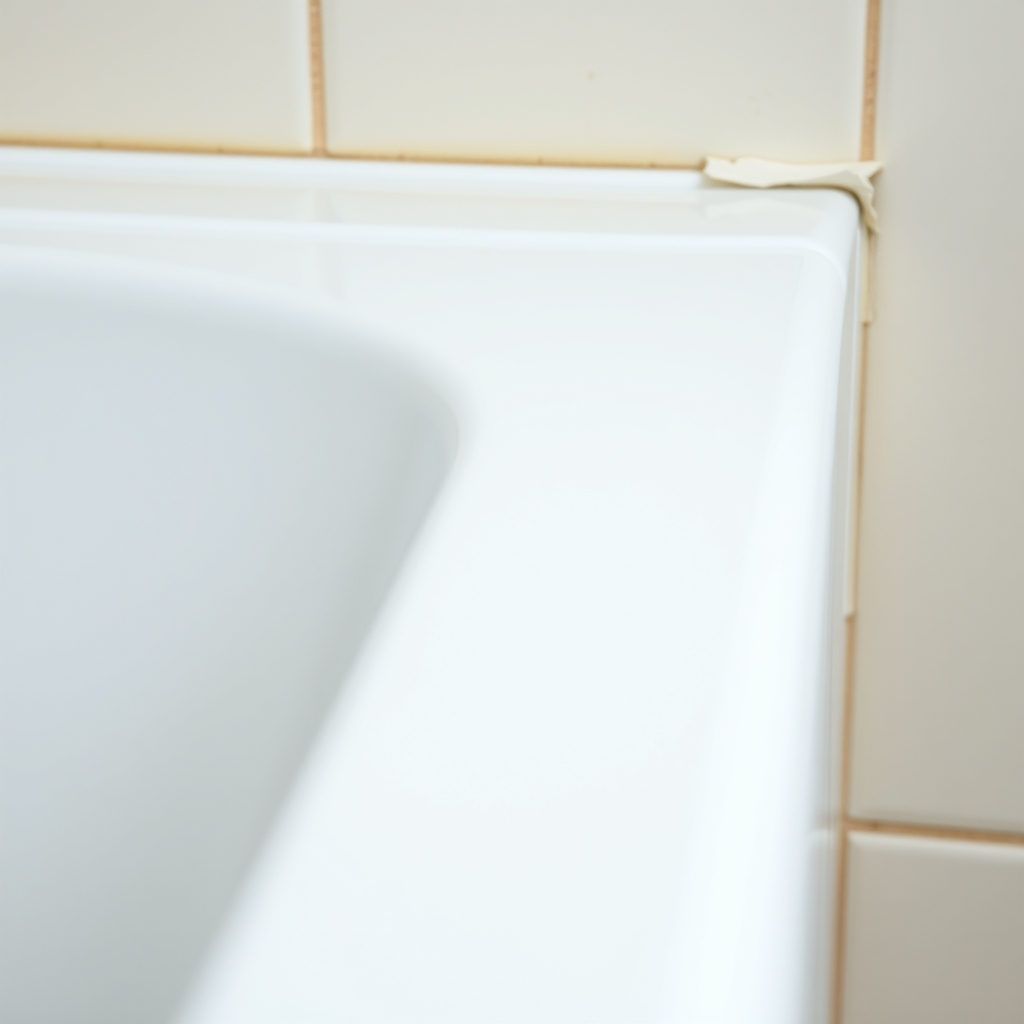 Free fix inside
Bathroom · Bathtub Surface
Bathtub Not Attached to the Wall? Seal the Gap With the Right Caulk
Read the fix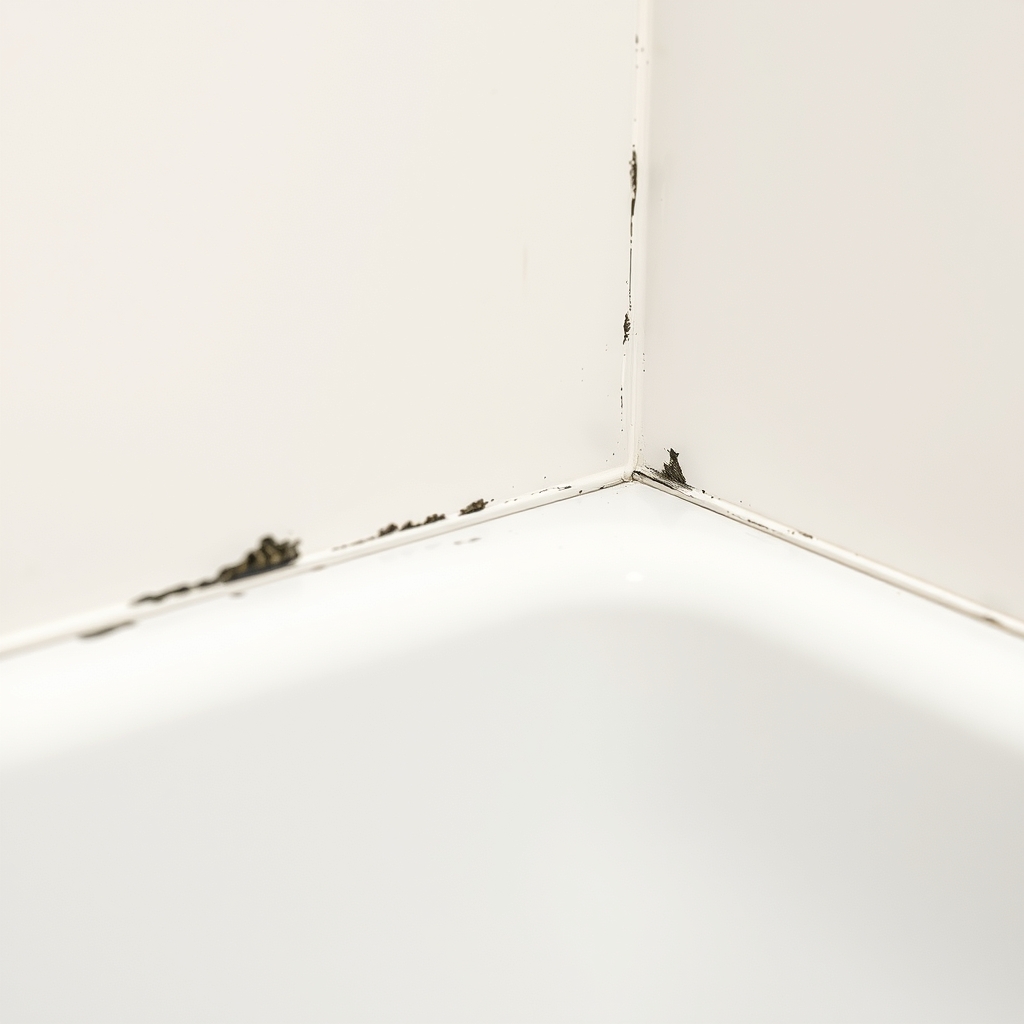 Free fix inside
Bathroom · Bathroom Mold
Black Mold in Shower Caulk? Re-Caulk Instead of Scrubbing Forever
Read the fixAs an Amazon Associate I earn from qualifying purchases. Affiliate disclosure