Bathtub Not Attached to the Wall? Seal the Gap With the Right Caulk
A gap between the tub and the wall lets water in behind it. Clean and dry the gap, fill the tub, then seal it with flexible silicone made for tubs.
By Jamilur Rahman Updated November 5, 2026 · 7 min read
- Time
- 1 hr plus cure time
- Cost
- Under $20
- Difficulty
- Medium
In this guide
Quick answer
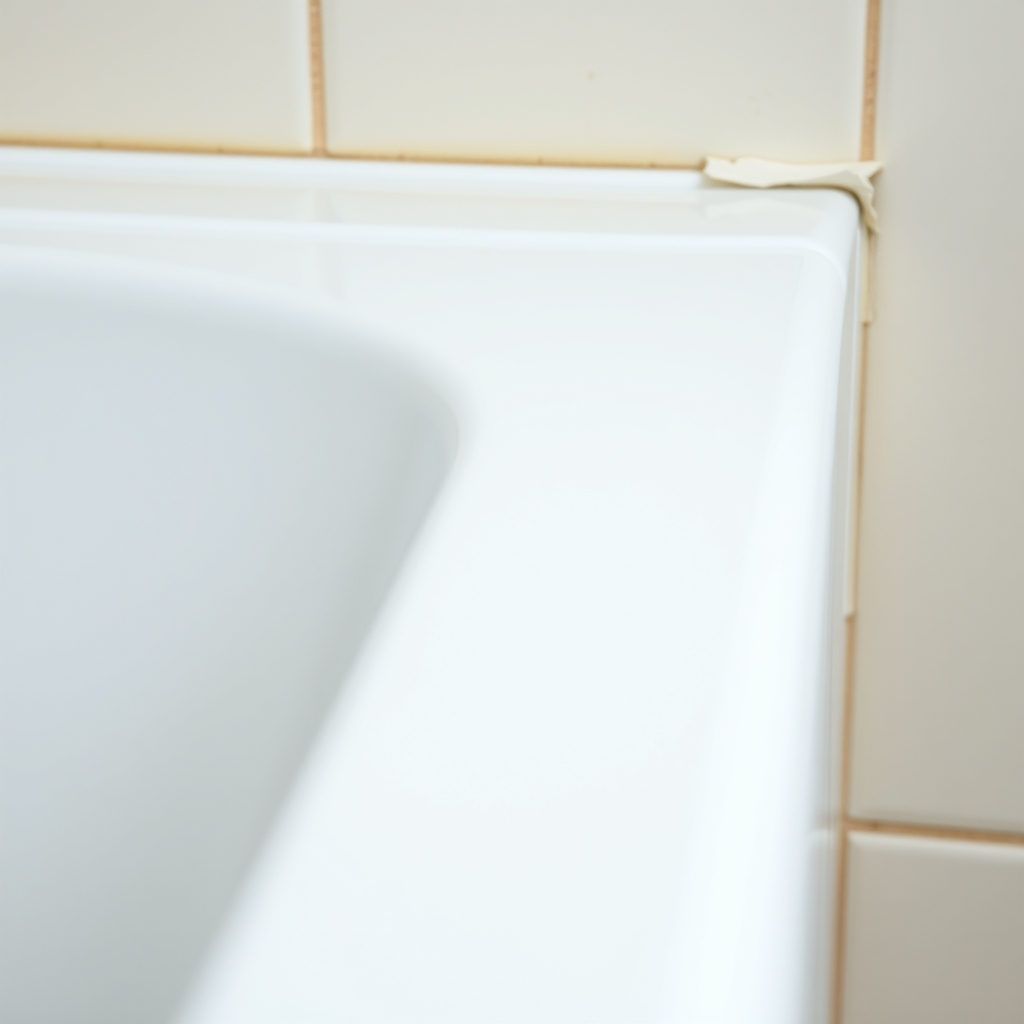
A gap opens between the tub and the wall because the tub flexes under weight and the old caulk dries out and pulls away. No free step seals it, since water gets behind the tub on every shower. The free work is prep: remove the old caulk, clean and dry the gap and fill the tub before you seal. Then run a bead of mold-resistant silicone made for tubs and tile.
Free fix vs. permanent fix
Strip the old caulk, clean and dry the gap
- Cut out and scrape off all the old caulk
- Wipe the gap with rubbing alcohol and let it dry fully
- Fill the tub with water before you caulk
- Towel the gap dry after each shower until it is sealed
How long it lasts: It does not seal anything. Water still runs behind the tub after each shower, so treat this as prep for the caulk, not a fix.
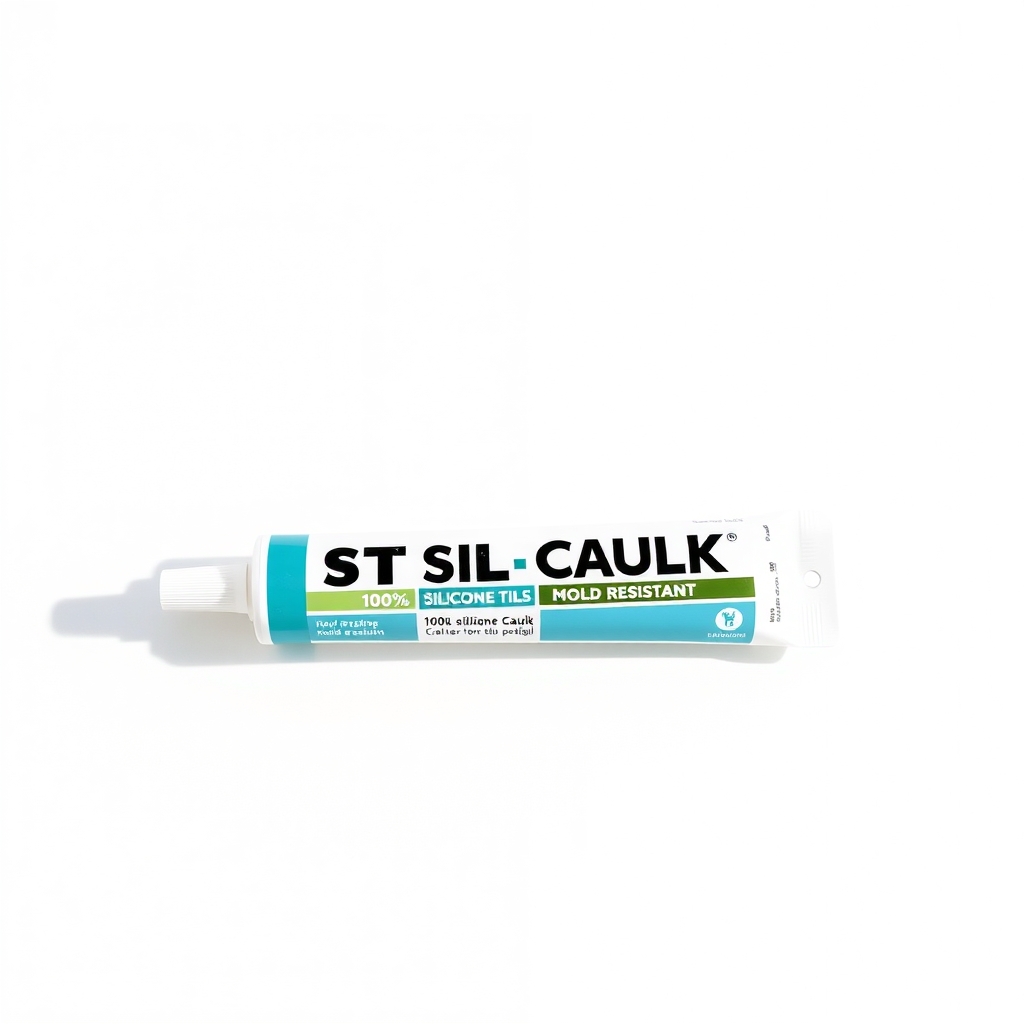
100% silicone tub and tile caulk
A tub moves every time it fills and empties. Stiff caulk cracks within a year or two. Silicone stays flexible and sticks to tile, enamel and fiberglass, and mold-resistant types stay cleaner longer. Caulking with the tub full sets the gap at its widest, so the bead holds when you use it.
What to get: 100% silicone caulk for tubs and tile, mold-resistant
How long it lasts: Years. Silicone stays stretchy as the tub moves, so it does not crack open like stiff caulk.
As an Amazon Associate I earn from qualifying purchases.
What you'll need
-
Utility knife
Cuts along both edges of the old caulk
You have it -
Rubbing alcohol
Cleans the gap and helps it dry
You have it - Our pick Illustration
100% silicone tub and tile caulk
Mold-resistant, labeled for kitchen and bath
- Illustration
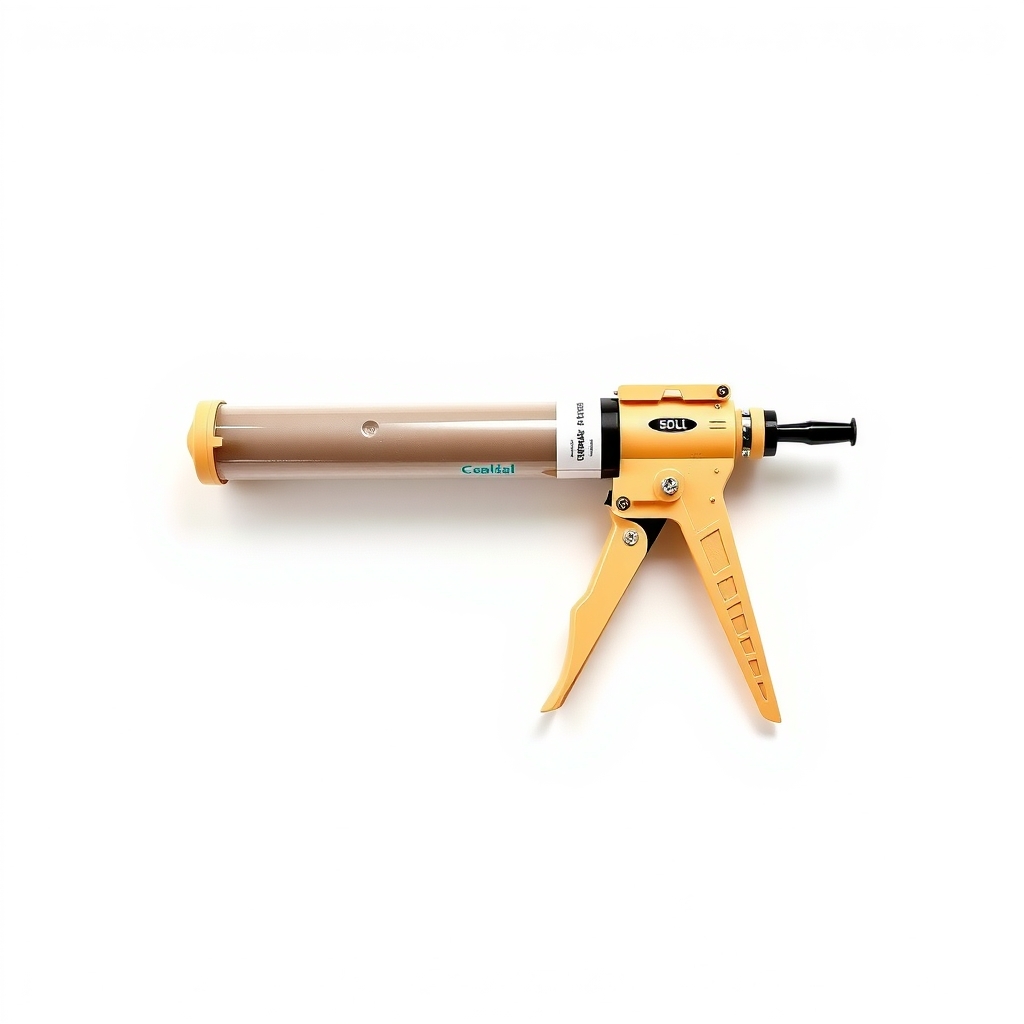
Caulk gun
Skip it if you buy a squeeze tube
- Illustration
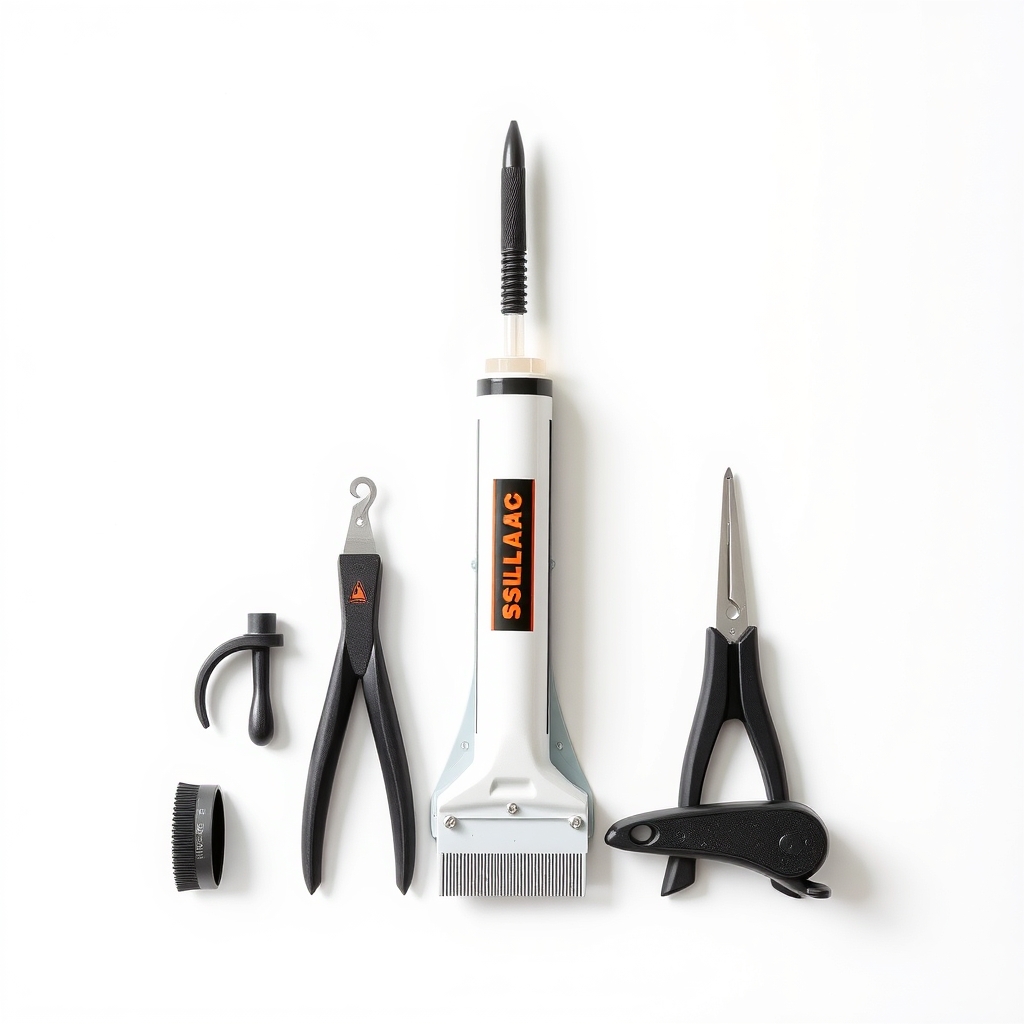
Caulk removal and finishing tool set
Makes stripping and smoothing neater
- Illustration
Peel-and-stick tub sealing strip
A mess-free option for small gaps
Why it happens
The tub moves under weight
A full tub with a person in it weighs hundreds of pounds. The tub settles and flexes a little each time, and the joint at the wall opens and closes.
Old caulk that has dried out
Caulk shrinks and hardens with age, steam and cleaners. It cracks, peels and pulls off the wall. Cheap acrylic caulk fails faster than silicone.
The house settling
Framing and floors shift a little as a house ages, which can widen the joint. A hairline gap is normal. One that keeps growing is not.
A tub that is not fully supported
If the tub rocks or the floor around it feels soft, the support under it may have failed. Caulk will not fix that.
Try this first (free)
Do these in order, starting with the simplest.
-
Measure the gap
Check it with a ruler. Up to about 1/4 inch, caulk will fill it. Wider than that needs a foam backer rod first. Over 1/2 inch, or if the tub rocks, get it checked before sealing.
-
Cut out the old caulk
Tool used: Utility knifeRun a utility knife along both edges of the old bead, then peel and scrape it out. Leftover silicone stops new silicone from sticking, so remove every bit.
-
Clean and dry the gap
Tool used: Rubbing alcoholScrub off any mold with a mildew cleaner and rinse. Wipe the gap with rubbing alcohol and let it dry for at least an hour. Water trapped behind new caulk grows mold.
-
Tape both sides
Press painter's tape on the tub and on the tile, leaving a gap of about 1/4 inch. This gives you a clean, straight line.
-
Fill the tub with water
Fill the tub and leave it full. The weight pulls the tub down and opens the gap to its widest, so the caulk is not stretched when you use it.
-
Run the bead and smooth it
Tool used: 100% silicone tub and tile caulkCut the nozzle small, hold the tube at about 45 degrees and run one steady bead. Smooth it with a wet finger or a finishing tool and peel the tape while it is wet. Keep the tub full for the time on the label, usually about 24 hours.
IllustrationCheck price on AmazonTool for this step
100% silicone tub and tile caulk · Mold-resistant, labeled for kitchen and bath
When free fixes aren't enough
No free step seals this gap. The free work only gets the surface clean so the caulk sticks. If old caulk keeps cracking within a year or two, it was the wrong kind or it was applied to an empty tub. Silicone applied with the tub full stays flexible as the tub moves. If the gap is wider than about 1/2 inch, the tub rocks or the floor near it feels soft, call a pro. The support under the tub may have failed, and caulk will only hide it.
Buy the fix
Still stuck after the free fixes? These are the products we would look at.
| Pick | Product | Fixes | Who it's for | Buy |
|---|---|---|---|---|
| Best pick | 100% silicone caulk for tubs and tile, mold-resistant | a gap at the tub edge that lets water in behind the wall | Anyone with a gap up to about 1/4 inch between the tub and the wall tile. | Check price |
| Budget pick | Peel-and-stick tub and wall sealing strip | a small gap you want sealed without a caulk gun | Someone who wants a clean, mess-free seal and accepts that a strip may need replacing sooner. | Check price |
| Upgrade pick | Caulk removal and finishing tool set | ragged beads and old caulk that is hard to remove | People who will also redo a sink or shower seam. | Check price |
100% silicone caulk for tubs and tile, mold-resistant
Fixes: a gap at the tub edge that lets water in behind the wall
Look for: 100% silicone, not acrylic latex; Labeled for kitchen and bath, with mildew resistance; A color that matches your tub, or a clear bead; A cure time printed on the tube.
- Who it's for
- Anyone with a gap up to about 1/4 inch between the tub and the wall tile.
- Honest downside
- You want to paint the bead. Silicone does not take paint. Use a paintable hybrid caulk instead.
Peel-and-stick tub and wall sealing strip
Fixes: a small gap you want sealed without a caulk gun
Look for: A width that covers your gap with an edge on each side; A strong waterproof adhesive; A color that matches your tub.
- Who it's for
- Someone who wants a clean, mess-free seal and accepts that a strip may need replacing sooner.
- Honest downside
- The surfaces are textured or the gap is wider than the strip. It will not stick.
Caulk removal and finishing tool set
Fixes: ragged beads and old caulk that is hard to remove
Look for: A removal blade sized for tub gaps; A smoothing tool with several edge sizes; A caulk gun with a smooth, dripless trigger.
- Who it's for
- People who will also redo a sink or shower seam.
- Honest downside
- You only have one small gap. A utility knife and a finger are enough.
As an Amazon Associate I earn from qualifying purchases. We don't show prices because they change, so use the button to see today's price.
How we picked: How we picked: this page is based on caulking guides from sealant makers, bathroom repair how-to articles, and the cracking and adhesion problems people report in reviews of tub and tile caulk. We do not test products by hand.
Silicone or hybrid? Which caulk to pick
- 100% silicone: waterproof and stays flexible, which suits a joint that moves. It cannot be painted, and it takes more care to clean up.
- Silicone-acrylic hybrid: cleans up with water and can be painted. It is less flexible, so keep it for small, stable gaps.
Check for water damage before you seal
If the wall tile near the tub is loose, the drywall is soft or you see stains or a musty smell, water has been getting in for a while. Fix the damage first. Sealing a wet wall traps the moisture and the rot gets worse.
What to skip
Acrylic latex caulk and sealing over a damp gap
Standard acrylic latex caulk is stiff and cracks when the tub moves. Caulk laid over old caulk, mold or damp surfaces will not stick and traps moisture behind it. Strip the gap bare and dry it first, then use silicone.
Frequently asked questions
Why is there a gap between my bathtub and wall?
Can I caulk over the old caulk?
How long should I wait before showering?
What if the gap is bigger than 1/4 inch?
Can I keep using the tub until I get caulk?
Related problems
As an Amazon Associate I earn from qualifying purchases. Affiliate disclosure