Black Mold in Shower Caulk? Re-Caulk Instead of Scrubbing Forever
Black mold that keeps returning in caulk has grown into it. Clean once; if the stain stays, cut the caulk out and redo it with mildew-resistant silicone.
By Jamilur Rahman Updated November 5, 2026 · 6 min read
- Time
- 1 hour, plus a day to cure
- Cost
- $20-$50
- Difficulty
- Medium
In this guide
Quick answer
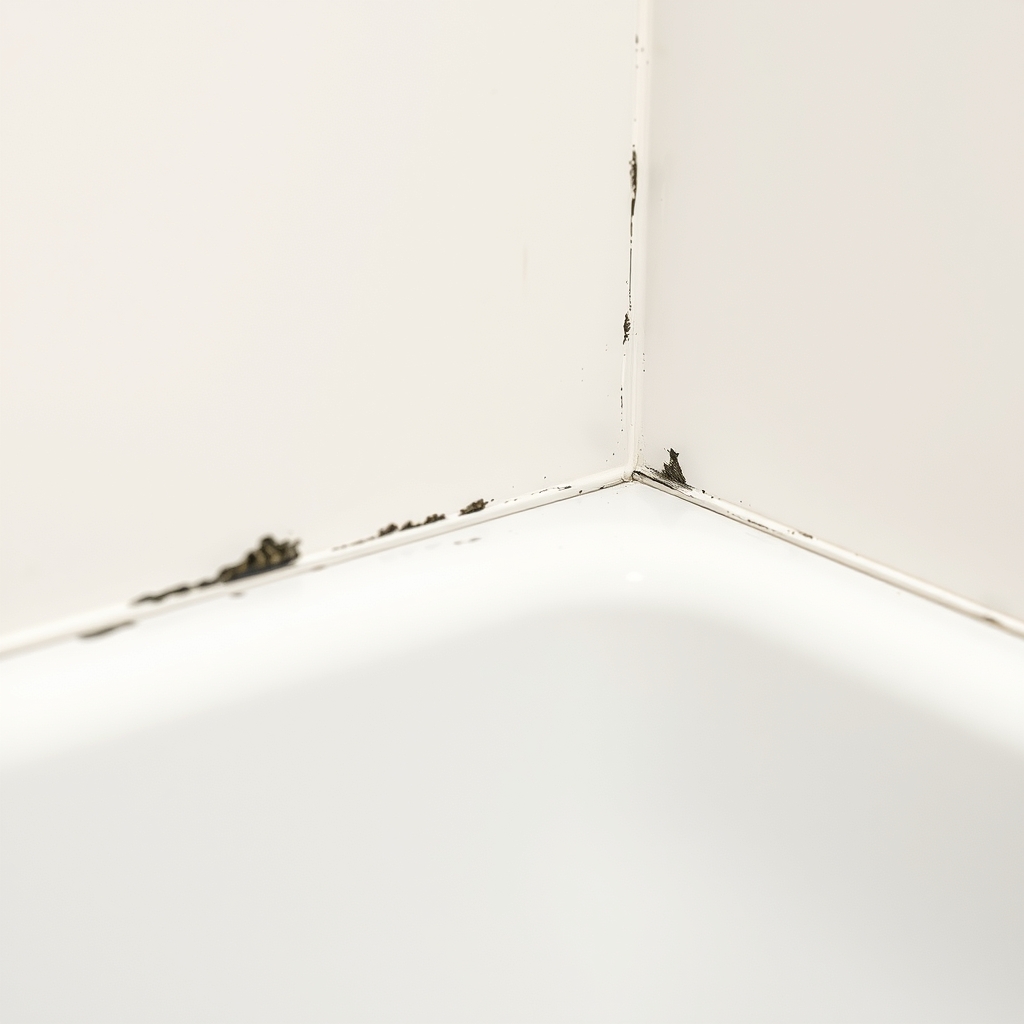
Black spots in shower caulk are mold growing on soap scum and in tiny cracks, and often into the caulk itself. Scrub or soak the stain first. If it comes out, keep the caulk dry and clean it often. If the black stays, or the caulk is cracked, peeling or loose, no cleaner will fix it. Cut the old caulk out with a caulk removal tool and re-caulk with mildew-resistant 100 percent silicone. That gives you a clean seal that can last for years.
Free fix vs. permanent fix
Scrub or soak the stain
- Scrub with detergent and water first
- Hold a paper towel soaked in 3 percent hydrogen peroxide on stubborn spots for an hour
- Rinse well and dry the area
- Never mix bleach with ammonia or vinegar
How long it lasts: Weeks to a few months. If the mold has grown into the caulk, the stains return.
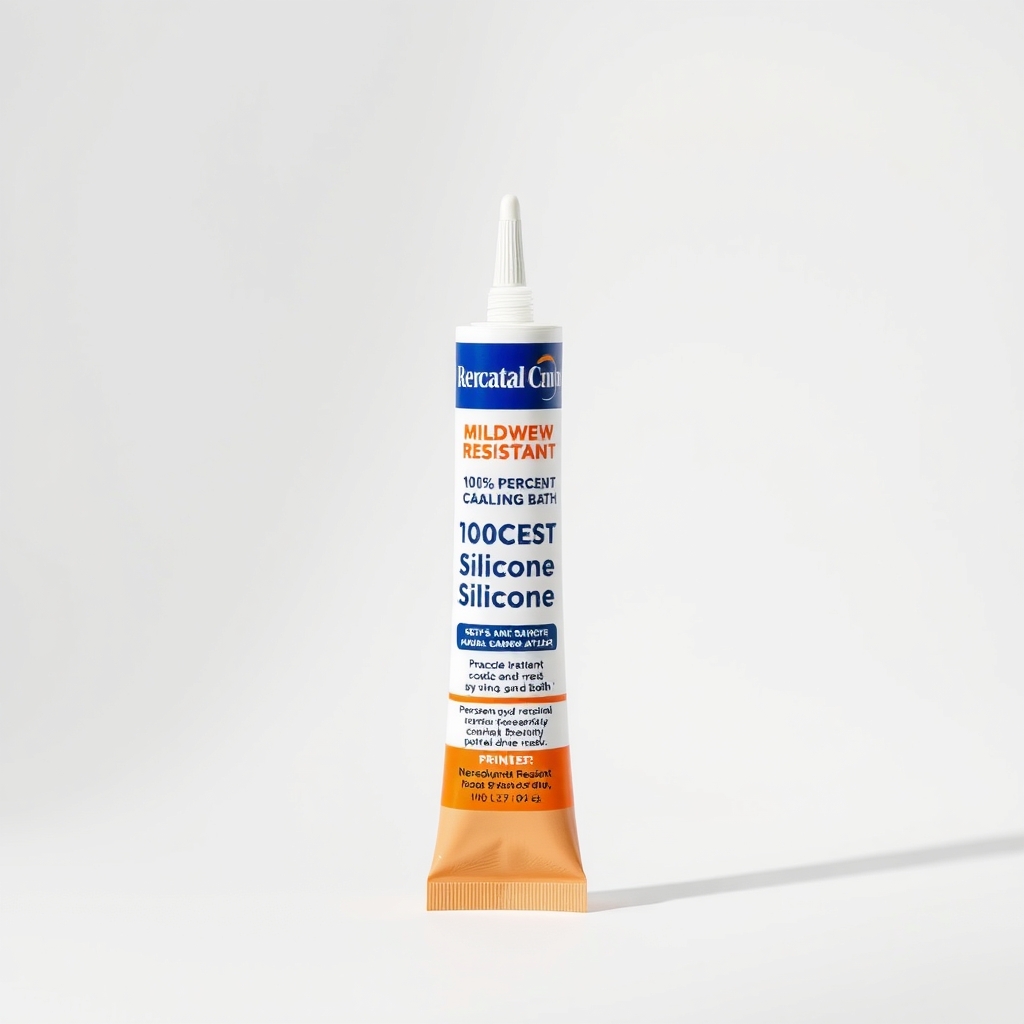
Fresh mildew-resistant silicone caulk
Mold that has grown into old caulk cannot be scrubbed out. Cutting the bead out removes the stained material, and fresh 100 percent silicone with a mildew-resistant additive gives mold a smooth surface that sheds water. You work once, not every week.
What to get: Mildew-resistant 100 percent silicone caulk for kitchen and bath
How long it lasts: Often several years, as long as the shower dries out between uses.
As an Amazon Associate I earn from qualifying purchases.
What you'll need
-
Rubber gloves and safety glasses
For cleaning and for working with chemicals
You have it -
Detergent and an old toothbrush
First pass on any stain
You have it -
Hydrogen peroxide (3 percent) and paper towels
For stubborn spots on the surface
You have it - Illustration
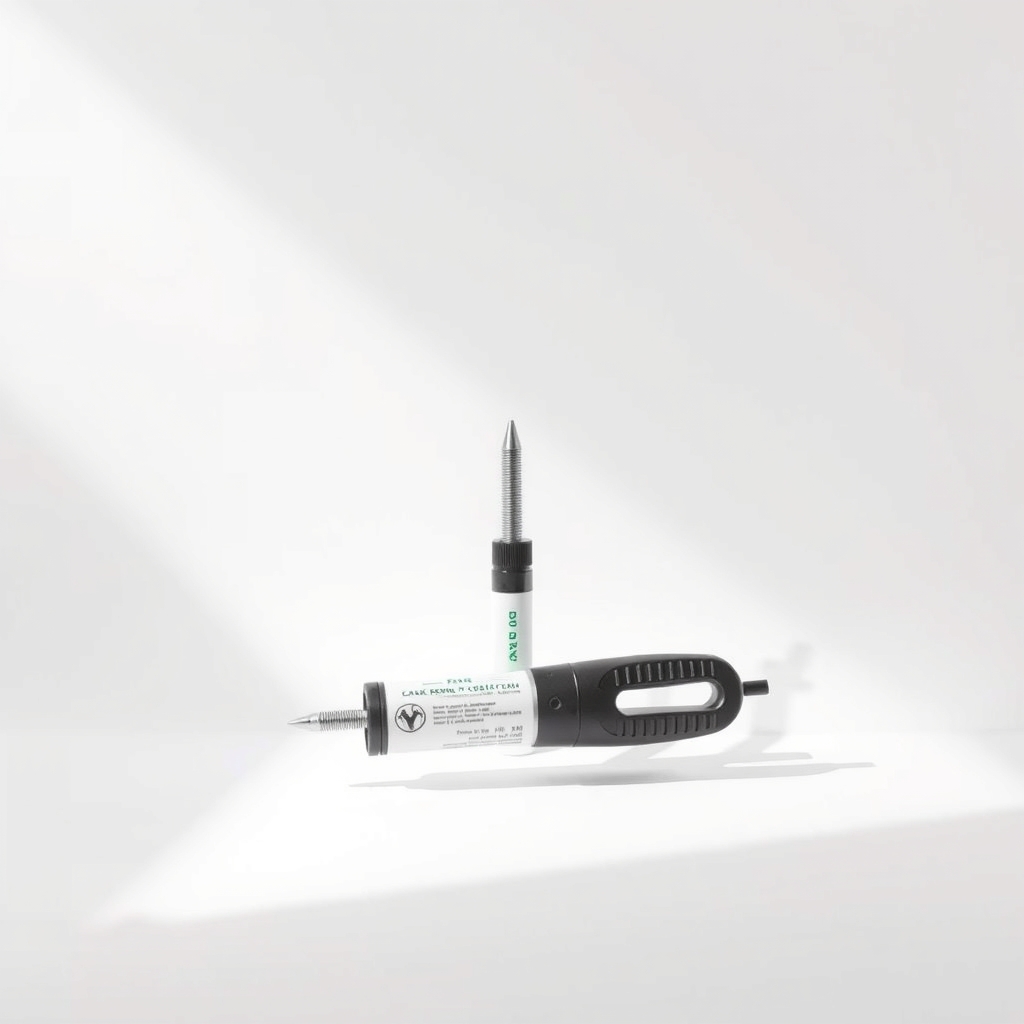
Caulk removal tool
Lifts old caulk without scratching the tub
- Our pick Illustration
Mildew-resistant silicone caulk
100 percent silicone made for kitchen and bath
- Illustration
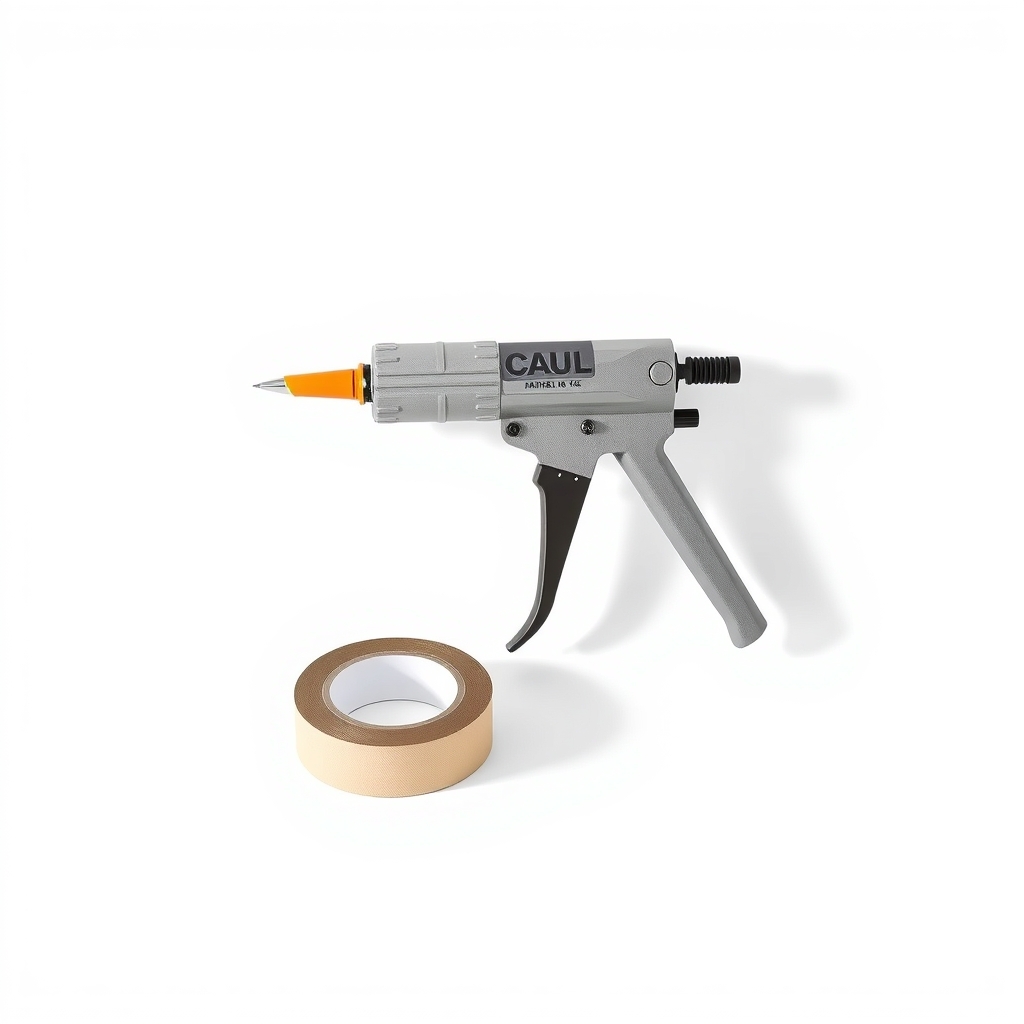
Caulk gun and painter's tape
The gun pushes the bead; tape keeps the lines neat
Why it happens
Constant damp
A shower caulk line sits where water pools and drips for hours. Mold needs moisture, food and warmth, and a bathroom gives it all three.
Soap scum as food
Body wash and shampoo leave a film on the caulk. Mold feeds on it and roots in the surface.
Cracks and gaps
Caulk shrinks and cracks with age, and water seeps behind it. Mold then grows on the back side, where you cannot scrub.
The wrong caulk
Acrylic latex caulk, often sold as paintable, is not made for constant wet. It stains and grows mildew sooner than silicone.
Slow drying
A weak fan and a closed door keep the air damp for hours after a shower.
Try this first (free)
Do these in order, starting with the simplest.
-
Ventilate, glove up and scrub
Tool used: Rubber gloves and safety glassesRun the fan or open a window and wear gloves and eye protection. Scrub the caulk with detergent and an old toothbrush, then rinse.
-
Soak the stubborn spots
Tool used: Hydrogen peroxide (3 percent) and paper towelsLay a paper towel soaked in 3 percent hydrogen peroxide over the black spots for an hour, then scrub and rinse. If you use a bleach cleaner, follow its label and keep it away from vinegar and ammonia, which make toxic gas.
-
Dry and judge
Dry the area and look. If the black is gone, wipe the line after showers and run the fan for 20 minutes. If dark stains stay, or the caulk is cracked, peeling or lifting, cut it out.
-
Cut out the old caulk
Tool used: Caulk removal toolCut along both edges with the tool, then lift out the bead. Scrape off leftovers, wipe the joint with rubbing alcohol and let it dry completely, overnight if you can.
IllustrationCheck price on AmazonTool for this step
Caulk removal tool · Lifts old caulk without scratching the tub
-
Apply the new silicone
Tool used: Mildew-resistant silicone caulkTape above and below the joint. For a tub-to-wall joint, fill the tub with water first so the gap is at its widest. Cut the nozzle at a 45-degree angle, run one steady bead, smooth it with a wet finger and pull the tape before it skins.
IllustrationCheck price on AmazonTool for this step
Mildew-resistant silicone caulk · 100 percent silicone made for kitchen and bath
-
Let it cure
Keep the caulk dry for about 24 hours, or the time printed on the tube. Silicone smells like vinegar while it cures, so keep the room ventilated.
When free fixes aren't enough
Cleaning only treats the surface. If dark stains come back within weeks, show through the caulk after you scrub, or the bead is cracked, loose or pulling away, the mold is inside or behind the caulk, and no cleaner will reach it. Re-caulking takes about an hour, plus a day to cure. Stop and call a pro if the mold covers more than about a 3-by-3-foot patch (10 square feet), if the wall or tile feels soft or spongy, or if you smell mustiness from inside the wall. That means water is getting behind the shower, and caulk will not fix it. Anyone with asthma or a mold allergy should have someone else do the cleaning.
Buy the fix
Still stuck after the free fixes? These are the products we would look at.
| Pick | Product | Fixes | Who it's for | Buy |
|---|---|---|---|---|
| Best pick | Mildew-resistant 100 percent silicone caulk for kitchen and bath | caulk that stains and re-molds within months | Anyone whose shower caulk is stained through, cracked or peeling. | Check price |
| Budget pick | Caulk removal tool | old caulk that is hard to cut out cleanly | First-time re-caulkers, and anyone who does not want to work with a utility knife. | Check price |
Mildew-resistant 100 percent silicone caulk for kitchen and bath
Fixes: caulk that stains and re-molds within months
Look for: 100 percent silicone, not acrylic latex; A mildew-resistant additive listed on the tube; Rated for tub, tile and shower use; A color that matches your grout or tub.
- Who it's for
- Anyone whose shower caulk is stained through, cracked or peeling.
- Honest downside
- The joint is wider than the tube says it can fill. Use a product made for wide gaps, or a backer rod first.
Caulk removal tool
Fixes: old caulk that is hard to cut out cleanly
Look for: A blade or tip sized for tub and tile caulk lines; Plastic or a coated edge that will not scratch the tub; A comfortable grip.
- Who it's for
- First-time re-caulkers, and anyone who does not want to work with a utility knife.
- Honest downside
- You already own a sharp utility knife and a plastic scraper. They do the same job.
As an Amazon Associate I earn from qualifying purchases. We don't show prices because they change, so use the button to see today's price.
How we picked: How we picked: this page is based on mold-cleaning guidance from public health agencies, caulk maker instructions, and the problems and fixes people report in reviews. We do not test products by hand.
Why silicone, and why 100 percent
Silicone stays flexible and sheds water better than acrylic latex, so it handles the movement and constant wet of a shower joint. Look for 100 percent silicone sold for kitchen and bath, with a mildew-resistant additive. Mildew-resistant is not mold-proof, so you still need to keep the shower drying between uses.
Keep the new caulk clean
- Run the fan during and for 20 minutes after each shower.
- Squeegee the walls and wipe the caulk line dry.
- Leave the curtain or door open so the stall dries.
What to skip
Repeated scrubbing and caulking over old caulk
Scrubbing the same stained caulk every few weeks wears you out and does not reach mold under the bead. Do not caulk over old, moldy caulk either. The new bead will not bond well, and the mold stays underneath. Cut the old bead out first.
Frequently asked questions
Does bleach kill black mold on caulk?
How often should shower caulk be replaced?
Can I caulk over old caulk?
How long before I can shower after caulking?
As an Amazon Associate I earn from qualifying purchases. Affiliate disclosure