Bathroom Sink Leaking Underneath? Find the Source in 3 Minutes
Water under the sink nearly always comes from the trap nuts, a supply line or the drain flange. Find which with a tissue, then fix it so it stays fixed.
By Jamilur Rahman Updated November 5, 2026 · 7 min read
- Time
- 20 min
- Cost
- Under $20
- Difficulty
- Easy
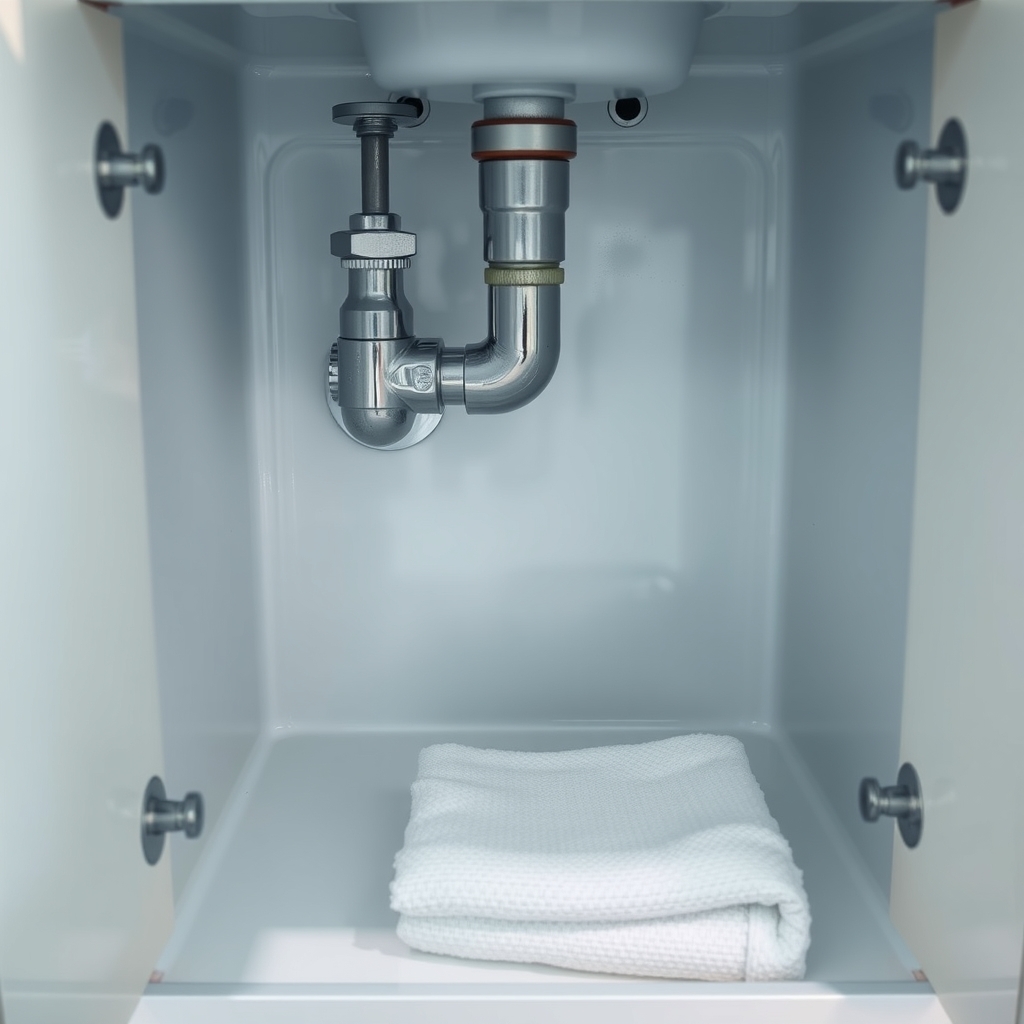
In this guide
Quick answer
A bathroom sink leaking underneath is almost always a loose or worn joint on the P-trap, a supply line or the drain flange. Dry every pipe, wrap toilet paper around each joint and run the water to see which one gets wet, then snug it up by hand. If the washers are old or the parts are cracked, a new P-trap kit and braided supply lines are cheap and end the repeat drips.
Free fix vs. permanent fix
Dry it, find the joint, snug it up
- Wipe every pipe dry and wrap toilet paper around each joint
- Run the tap, then fill and drain the basin, and see which paper gets wet
- Tighten slip nuts by hand, then a quarter turn with pliers
- Do not crank plastic nuts, since they crack
How long it lasts: Months or years if the washers are still soft. A worn or cracked part will start dripping again.
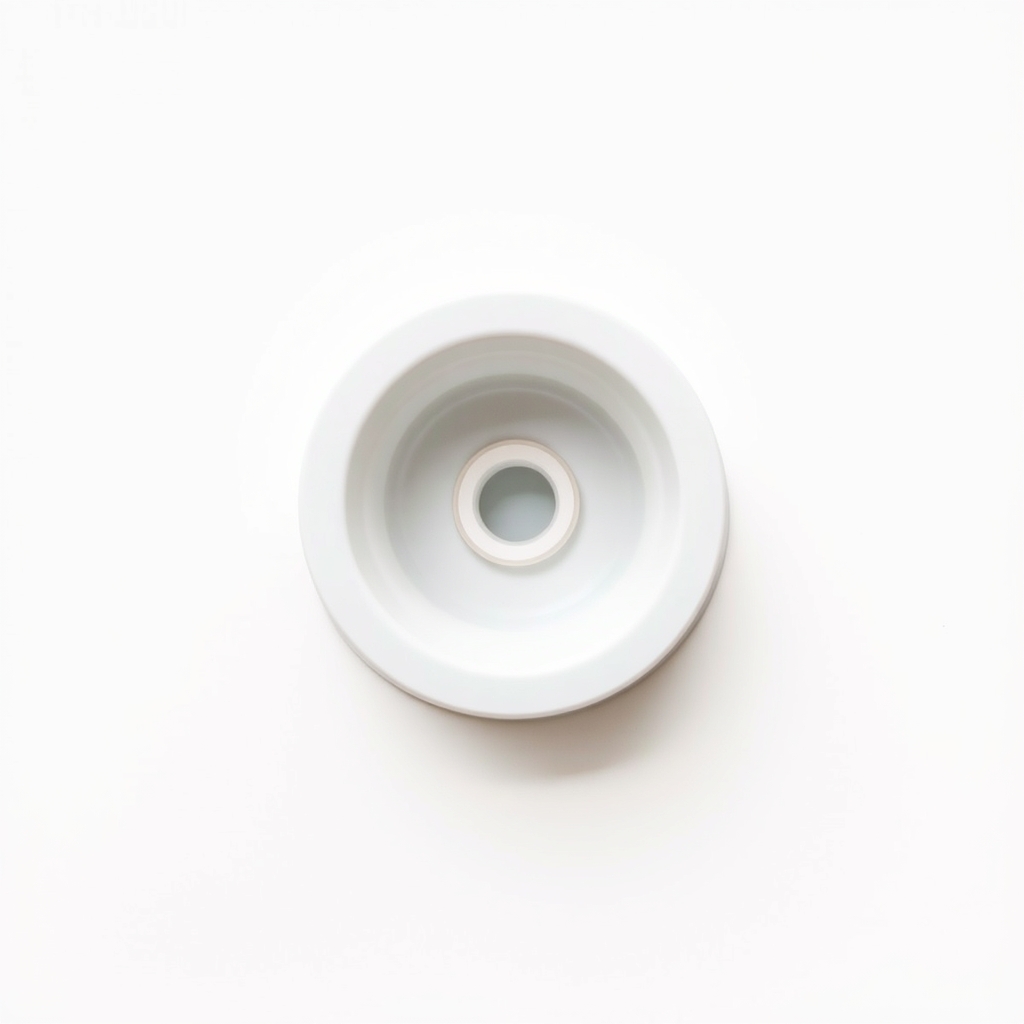
A new P-trap kit with fresh washers
Slip-joint washers flatten and harden with age, and old plastic nuts warp. Tightening only squeezes a worn washer harder. A new kit replaces every part that seals, for far less than a plumber's call-out.
What to get: Bathroom sink P-trap kit, 1-1/4 inch
How long it lasts: Years. New washers and clean threads seal the way the old ones did when they were new.
As an Amazon Associate I earn from qualifying purchases.
What you'll need
-
Bucket and old towel
Catches the water held in the trap
You have it -
Toilet paper or paper towel
Shows which joint is wet
Free -
Adjustable pliers
For a quarter turn on the nuts
You have it - Our pick Illustration
Sink P-trap kit
Check your drain size first; most bathroom sinks use 1-1/4 inch
- Illustration
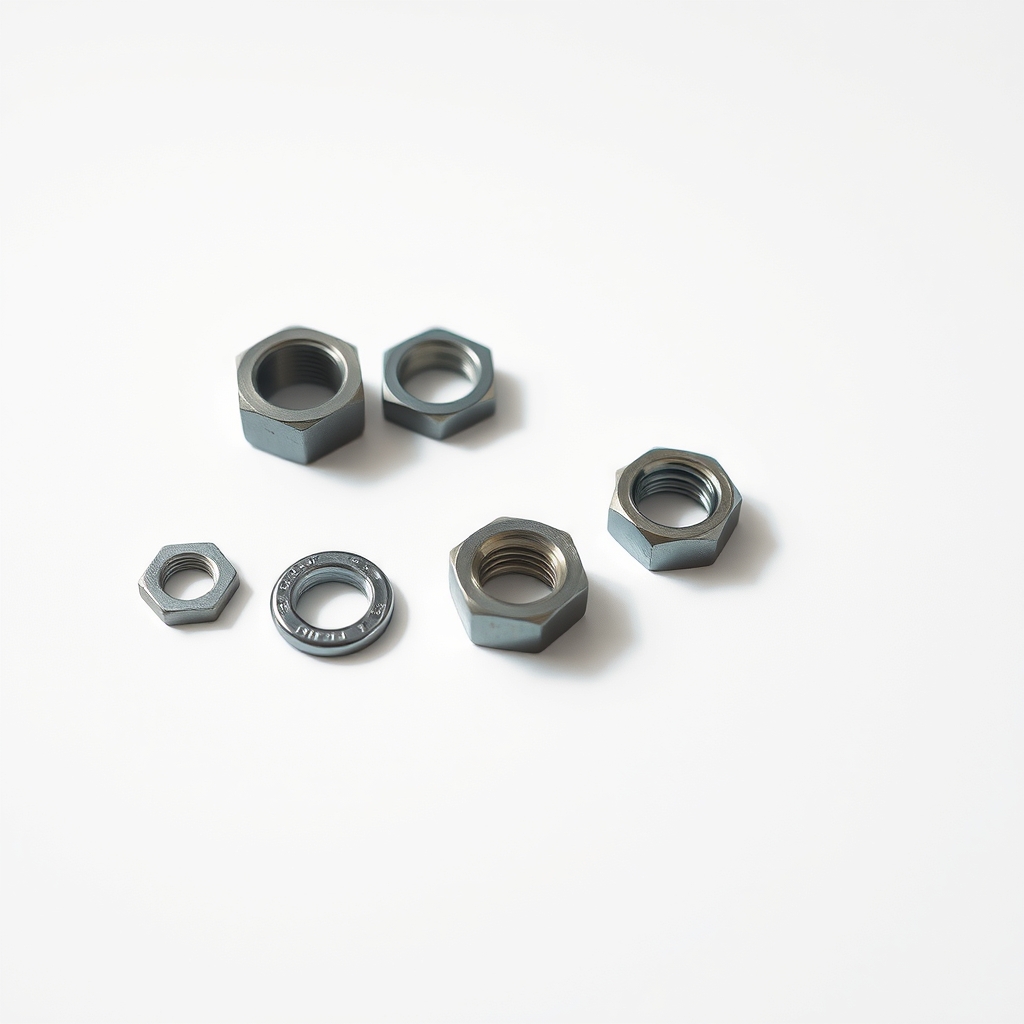
Slip-joint washer and nut assortment
For one weeping joint on a trap that is otherwise sound
- Illustration
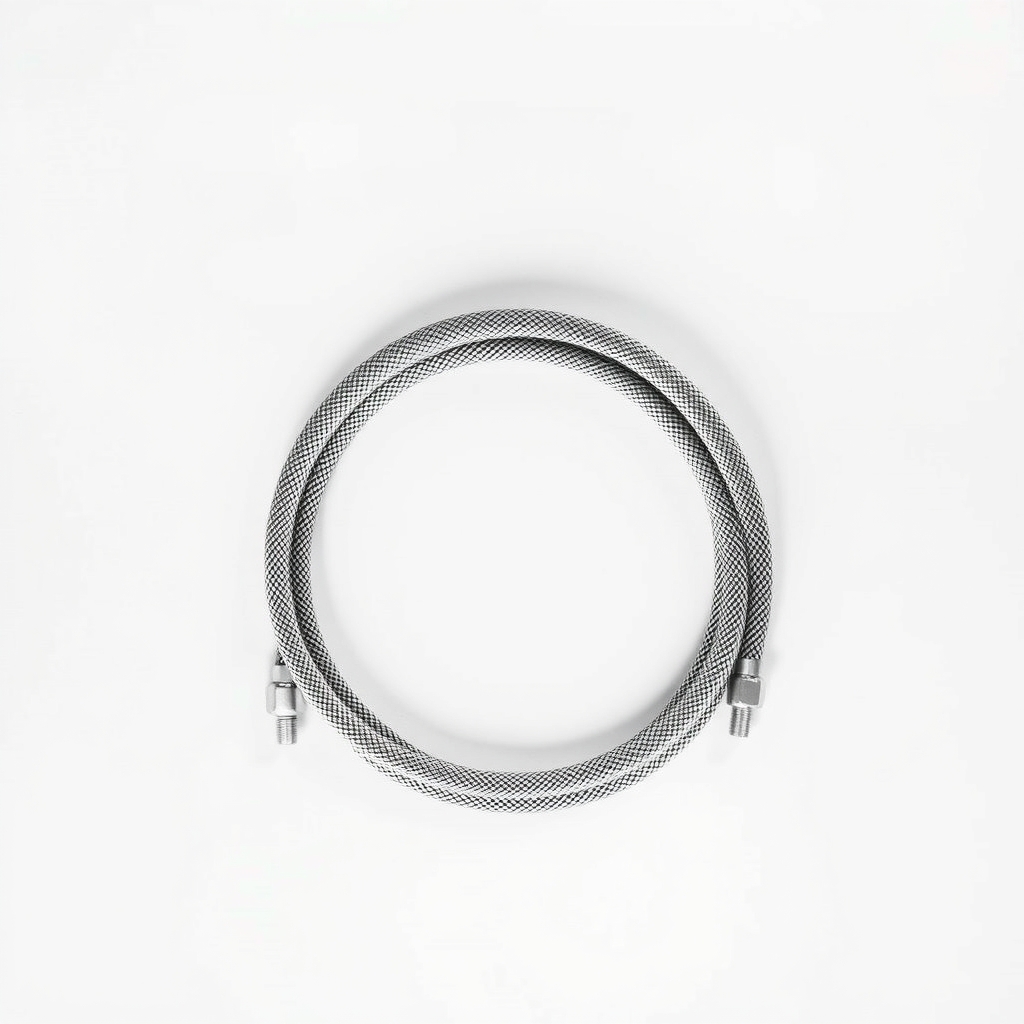
Braided stainless supply lines
For a drip at the faucet hoses
Why it happens
Loose or worn trap slip nuts
The curved P-trap is held by two big nuts that squeeze a washer into each joint. Bumping the cabinet loosens them, and old washers harden and flatten until they stop sealing.
A weeping supply line
The two small hoses from the wall valves to the faucet have a nut at each end. A drip here keeps going with the faucet off. Old lines can also corrode or split.
A failed drain flange seal
Where the drain meets the bowl, a ring of putty or a gasket seals the joint. When it fails, water seeps past it every time you use the sink and runs down the tailpiece.
A faucet that leaks at its base
Water running down the faucet shank drips along the hoses and looks like a pipe leak. It is a faucet problem, not a connection problem.
Try this first (free)
Do these in order, starting with the simplest.
-
Empty the cabinet and dry every pipe
Tool used: Bucket and old towelClear out what is stored there and lay a towel down. Wipe every pipe and joint dry, so a new drip stands out clearly.
-
Run the tissue test
Tool used: Toilet paper or paper towelWrap toilet paper around each joint: both supply lines at the valve and faucet, the trap nuts and the drain flange. Run the tap for a minute, then fill the basin and drain it. Paper that gets wet when the basin drains points to the trap or drain. Paper wet with only the tap running points to the supply lines.
-
Tighten by hand, then a quarter turn
Tool used: Adjustable pliersSlip nuts and supply line nuts should be hand-tight plus a quarter turn with pliers. Run the test again. Stop if the plastic starts to crack or the nut stops moving.
-
Take the trap apart and check the washers
Tool used: Bucket and old towelSet the bucket under the trap and unscrew both slip nuts. Look for cracked, flat or hard washers and gunk on the threads. Wipe the threads clean, then reassemble with the flat side of each washer facing its nut and the tapered side facing the joint.
-
Replace the trap or lines if parts are worn
Tool used: Sink P-trap kitIf a washer is cracked, the plastic is warped or a hose is crusty with mineral buildup, swap in new parts. Close the shutoff valves first for supply lines, dry-fit the pieces, then tighten by hand plus a quarter turn.
IllustrationCheck price on AmazonTool for this step
Sink P-trap kit · Check your drain size first; most bathroom sinks use 1-1/4 inch
When free fixes aren't enough
If the nuts are snug and the paper is still wet, the washers are worn, the plastic is warped or a part is cracked. No amount of tightening fixes that, and over-tightening cracks plastic. A new P-trap kit or braided supply lines replace every sealing part. Stop and call a plumber if water comes from a shutoff valve stem, the wall or a pipe behind it, or if the cabinet floor is soft or moldy.
Buy the fix
Still stuck after the free fixes? These are the products we would look at.
| Pick | Product | Fixes | Who it's for | Buy |
|---|---|---|---|---|
| Best pick | Bathroom sink P-trap kit, 1-1/4 inch | a dripping, worn or warped trap and its slip joints | Anyone whose washers are old or whose trap is cracked, warped or crusty. | Check price |
| Budget pick | Slip-joint washer and nut assortment | one weeping joint on an otherwise sound trap | Someone whose trap is clean and straight but drips at a single joint after tightening. | Check price |
| Upgrade pick | Braided stainless steel faucet supply lines | a dripping, corroded or aging faucet hose connection | Anyone whose supply hoses are old, crusty or kinked, or whose drip shows even with the tap off. | Check price |
Bathroom sink P-trap kit, 1-1/4 inch
Fixes: a dripping, worn or warped trap and its slip joints
Look for: The right size for your drain; measure your tailpiece first; Slip nuts, washers and an adjustable bend or extension tube in the box; Smooth threads and a sturdy build with no cracks or burrs.
- Who it's for
- Anyone whose washers are old or whose trap is cracked, warped or crusty.
- Honest downside
- Your drain is a different size or style, such as a 1-1/2 inch drain or a wall-mounted trap. Measure before you buy.
Slip-joint washer and nut assortment
Fixes: one weeping joint on an otherwise sound trap
Look for: Washers in the sizes your trap uses; Both rubber and plastic-style washers in the pack; Matching slip nuts for a stripped or cracked one.
- Who it's for
- Someone whose trap is clean and straight but drips at a single joint after tightening.
- Honest downside
- The plastic threads are stripped or the trap itself is cracked. Replace the whole trap.
Braided stainless steel faucet supply lines
Fixes: a dripping, corroded or aging faucet hose connection
Look for: The same end fittings as your valve and faucet, and the right length; A braided stainless outer layer over a flexible inner tube; Washers included at both ends.
- Who it's for
- Anyone whose supply hoses are old, crusty or kinked, or whose drip shows even with the tap off.
- Honest downside
- The leak is at the shutoff valve itself or inside the wall. That is a job for a plumber.
As an Amazon Associate I earn from qualifying purchases. We don't show prices because they change, so use the button to see today's price.
How we picked: How we picked: this page is based on plumbing repair guides, drain and supply-line instructions from parts makers, and the problems and fixes owners report in reviews. We do not test products by hand.
How to fix a bathroom sink leak, by where it drips
- Wet at the trap nuts: snug the nuts, then replace the washer or the trap if it keeps going.
- Wet at the drain flange: reseal the flange with fresh putty or a gasket.
- Wet at the hose ends: a quarter turn on the nut, then new supply lines.
- Wet only at the faucet base: the faucet is leaking. A new O-ring or cartridge is the fix.
What to skip
Tape, caulk or a bigger wrench on slip joints
Slip joints seal with the washer, not the threads, so tape or caulk on them does little. A long wrench cracks plastic nuts and makes the leak worse. Skip epoxy or putty wraps on a cracked trap too. They are a short-term patch on a part that needs replacing.
Frequently asked questions
Why is my bathroom sink leaking only when I use it?
Why does my bathroom sink keep leaking after I tighten it?
How do I stop a bathroom sink drain from leaking?
Why is my bathroom faucet leaking under the sink?
Is it OK to ignore a small drip under the sink?
Related problems
 Free fix inside
Bathroom · Bathroom Sink
Bathroom Sink Not Draining? Pull the Stopper, Then Try This
Read the fix Free fix inside
Bathroom · Bathroom Faucet
Bathroom Faucet Dripping? Find Your Faucet Type, Then Fix It
Read the fix Free fix inside
Bathroom · Bathroom Faucet
Bathroom Faucet Leaking at the Base? A Cheap O-Ring Often Fixes It
Read the fix Free fix inside
Bathroom · Bathroom Sink
Bathroom Sink Loose or Moving? Re-Secure It With Silicone
Read the fixAs an Amazon Associate I earn from qualifying purchases. Affiliate disclosure