Change Bathroom Tiles Without Removing Them: Peel-and-Stick Tiles
Skip the demolition. Prep the old tile properly and peel-and-stick tiles cover it in a weekend, as long as you keep them out of the direct shower spray.
By Jamilur Rahman Updated November 5, 2026 · 7 min read
- Time
- 1 weekend
- Cost
- $50-$150
- Difficulty
- Medium
In this guide
Quick answer
To change bathroom tiles without removing them, clean the old tile well and cover it with peel-and-stick tiles. Scrubbing and brightening the grout is the free fix, but it cannot change the color or pattern, while an overlay can, with no demolition, if the old tile is flat and firmly stuck. It works best on dry walls, backsplashes and floors, not in the direct spray of a shower.
Free fix vs. permanent fix
Deep-clean and refresh what is there
- Scrub tile and grout with dish soap and a stiff brush
- Rinse well and wipe dry
- Scrape and replace old caulk along the tub or sink
- Run the fan, or open a window, to keep it dry
How long it lasts: A few months of a brighter look. It will not change the color or the pattern.
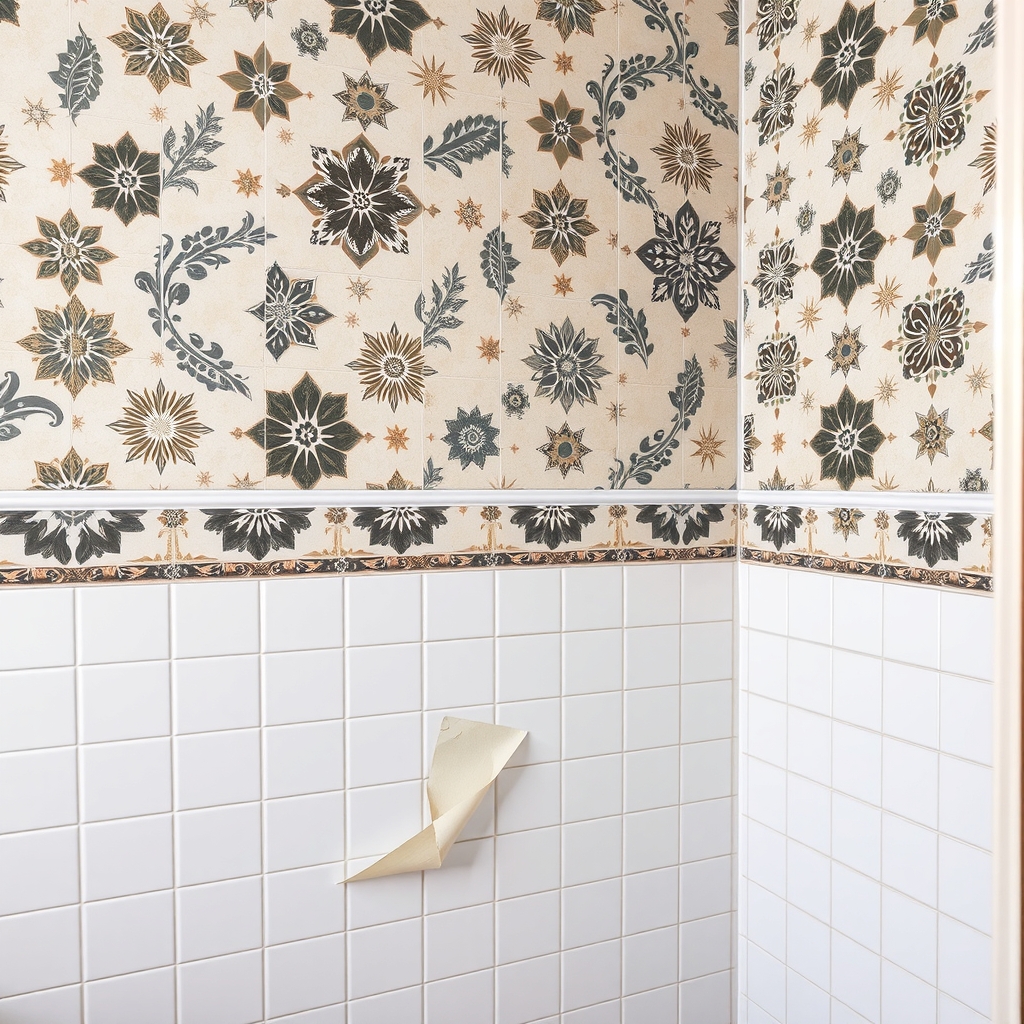
Peel-and-stick wall tiles over clean old tile
The tiles go straight over what you have. There is no tearing out, no thinset and no hidden water damage from demolition. You change both the color and the pattern in a weekend, and the old tile stays below.
What to get: Peel-and-stick wall tiles (thick vinyl or gel finish)
How long it lasts: Years on dry or low-splash walls and floors, if the old surface is clean and flat. In direct shower spray, follow the maker's guidance.
As an Amazon Associate I earn from qualifying purchases.
What you'll need
-
Degreasing cleaner and rubbing alcohol
Soap film and oil stop the adhesive from gripping
You have it -
Tape measure and utility knife
To plan the layout and cut tiles on a straight line
You have it -
Hair dryer
Warms stubborn corners so the adhesive bonds
You have it - Our pick Illustration
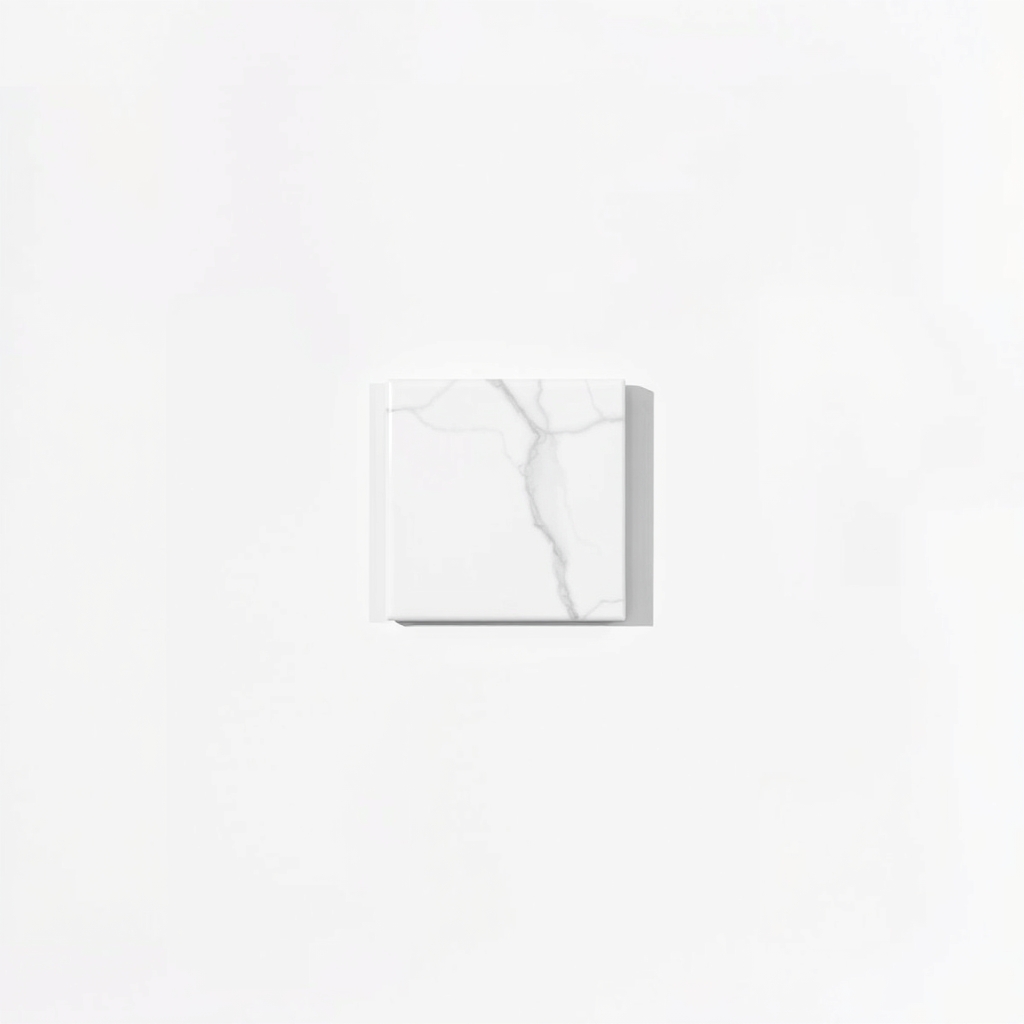
Peel-and-stick wall tiles
Thick vinyl or gel tiles hide grout lines best
- Illustration
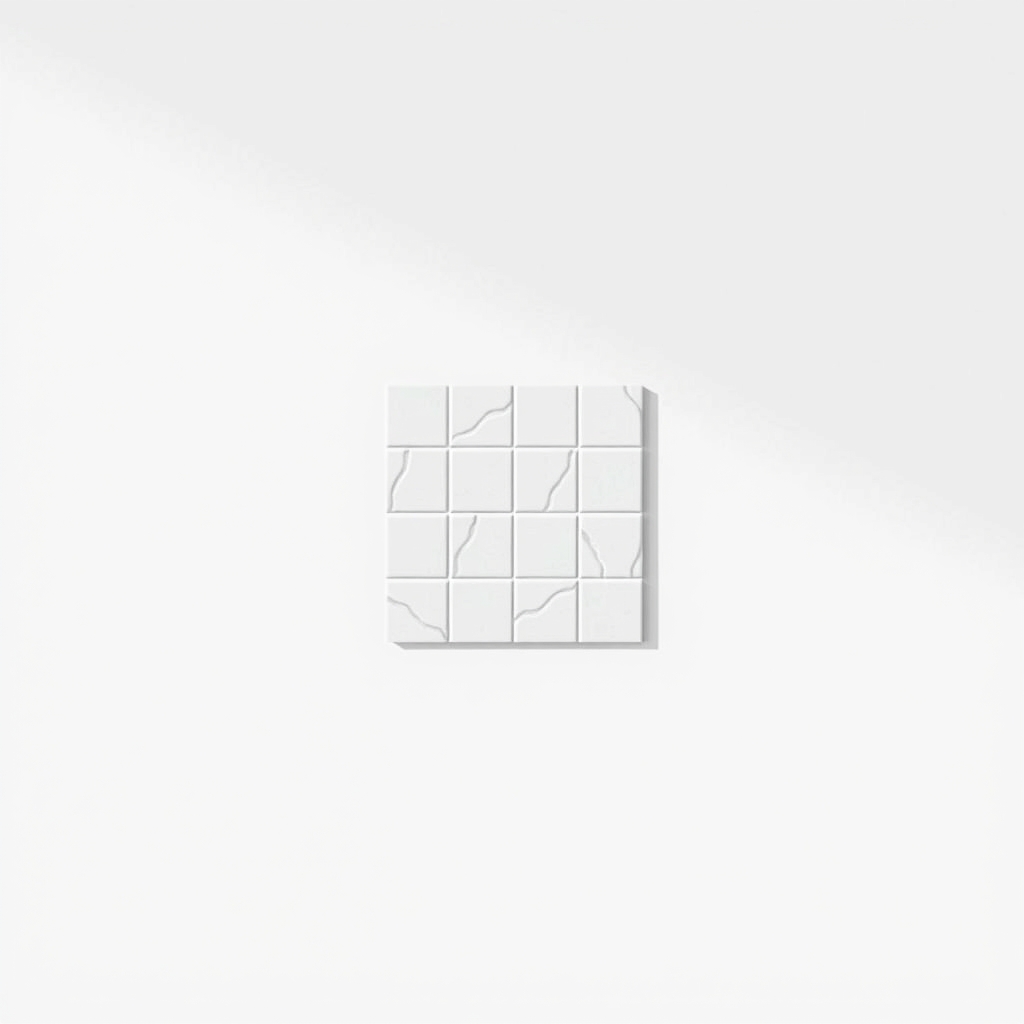
Peel-and-stick tile stickers
Thin and low-cost, for a small accent area
- Illustration
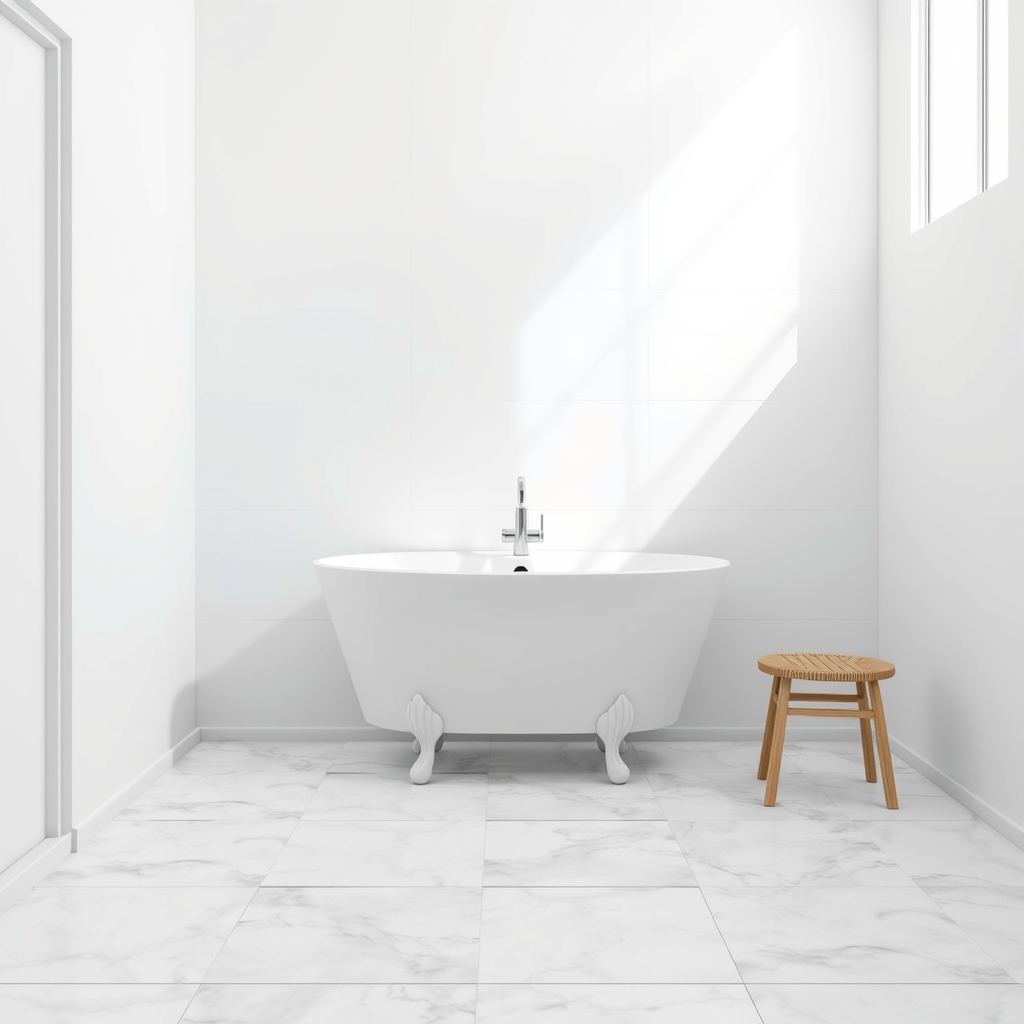
Peel-and-stick bathroom floor tiles
For a worn or cold-looking floor
Why it happens
Tile outlives the style
Tile and grout last for decades, so an old color or pattern can outlast the fashion by a long way. Replacing it means demolition, new waterproofing and weeks of mess.
Sound tile is a good base
If the tiles are firm and not cracked, the surface is already flat and waterproof. An overlay can sit on top and leave that layer alone.
Removal can cause more damage
Ripping tile off can tear the wall behind it. In very old homes, tile adhesive can contain asbestos, so do not break it up without testing first.
Renters cannot rip it out
If you rent, a cover-up is the only option. Check your lease first, and test a hidden spot, since the adhesive can leave residue.
Try this first (free)
Do these in order, starting with the simplest.
-
Check that the old tile is sound
Press and tap the tiles. Loose, cracked or hollow-sounding tiles must be fixed before you cover them. Soft walls, black mold or crumbling grout mean water is getting behind the tile. Fix that first, or the cover-up will hide it.
-
Deep-clean everything
Tool used: Degreasing cleaner and rubbing alcoholScrub with a degreaser, rinse, then wipe with rubbing alcohol. Soap scum, hair spray and oil all stop the adhesive from gripping. Let the surface dry for several hours.
-
Check the grout lines
Run a fingertip across the tile. If you can feel deep grout lines, a thin tile will show them. Pick a thick tile, or fill the lines with a thin skim of patching compound and sand smooth.
-
Plan the layout and cut
Tool used: Tape measure and utility knifeMeasure the wall and find the center. Start from a level line at the bottom, not from a corner. Cut tiles with a sharp utility knife along a straightedge, and keep a few extras for mistakes.
-
Peel, press and warm
Tool used: Hair dryerPeel the backing back a few inches at a time. Line up the edge and press from the middle out. Warm stubborn corners with a hair dryer for a few seconds so the adhesive sets.
-
Wait before it gets wet
Give the adhesive the maker's cure time before anyone showers. It is often 24 to 72 hours. Then keep splashes off and run the fan every time.
When free fixes aren't enough
Cleaning cannot change a color or a pattern. If the tile is dated, stained or the grout is stained beyond scrubbing, the only way to change the look without demolition is to cover it. Weak spots are direct shower spray, a steamy room with no fan and rough or heavily textured tile. Check the product page for its water rating. Tiles that are loose, cracked or sitting on damp walls need repair first.
Buy the fix
Still stuck after the free fixes? These are the products we would look at.
| Pick | Product | Fixes | Who it's for | Buy |
|---|---|---|---|---|
| Best pick | Peel-and-stick wall tiles (thick vinyl or gel finish) | dated or stained tile you do not want to remove | Most people covering a backsplash, accent wall or dry bathroom wall. | Check price |
| Budget pick | Thin peel-and-stick tile stickers for a small area | a dated look on a small area, for a low cost | Anyone covering a small strip, the area behind a sink or a tiny floor, or a renter who wants an easy look. | Check price |
| Upgrade pick | Peel-and-stick vinyl floor tiles for bathrooms | a dated or worn bathroom floor | Anyone changing the floor look without ripping out the old tile. | Check price |
Peel-and-stick wall tiles (thick vinyl or gel finish)
Fixes: dated or stained tile you do not want to remove
Look for: Listed as water-resistant or waterproof for bathrooms; Thick enough to hide grout lines; A strong adhesive backing rated for humid rooms; Sheets sized to your wall, so there are fewer cuts.
- Who it's for
- Most people covering a backsplash, accent wall or dry bathroom wall.
- Honest downside
- You want to cover tile inside the shower, where water hits directly, or the old tile is heavily textured or loose.
Thin peel-and-stick tile stickers for a small area
Fixes: a dated look on a small area, for a low cost
Look for: Smooth vinyl that wipes clean; Sized to match your tile, so check the dimensions; A pack count that covers the area plus a few extras.
- Who it's for
- Anyone covering a small strip, the area behind a sink or a tiny floor, or a renter who wants an easy look.
- Honest downside
- The old tile has deep grout lines or texture, where thin stickers show every groove.
Peel-and-stick vinyl floor tiles for bathrooms
Fixes: a dated or worn bathroom floor
Look for: Rated for wet rooms or bathrooms; Thick, rigid vinyl rather than thin film; A slip-resistant surface; Enough tiles for the room, plus spares.
- Who it's for
- Anyone changing the floor look without ripping out the old tile.
- Honest downside
- Your floor has electric radiant heat unless the maker says the tiles are safe on it, or the floor is uneven or flexes.
As an Amazon Associate I earn from qualifying purchases. We don't show prices because they change, so use the button to see today's price.
How we picked: How we picked: this page is based on peel-and-stick tile instructions from makers, general tile-surface prep guides and the results people report in owner reviews. We do not test products by hand.
Where peel-and-stick works and where it does not
- Works well: dry bathroom walls, the backsplash behind a sink, an accent wall and floors outside the splash zone.
- Risky: inside the shower where water hits, steamy rooms with no fan and rough, deeply textured tile.
- Do not use: over loose, cracked, mold-spotted or damp tile, or over a floor with electric heat unless the maker approves it.
What to skip
Covering loose, cracked or damp tile
Skip covering anything that is loose, cracked, mold-spotted or damp. The cover hides the problem, and moisture builds behind it. Also skip thin stickers over deep grout lines. The lines show through and the edges lift.
Frequently asked questions
Can you put peel-and-stick tile over bathroom tile?
Is peel-and-stick tile waterproof in a shower?
How long do peel-and-stick tiles last in a bathroom?
Will peel-and-stick tile damage my old tile when I take it off?
Do I need to caulk the edges?
Related problems
 Free fix inside
Bathroom · Bathroom Tile Repair
Bathroom Tiles Falling Off? Re-Stick Them Before Moisture Spreads
Read the fix Free fix inside
Bathroom · Bathroom Floor
Bathroom Tiles Too Slippery? The Bath Rug That Grips Wet Floors
Read the fix Free fix inside
Bathroom · Bathroom Tile
Bathroom Tiles Turning Orange? Rust or Soap Scum, and What Removes It
Read the fix Free fix inside
Bathroom · Bathroom Tile
Bathroom Tiles Turning White? That's Usually Hard Water Scale
Read the fixAs an Amazon Associate I earn from qualifying purchases. Affiliate disclosure