Fridge Door Seal Not Sticking? A 5-Minute Fix, Then the Gasket to Buy
A dirty, dented or worn gasket lets warm air in. Clean and reshape it first, then fit the right replacement if the door still will not grip.
By Jamilur Rahman Updated November 5, 2026 · 7 min read
- Time
- 5 min to fix, 30 min to replace
- Cost
- $20-$50
- Difficulty
- Easy
In this guide
Quick answer
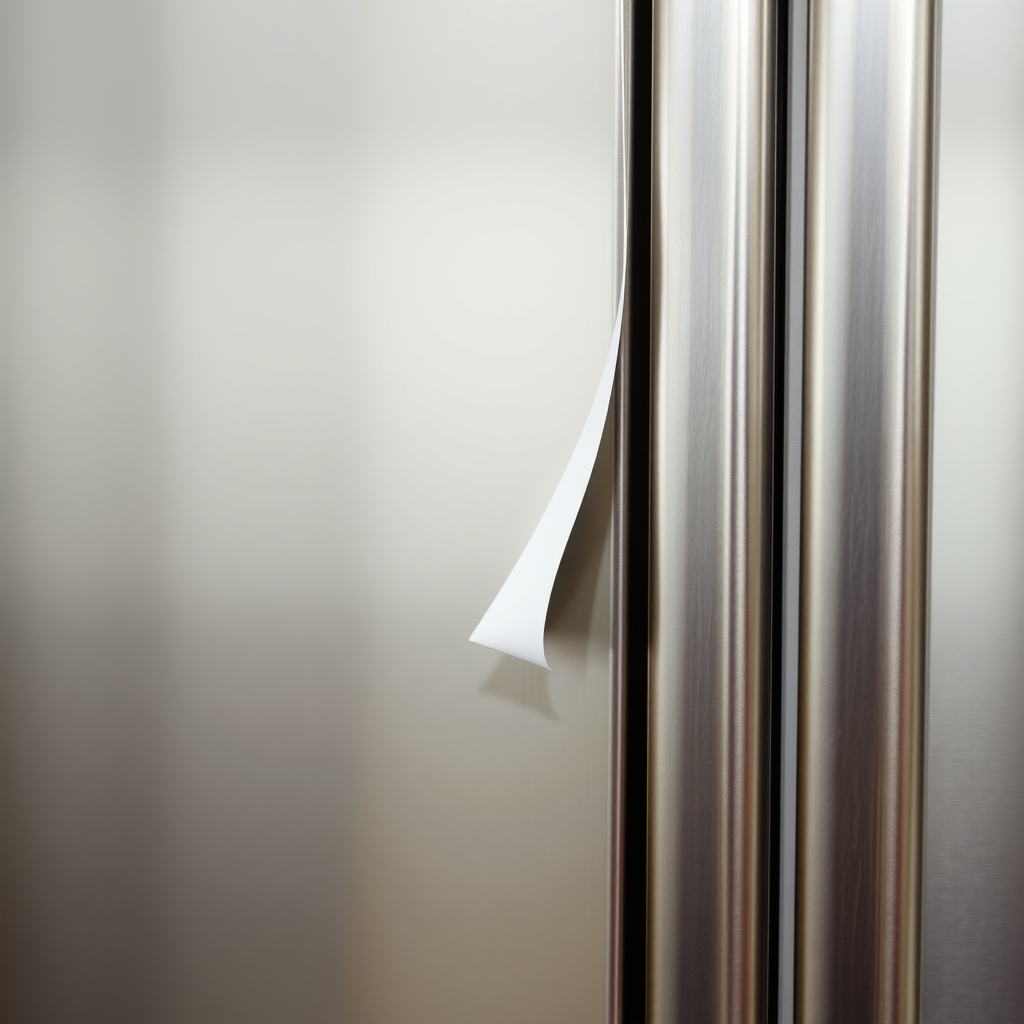
To fix a fridge door seal that is not sticking, wipe the gasket clean, warm any dented spot with a hair dryer, and run the dollar-bill test around the door. Dirt, dents and a door that does not close square cause most weak seals, and those fixes cost nothing. If the rubber is torn, hard or cracked, a replacement gasket made for your exact model is the fix that lasts.
Free fix vs. permanent fix
Clean, reshape and re-level
- Wash the gasket and the frame with warm soapy water
- Warm a dented fold with a hair dryer on low and press it flat
- Test the seal with a dollar bill at several spots
- Level the fridge so the door swings shut on its own
How long it lasts: Often a year or more if the gasket was only dirty or dented. A cracked or hardened gasket gives out again within weeks.
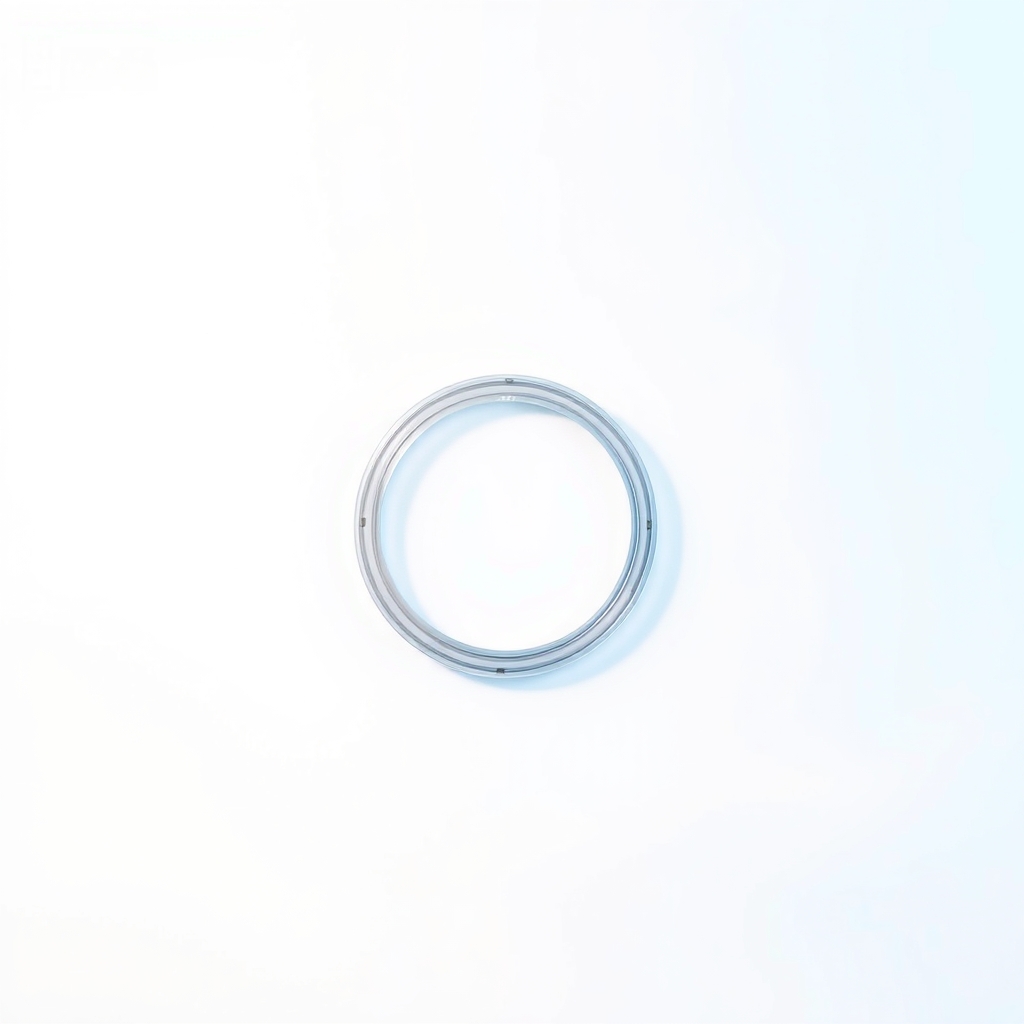
A replacement door gasket made for your model
An old gasket loses its flex and its magnet pull, and no cleaning brings that back. A new gasket cut for your model closes the gap edge to edge, so the fridge stops running nonstop to catch up.
What to get: Model-specific refrigerator door gasket
How long it lasts: Years. The rubber is new and flexible, and the magnet strip grips the frame again.
As an Amazon Associate I earn from qualifying purchases.
What you'll need
-
Warm soapy water and a soft cloth
Lifts the sticky film that makes the seal let go
You have it -
Hair dryer
Softens a dented or curled gasket so it springs back
You have it -
Dollar bill
A sheet of paper works too; it shows exactly where the seal leaks
Free - Illustration
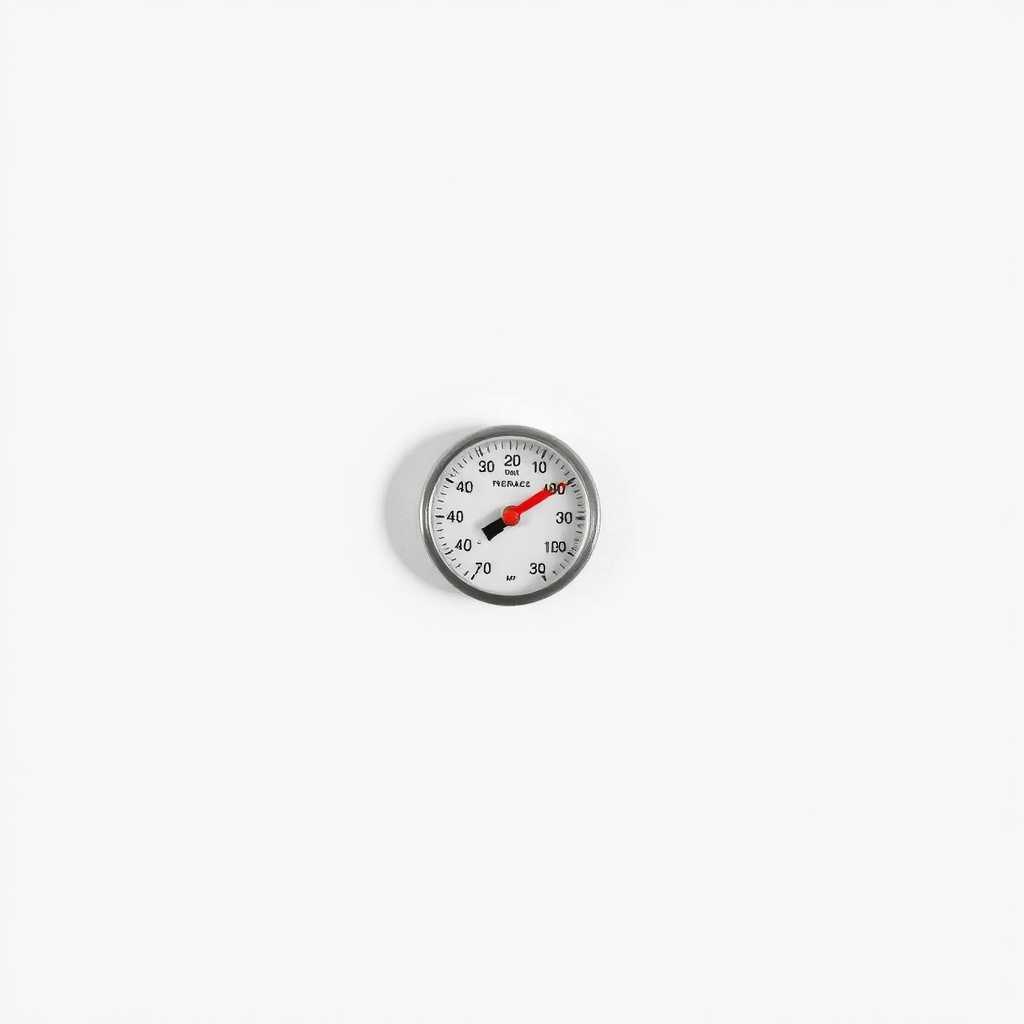
Refrigerator thermometer
Confirms the fridge holds 40°F or colder after the fix
- Our pick Illustration
Model-specific door gasket
Order by the model number on the label inside the fridge
- Illustration
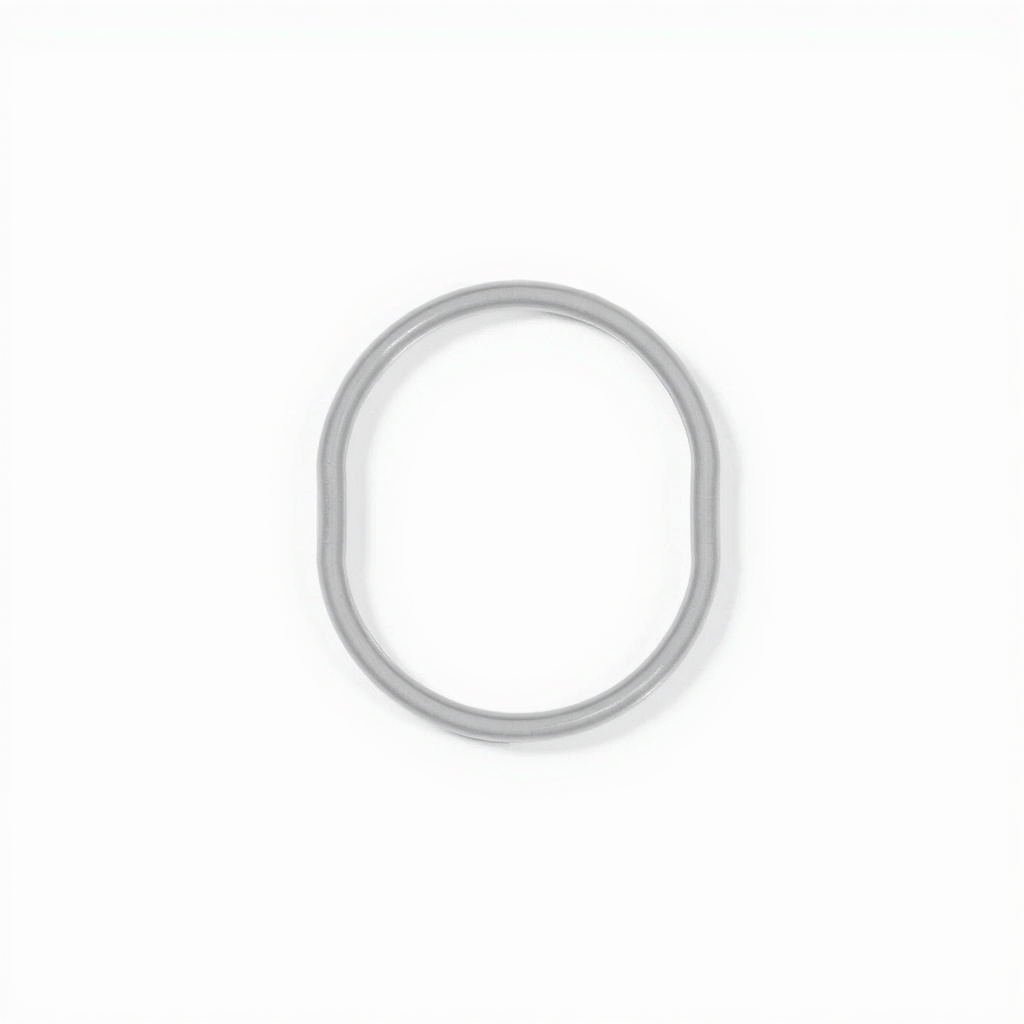
Universal door gasket
Only for older models with no listed replacement
Why it happens
Sticky film on the gasket
Spills, grease and dried food leave a film on the rubber. The magnet cannot pull the gasket flat against the frame, and the film can glue one spot shut so it tears the next time you open the door.
A dented or folded gasket
An overloaded door shelf, a door left open for long, or a fold from shipping can flatten the air-filled ridges of the rubber. A dented spot no longer presses against the frame.
A door that is out of line
If the fridge leans forward, the door swings open a little and the gasket never meets the frame. A heavy door full of bottles, or worn hinges, can pull it out of square too.
An old, hard gasket
After years of cold and warm cycles, rubber stiffens and cracks. The magnet strip inside can also weaken or slip, and a torn spot cannot hold a seal.
Something blocking the door
A tall bottle, a bin that sticks out or a ridge of ice on the rim keeps the door from closing all the way.
Try this first (free)
Do these in order, starting with the simplest.
-
Check that nothing blocks the door
Look for tall bottles, bins that stick out and ice on the rim. Rearrange the door shelves so the weight is even, then close the door fully.
-
Clean the gasket and the frame
Tool used: Warm soapy water and a soft clothWipe the whole gasket, including inside the folds, with warm soapy water and a soft cloth. Wipe the metal frame it touches, then dry both with a towel.
-
Warm and reshape dents
Tool used: Hair dryerHold a hair dryer on low heat a few inches from the dented spot for 20 to 30 seconds. Press the rubber back into shape with your fingers, close the door and leave it shut for an hour.
-
Run the dollar-bill test
Tool used: Dollar billClose the door on a dollar bill and pull it out. If it slides free with no resistance, that spot leaks. Test the top, bottom and both sides, and note the weak spots.
-
Level the fridge
Raise the front feet a little so the fridge leans back slightly and the door swings shut by itself. Check the door hinges for loose screws while you are there.
-
Check the temperature the next day
Tool used: Refrigerator thermometerLeave a thermometer on a middle shelf for 24 hours. Aim for 40°F or below in the fridge and 0°F in the freezer. If it reads warmer, the seal still leaks.
IllustrationCheck price on AmazonTool for this step
Refrigerator thermometer · Confirms the fridge holds 40°F or colder after the fix
When free fixes aren't enough
If the gasket is cracked, torn, stiff as plastic or has black mold in the folds that will not wipe off, no free fix will hold. The same goes for a dollar bill that still slides out in more than one place after cleaning. A new gasket replaces the whole seal, so cold stops leaking out, the compressor stops running nonstop and frost or sweat at the door edge fades.
Buy the fix
Still stuck after the free fixes? These are the products we would look at.
| Pick | Product | Fixes | Who it's for | Buy |
|---|---|---|---|---|
| Best pick | Model-specific refrigerator door gasket | a torn, hardened or magnet-weak seal that cleaning cannot save | Anyone whose dollar-bill test still fails after cleaning, or whose gasket is cracked or torn. | Check price |
| Budget pick | Universal refrigerator door gasket | a failed gasket on a model with no listed replacement | Owners of an older or discontinued fridge where a model-specific part is hard to find. | Check price |
Model-specific refrigerator door gasket
Fixes: a torn, hardened or magnet-weak seal that cleaning cannot save
Look for: Listed for your exact fridge model number, not just the brand; Built-in magnet strip and the right fitting style, push-in or screw-in; Made for the correct door: fridge or freezer, and the right size.
- Who it's for
- Anyone whose dollar-bill test still fails after cleaning, or whose gasket is cracked or torn.
- Honest downside
- You do not know your model number yet. Read the label inside the fridge first, or the part may not fit.
Universal refrigerator door gasket
Fixes: a failed gasket on a model with no listed replacement
Look for: The same width and profile as your old gasket, measured at the groove; A magnet strip built in; Enough length for the door, with a little extra to trim.
- Who it's for
- Owners of an older or discontinued fridge where a model-specific part is hard to find.
- Honest downside
- A model-specific gasket exists for your fridge. A universal one is harder to fit and may not seal as evenly.
As an Amazon Associate I earn from qualifying purchases. We don't show prices because they change, so use the button to see today's price.
How we picked: How we picked: this page is based on refrigerator manuals and care guides, appliance repair guides for gasket testing and replacement, and the problems and fixes owners report in reviews. We do not test products by hand.
Replacing the gasket: what the job looks like
- Empty the door shelves and prop the door open so it is easy to reach.
- Push-in gaskets sit in a groove. Pull the old one out starting at a corner.
- Screw-in gaskets sit under a lip. Loosen the screws slightly, slide the old gasket out and the new one in, then tighten.
- Relax the new gasket. Soak it in warm water for a few minutes so the shipping folds smooth out.
- Start at the top corners, press it in all the way around, then close the door and let it settle for a day.
What to skip
What to skip
Skip glue, tape and caulk on the gasket. They hold for a day or two, trap moisture under the patch and make the old gasket harder to remove later. Skip cooking oil too. It softens rubber and attracts dirt.
Frequently asked questions
How to fix a fridge door seal that is loose or gapping?
How to fix a fridge seal that is torn?
How do I find my fridge model number?
Is my food safe if the seal was leaking?
Related problems
 Free fix inside
Kitchen · Freezer
Freezer Keeps Icing Up? Door Seal Test, Defrost Reset, and Gaskets
Read the fix Free fix inside
Kitchen · Fridge
Fridge Not Getting Cold Enough? Clean the Coils Before Calling Anyone
Read the fix Free fix inside
Kitchen · Fridge
Fridge Freezing Everything? Why Lettuce Turns to Ice and What to Check
Read the fix Free fix inside
Kitchen · Fridge Leaks
Fridge Leaking Water? Clear the Defrost Drain Before You Call
Read the fixAs an Amazon Associate I earn from qualifying purchases. Affiliate disclosure