Baseboards Chewed by Your Dog? Fill, Paint, and Stop Repeat Chewing
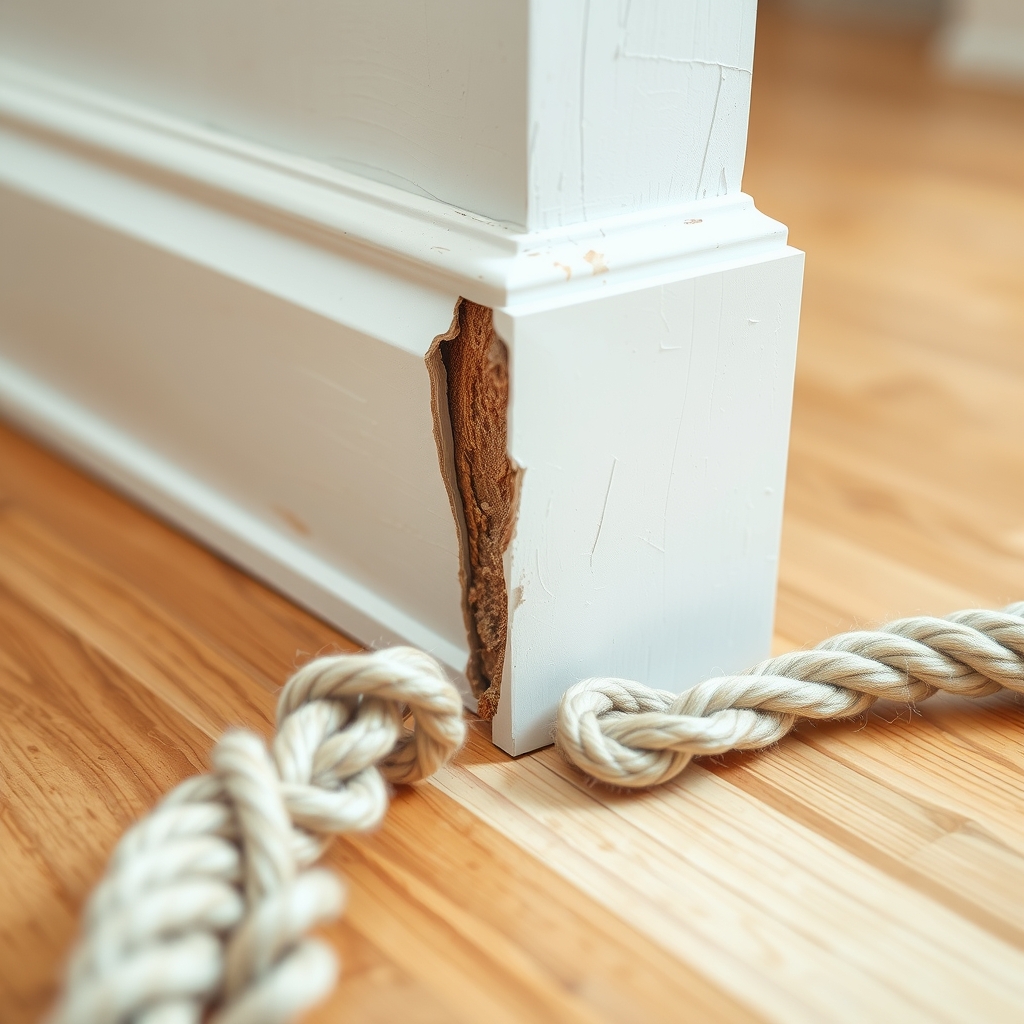
Chewed trim looks bad and leaves splinters. Fill the gouges, repaint, and add a bitter deterrent so the dog moves on to a toy.
By Jamilur Rahman Updated November 5, 2026 · 7 min read
- Time
- 45 min plus drying
- Cost
- Under $20
- Difficulty
- Easy
In this guide
Quick answer
To fix baseboards chewed by a dog, cut off the splinters, press wood filler into the gouges, sand it flush and paint over it. The filler repairs the damage, but it does not stop the chewing. A bitter chew-deterrent spray on the trim, plus a chew toy to redirect your dog, is what keeps the repair from being chewed again.
Free fix vs. permanent fix
Trim, sand, and block access
- Cut off loose splinters with a utility knife
- Sand the rough edges so nothing sharp is left
- Block the spot with a baby gate or a chair
- Hand your dog a chew toy when it heads for the trim
How long it lasts: Makes the trim safe and smooth, but the gouges stay visible and the dog can go straight back to the same spot.
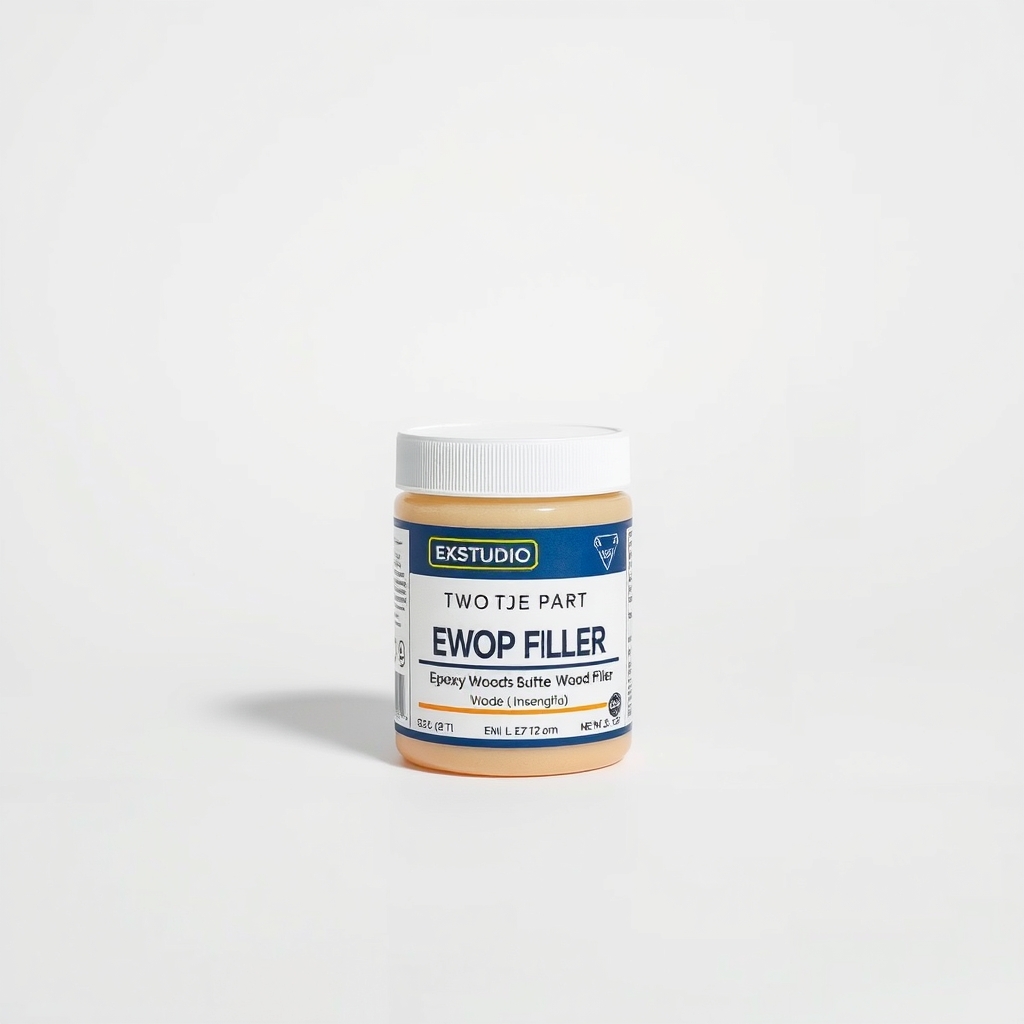
Epoxy wood filler, then a chew deterrent
Filler rebuilds the wood that is missing, so the trim looks whole after paint. A bitter spray gives the dog a reason to leave the spot alone. You need both: one fixes what is chewed, the other stops the next round.
What to get: Two-part epoxy wood filler
How long it lasts: Years, once the dog loses interest. The filled spot is as hard as the wood around it.
As an Amazon Associate I earn from qualifying purchases.
What you'll need
-
Utility knife
Trims hanging splinters flush
You have it - Illustration
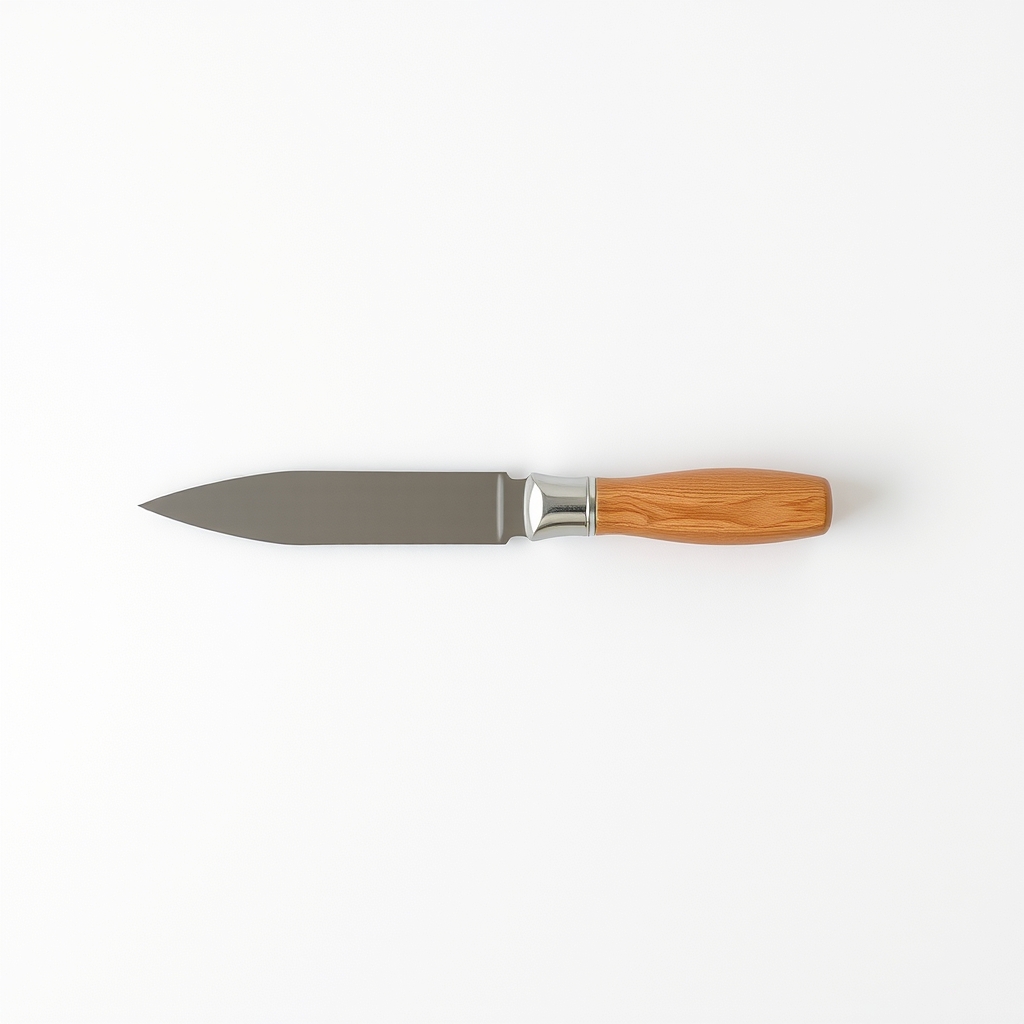
Putty knife
Presses the filler in and scrapes it level
- Our pick Illustration
Two-part epoxy wood filler
For deep, chewed-out corners
- Illustration
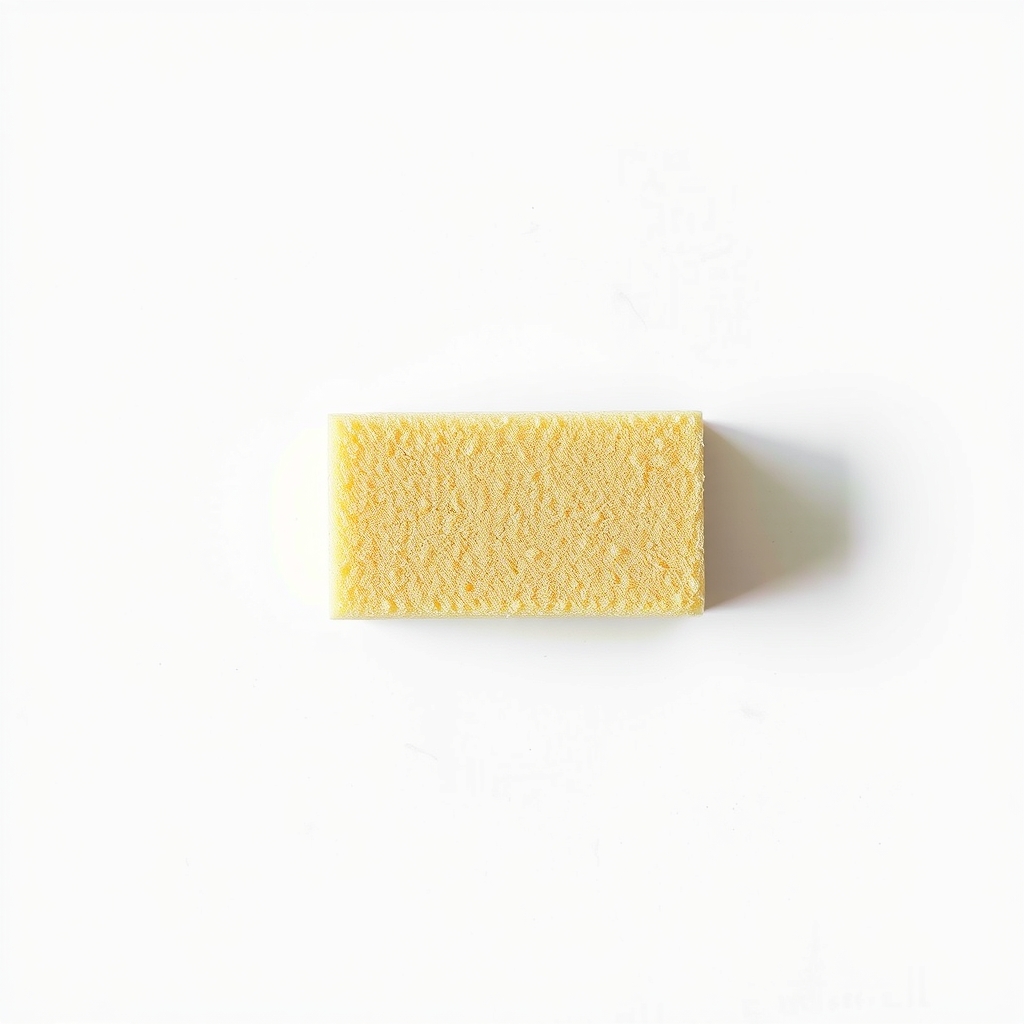
Sanding sponge
Use 120 grit first, then 220 grit to finish
-
Trim paint
Use the leftover can, or ask a paint store to match a chip
You have it - Illustration
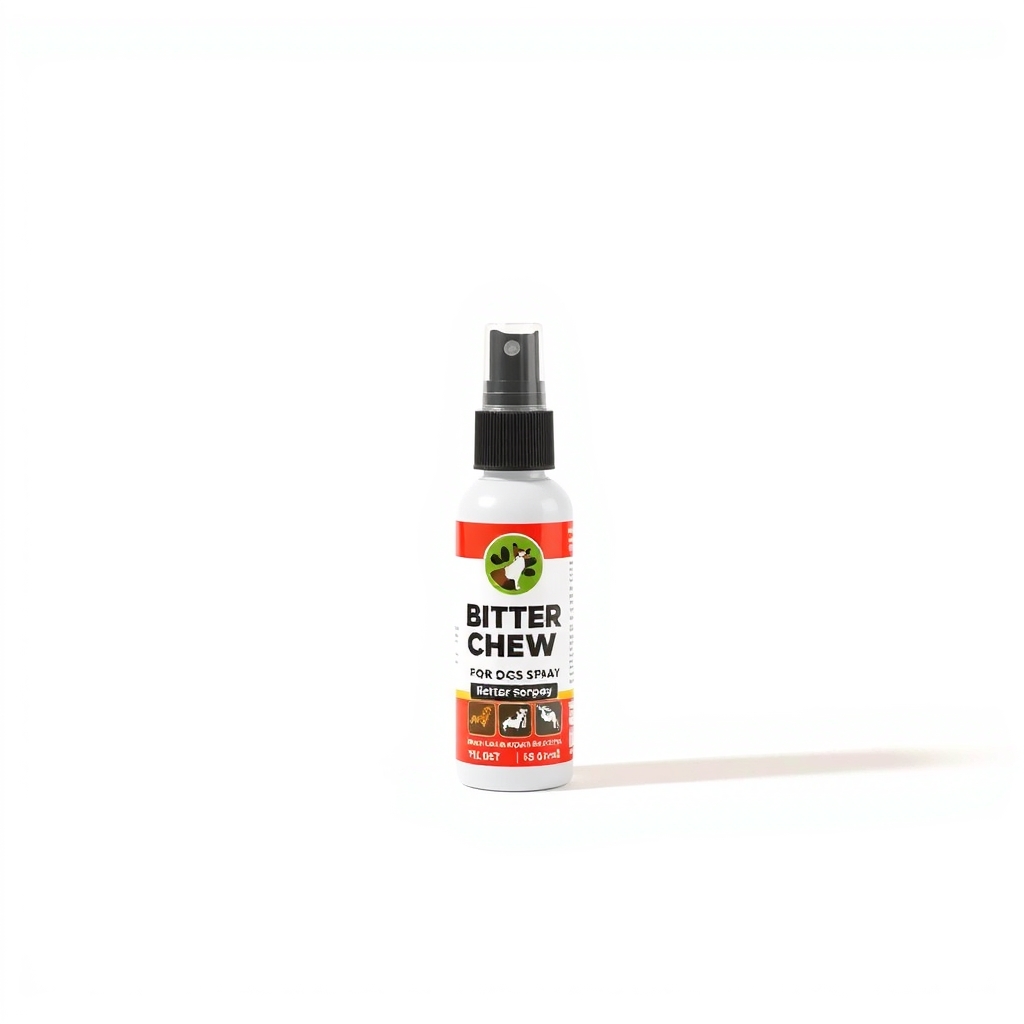
Bitter chew deterrent spray
Makes the trim taste bad so the dog stops
Why it happens
Teething or boredom
Puppies chew to soothe sore gums. Adult dogs chew when they are bored, under-exercised or left alone for long stretches. Baseboards sit at mouth height and the wood is easy to bite.
Stress when you leave
Chewing at doors, corners and trim near an exit can point to separation stress. If the damage only shows up while you are out, that is a clue.
A spot that already smells chewed
Wood soaks up scent. Once a corner has been chewed, it holds the dog's smell and invites repeat visits, so the same spot gets worse each time.
Try this first (free)
Do these in order, starting with the simplest.
-
Keep the dog away from the spot
Close the door or put up a baby gate while you work. Fresh filler can be unsafe to eat before it cures, and dust and paint chips are not good for a dog to swallow.
-
Trim the splinters and sand the edges
Tool used: Utility knifeCut hanging slivers flush with a sharp utility knife. Sand the edges with 120-grit paper, then wipe the dust off with a damp cloth. If the house was built before 1978, test the old paint for lead before you sand.
-
Press in the filler
Tool used: Two-part epoxy wood fillerMix a small ball of the two parts until the color is even, and work fast, because epoxy filler starts to harden within minutes. Press it into the gouge with a putty knife, overfill slightly and scrape across the trim so it sits flush. For shallow dents, a one-part filler in a tub is enough.
IllustrationCheck price on AmazonTool for this step
Two-part epoxy wood filler · For deep, chewed-out corners
-
Sand it flush once it has hardened
Tool used: Sanding spongeWait for the filler to cure fully, which the label will say. Sand with 120 grit until the patch is level with the trim, then smooth with 220 grit. Run a finger over it. You should not feel the edge of the patch.
IllustrationCheck price on AmazonTool for this step
Sanding sponge · Use 120 grit first, then 220 grit to finish
-
Prime and paint the patch
Tool used: Trim paintDab a little primer over bare filler so it does not soak up the paint and show as a dull spot. Then brush on two thin coats of trim paint in the same sheen as the rest, feathering past the patch.
-
Spray the trim and redirect the chewing
Tool used: Bitter chew deterrent sprayOnce the paint has dried, spray a bitter deterrent along the repaired area. Test it on a hidden spot first, since some sprays can mark paint. Reapply daily for the first two weeks, then as the label says, and keep a chew toy ready.
IllustrationCheck price on AmazonTool for this step
Bitter chew deterrent spray · Makes the trim taste bad so the dog stops
When free fixes aren't enough
Sanding alone leaves gouges that show, and the dog often returns to the same spot. A corner chewed down to the wall, or damage deeper than about a quarter inch, needs filler to rebuild it. If the trim is chewed through, soft or crumbly, replace that piece instead of patching it. If the chewing only happens when you are out, or comes with panting, drooling or scratching at doors, talk to your vet or a trainer, because a spray will not fix stress.
Buy the fix
Still stuck after the free fixes? These are the products we would look at.
| Pick | Product | Fixes | Who it's for | Buy |
|---|---|---|---|---|
| Best pick | Two-part epoxy wood filler | deep chewed-out corners and gouges in wood trim | Anyone with chewed corners or gouges deeper than a fingernail. | Check price |
| Upgrade pick | Bitter chew deterrent spray for dogs | repeat chewing on the repaired trim | A dog that chews trim out of habit and reacts to bad tastes. | Check price |
Two-part epoxy wood filler
Fixes: deep chewed-out corners and gouges in wood trim
Look for: Sands smooth and takes paint; Hardens firm like wood, so it survives a bump; Fills deep gouges in layers; Sold in a small kit sized for trim repairs.
- Who it's for
- Anyone with chewed corners or gouges deeper than a fingernail.
- Honest downside
- The trim is rotted or crumbling. Replace the board instead.
Bitter chew deterrent spray for dogs
Fixes: repeat chewing on the repaired trim
Look for: Labeled for use around dogs and on trim or furniture; A bitter taste without harsh fumes; Dries clear on painted surfaces.
- Who it's for
- A dog that chews trim out of habit and reacts to bad tastes.
- Honest downside
- Your dog ignores bitter tastes, or chews because of stress. Add exercise and training, since the spray alone will not help.
As an Amazon Associate I earn from qualifying purchases. We don't show prices because they change, so use the button to see today's price.
How we picked: How we picked: this page is based on wood repair guides, filler maker instructions, advice from vets and trainers on chewing, and what dog owners report in reviews. We do not test products by hand.
Fill it, patch it, or replace the board?
- Scratches and shallow dents: sand and fill with a one-part filler.
- Chewed corners or gouges deeper than a fingernail: use two-part epoxy filler in layers.
- Board chewed through, soft or crumbly: cut out that piece and replace it, since filler will not hold in damaged wood.
Old house? Check for lead paint before sanding
Homes built before 1978 can have lead paint on trim. Dry sanding makes lead dust, which is harmful to people and pets. Test the paint with a lead test kit first. If it is positive, do not dry sand. Ask a lead-safe contractor to do the work. If your dog swallowed paint chips or wood splinters and is vomiting or acting off, call your vet.
What to skip
Hot sauce sprays and caulk as filler
Homemade pepper or hot sauce mixes can irritate a dog's eyes and nose and stain paint, so use a product made for dogs. Caulk is not a good filler either. It stays soft, shrinks as it dries and is fun to chew, so the dog is back at it within days.
Frequently asked questions
How to fix baseboards my dog chewed?
How to fix baseboards with wood filler?
Is wood filler safe if my dog licks it?
Will a bitter spray stop my dog chewing the trim?
Related problems
 Free fix inside
Cleaning · Baseboards
Gaps Behind Baseboards? Paintable Caulk Hides Them in 20 Minutes
Read the fix Free fix inside
Cleaning · Baseboards
Baseboards Turning Yellow? Why It Happens and the Paint Fix
Read the fix Free fix inside
Cleaning · Wall Paint Touch-Up
Scuffed Apartment Walls? Touch-Up Paint and Spackle That Blend
Read the fix Free fix inside
Pets · Puppy
Puppy Biting Everything? Teething Chews That Save Your Hands
Read the fixAs an Amazon Associate I earn from qualifying purchases. Affiliate disclosure