Gaps Behind Baseboards? Paintable Caulk Hides Them in 20 Minutes
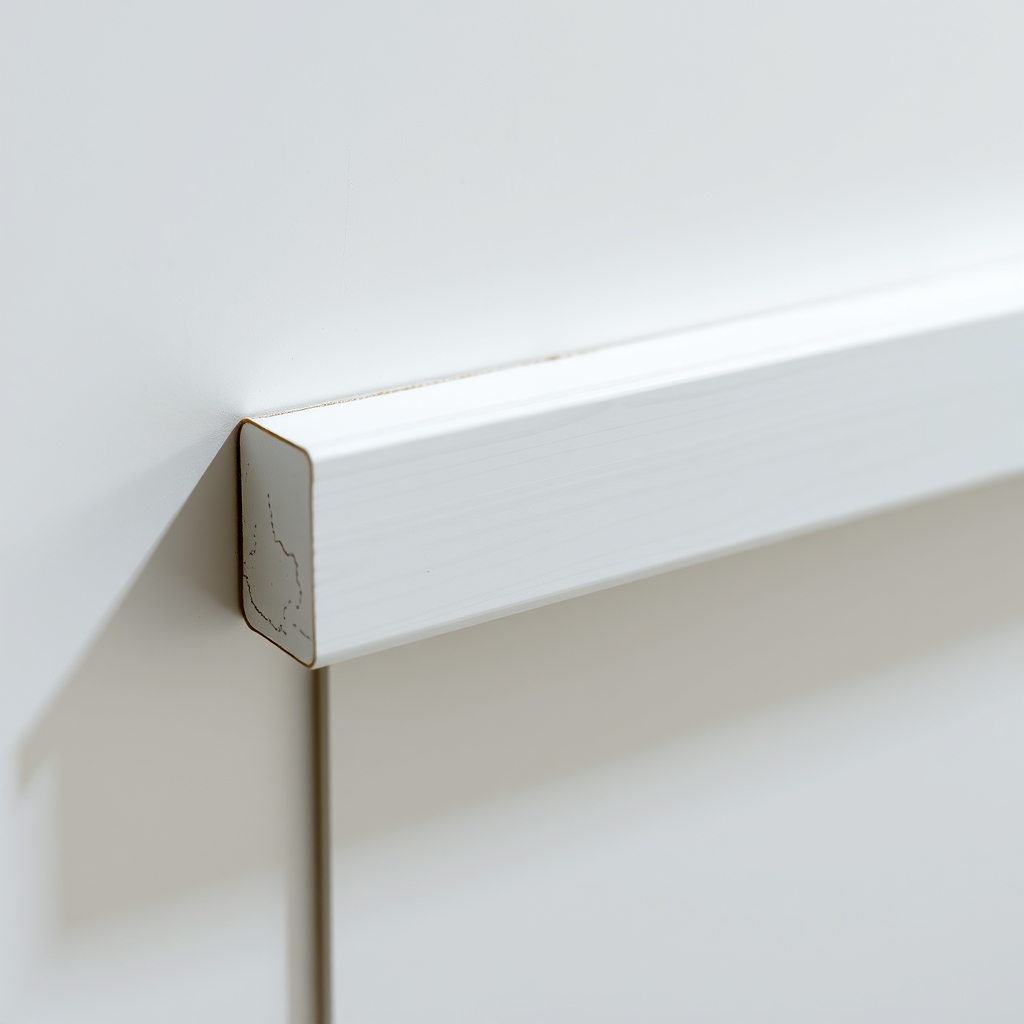
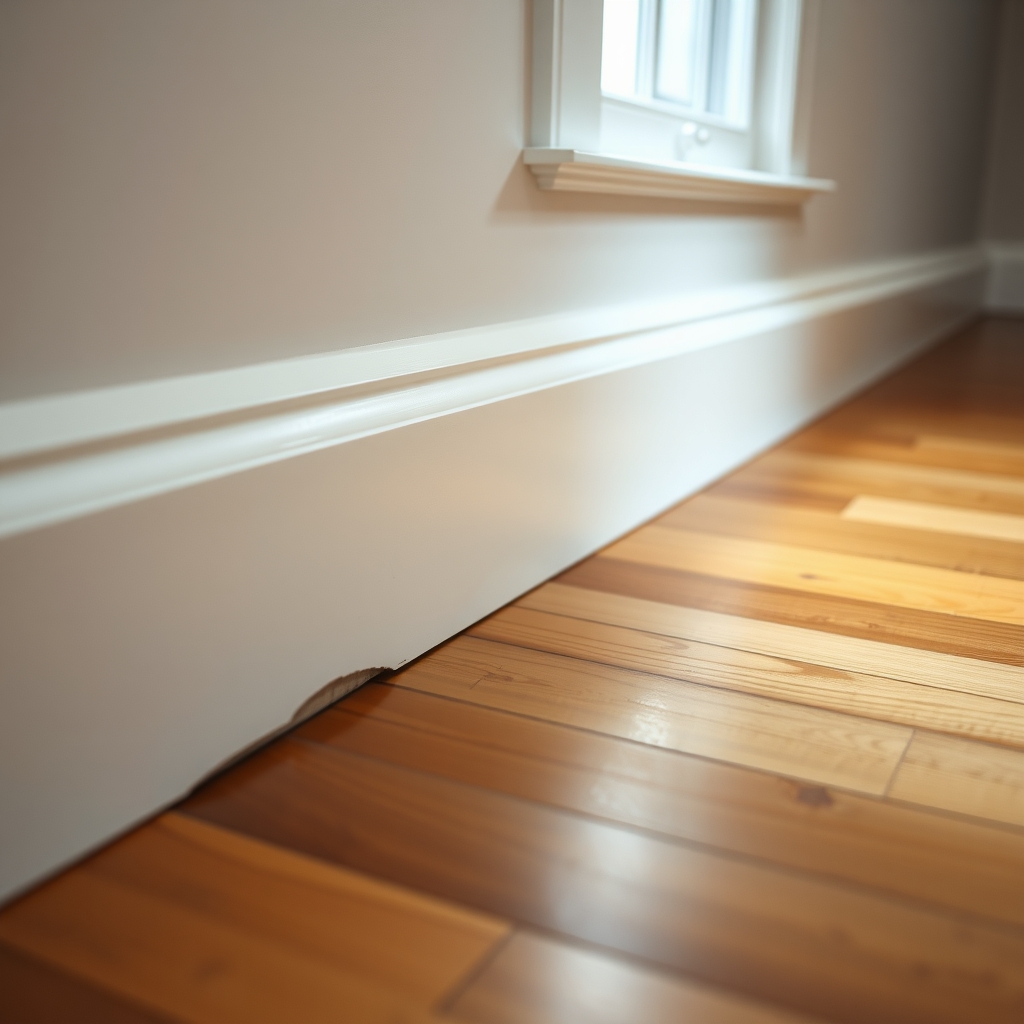
Baseboards pull away from the wall as wood moves with the seasons. Re-nail what is loose, then close the seam with flexible paintable caulk.
By Jamilur Rahman Updated November 5, 2026 · 6 min read
- Time
- 20 min
- Cost
- Under $20
- Difficulty
- Easy
In this guide
Quick answer
Baseboards separate from the wall because wood shrinks and swells with the seasons, walls are rarely flat and the trim is often nailed into drywall alone. Re-nail any loose board into the studs, then fill the seam with flexible paintable caulk. The bead hides the gap and keeps stretching with the wood, so it does not crack open like rigid filler.
Free fix vs. permanent fix
Re-nail the loose board into the studs
- Press along the board to find where it springs away
- Nail it into the studs with finishing nails
- Sink the heads and wipe off the dust
- Check for water stains or soft wood before you do anything else
How long it lasts: Years for a board that was only loose. It pulls the trim back, but the thin dark seam against an uneven wall still shows.

Paintable flexible trim caulk
Nails pull the board in, but a seam still shows where straight trim meets a wavy wall. Flexible paintable caulk fills that seam so it vanishes under paint. Because it keeps stretching, it does not split open when the wood moves.
What to get: Paintable flexible trim caulk (acrylic latex with silicone)
How long it lasts: Years. The bead stays flexible, so it moves with the trim instead of cracking.
As an Amazon Associate I earn from qualifying purchases.
What you'll need
-
Hammer and finishing nails
About 2-inch nails, to re-fix loose trim
You have it -
Painter's tape
Masks the wall and trim for a clean line
You have it -
Damp rag
Wipes the seam and smooths the bead
You have it - Our pick Illustration
Paintable flexible trim caulk
Pick a tube labeled paintable and flexible
- Illustration
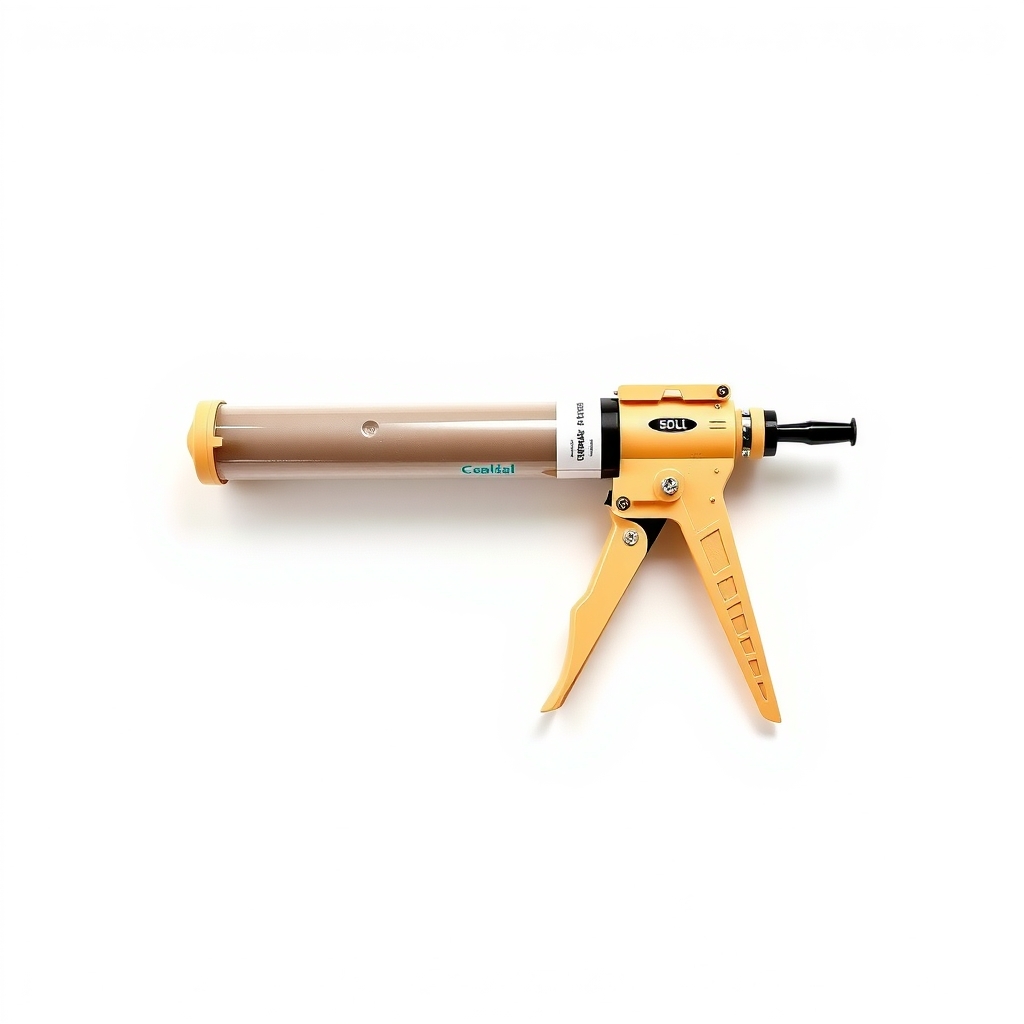
Caulk gun
A drip-free gun gives you a cleaner bead
- Illustration

Foam backer rod
Only for gaps wider than about 1/4 inch
Why it happens
Seasonal wood movement
Trim shrinks when winter heating dries the air and swells in humid months. The seam opens and closes a little every year.
A wall that is not flat
Drywall bows between studs and joint compound leaves ridges. A straight board bridges the dips, and the gap shows at the low spots.
Nails that missed the studs
Baseboard is often nailed into drywall alone, where nails hold poorly. They work loose and the board drifts.
Settling in a new house
A new house dries out and shifts for the first couple of years. The trim and the walls move at different rates.
Water damage
Soft, swollen or stained trim near the floor can mean a leak or a damp wall. That needs repair before any caulk.
Try this first (free)
Do these in order, starting with the simplest.
-
Find the studs and re-nail loose boards
Tool used: Hammer and finishing nailsPress the board against the wall and tap along it to find where it springs away. Drive 2-inch finishing nails through it into the studs, angled slightly, then sink the heads with a nail set. Do not nail directly under or beside an outlet.
-
Wipe the seam and mask it
Tool used: Painter's tapeWipe the seam with a damp rag, let it dry, then run painter's tape along the wall about 1/8 inch above the seam and along the trim face just below it. Leave a thin open strip for the caulk.
-
Cut the tip small and load the gun
Tool used: Caulk gunCut the nozzle at a 45 degree angle with an opening of about 1/8 inch, and pierce the inner seal. A small opening gives you control. You can always cut it wider.
IllustrationCheck price on AmazonTool for this step
Caulk gun · A drip-free gun gives you a cleaner bead
-
Run one steady bead
Tool used: Paintable flexible trim caulkSqueeze while moving along the seam in runs of 2 to 3 feet, pressing the bead into the gap. Smooth it with a damp finger or rag, then pull the tape while the caulk is still wet.
IllustrationCheck price on AmazonTool for this step
Paintable flexible trim caulk · Pick a tube labeled paintable and flexible
-
Let it cure, then paint
Wait for the paint-over time printed on the tube. Then paint the caulk and the trim so the seam disappears. Skip the bottom edge on wood or floating floors, which need room to expand.
When free fixes aren't enough
Nails alone cannot hide a visible seam, because the board and the wall will never meet perfectly. A gap wider than about 1/4 inch also needs a filler behind the caulk, like a foam backer rod, or the bead sags and cracks. If the baseboard is bowed, soft or stained, or the wall behind it feels damp, find the moisture first. Caulk hides a gap. It does not fix a leak.
Buy the fix
Still stuck after the free fixes? These are the products we would look at.
| Pick | Product | Fixes | Who it's for | Buy |
|---|---|---|---|---|
| Best pick | Paintable flexible trim caulk (acrylic latex with silicone) | the visible seam between the baseboard and the wall | Anyone with a gap up to about 1/4 inch wide. | Check price |
| Upgrade pick | Foam backer rod for wide gaps | wide gaps where caulk alone sags or cracks | Anyone with a gap wider than about 1/4 inch. | Check price |
Paintable flexible trim caulk (acrylic latex with silicone)
Fixes: the visible seam between the baseboard and the wall
Look for: Labeled paintable, with the paint-over time on the tube; Flexible or siliconized acrylic, not rigid filler; Not 100 percent silicone, which paint will not stick to; White or clear, so it vanishes under paint.
- Who it's for
- Anyone with a gap up to about 1/4 inch wide.
- Honest downside
- The gap is wider than 1/4 inch, or the trim or wall is damp. Use backer rod first, or fix the moisture.
Foam backer rod for wide gaps
Fixes: wide gaps where caulk alone sags or cracks
Look for: Closed-cell foam, so it does not soak up caulk or water; A diameter slightly wider than the gap; Soft enough to press in with a putty knife.
- Who it's for
- Anyone with a gap wider than about 1/4 inch.
- Honest downside
- The gap is thin. Caulk alone is enough, and a rod adds a step you do not need.
As an Amazon Associate I earn from qualifying purchases. We don't show prices because they change, so use the button to see today's price.
How we picked: How we picked: this page is based on trim carpentry guides, caulk and backer rod maker instructions, and the problems and fixes people report in reviews. We do not test products by hand.
How big a gap can caulk hide?
- Hairline to 1/8 inch: one bead of caulk does it.
- 1/8 to 1/4 inch: press the bead in deep, or run two thin passes and let the first one skin over.
- Wider than 1/4 inch: push in foam backer rod first, or re-nail the board tighter, then caulk over it.
What to skip
Wood filler, spackle and pure silicone
Rigid fillers like wood putty or spackle crack the first time the board moves. Keep them for nail holes. Pure silicone stays flexible, but paint will not stick to it, so you end up with a shiny stripe. Use paintable flexible caulk.
Frequently asked questions
Why are my baseboards pulling away from the wall?
Should I caulk the top or the bottom of the baseboard?
Can I use wood filler instead of caulk?
Is a gap behind a baseboard a sign of a bigger problem?
Related problems
As an Amazon Associate I earn from qualifying purchases. Affiliate disclosure