Cracked Bathtub? How to Seal Hairline Cracks With a Repair Kit
A hairline crack lets water into the layers under a tub and then spreads. Stop it, seal it with an epoxy kit, and fix the flex that caused it.
By Jamilur Rahman Updated November 5, 2026 · 7 min read
- Time
- 1 hour, plus curing
- Cost
- $20-$50
- Difficulty
- Medium
In this guide
Quick answer
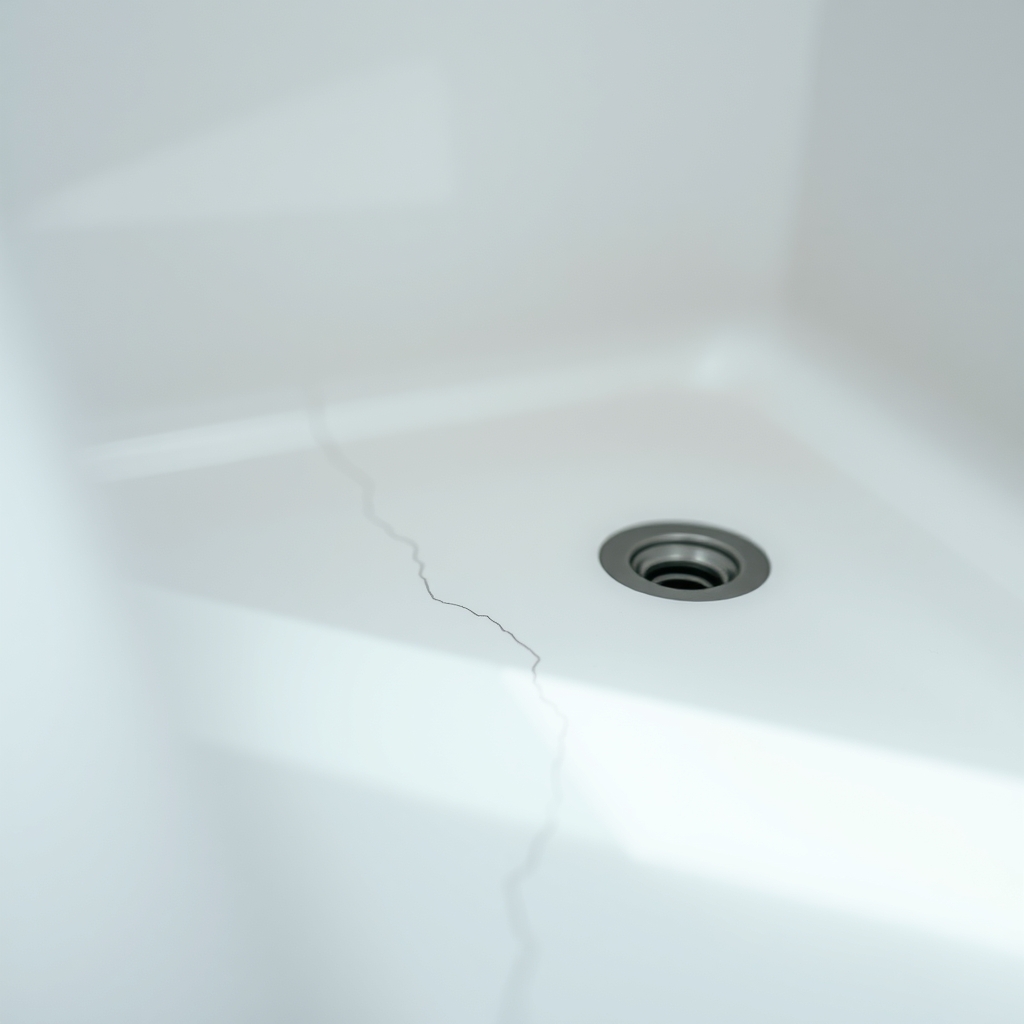
To fix a bathtub crack that is only a hairline, clean and dry it, stop it spreading, then fill it with a tub and tile epoxy repair kit. Most cracks in acrylic and fiberglass tubs come from a floor that flexes or from a hard knock. A kit seals the crack, but a tub floor that still flexes will crack again, so check that too.
Free fix vs. permanent fix
Stop it spreading and keep it dry
- Check the ceiling or access panel below for leak stains
- Press the tub floor to see if it flexes under your hand
- Drill a tiny stop hole at each end of the crack on acrylic or fiberglass
- Wipe the tub dry after each use until you seal it
How long it lasts: Slows the crack and keeps water out for days. It does not seal the crack, so it will still let water into the layers under the tub.
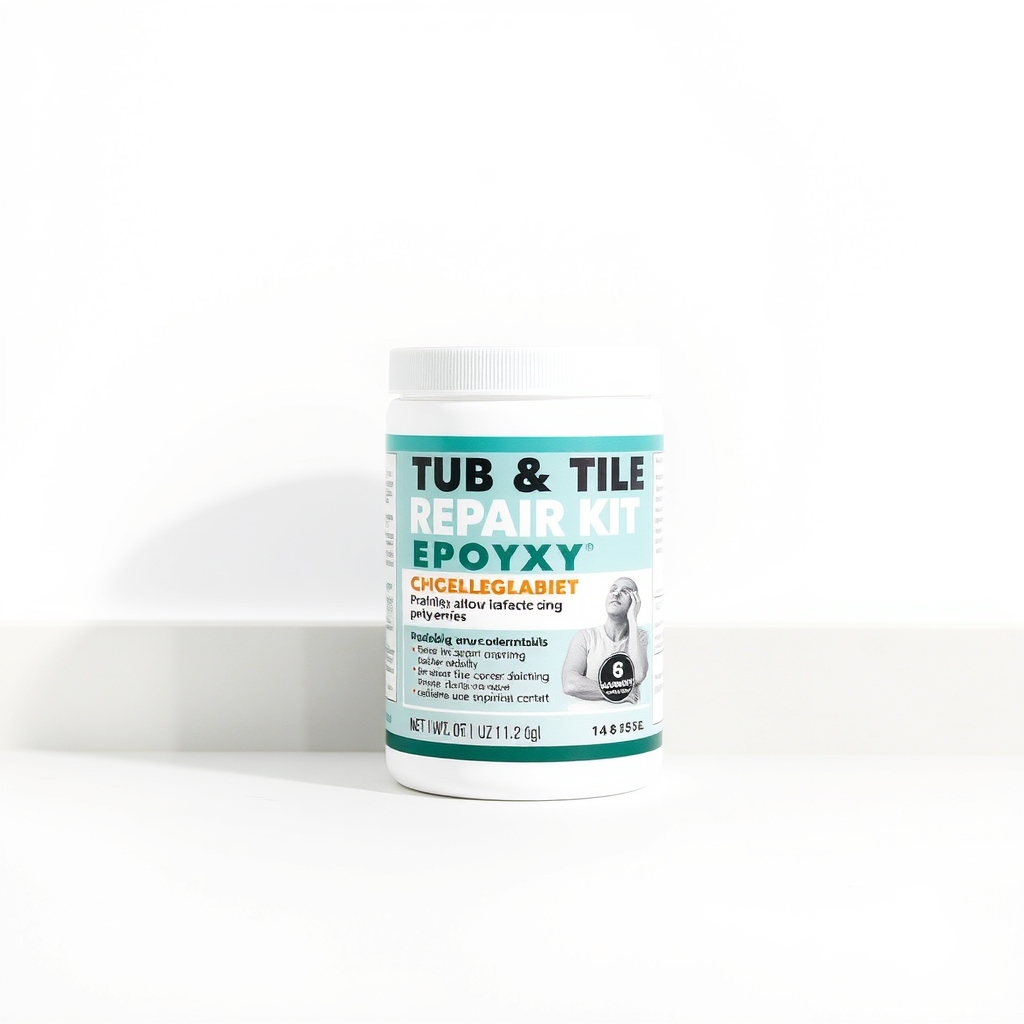
A tub and tile epoxy repair kit
Epoxy fills the crack, bonds to the tub and sets hard. It seals out water so the layers under the surface stay dry, and you can sand and polish it flush. A kit has the filler, hardener and sanding pad in one box.
What to get: Tub and tile repair kit (epoxy)
How long it lasts: Years when the prep is thorough and the tub no longer flexes.
As an Amazon Associate I earn from qualifying purchases.
What you'll need
-
Rubbing alcohol and a cloth
For cleaning the crack before you fill it
You have it -
Drill with a small bit
A bit about 1/16 inch wide, for the stop holes
You have it - Illustration
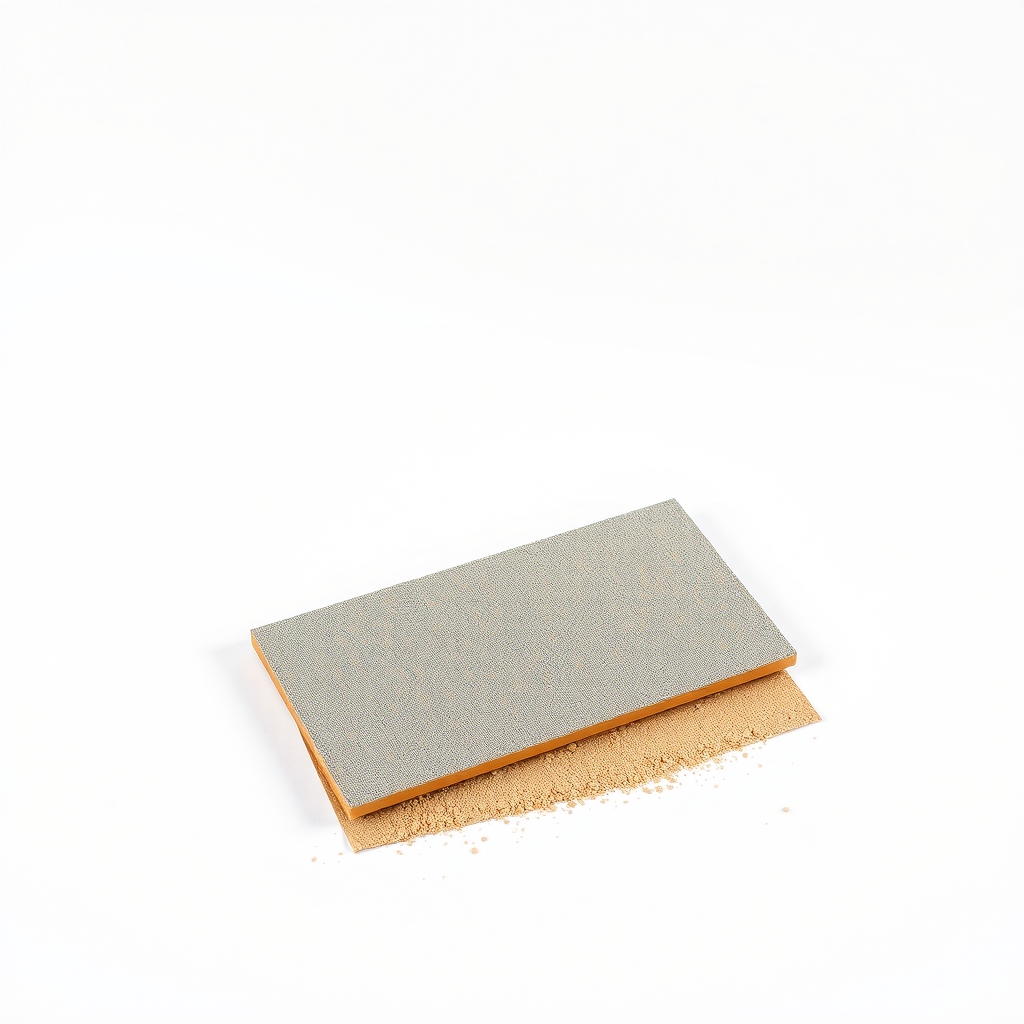
Wet and dry sandpaper
Coarse for opening the crack, fine for polishing the repair
- Our pick Illustration
Tub and tile repair kit
Choose one made for your tub material, in white or a tint that matches
- Illustration
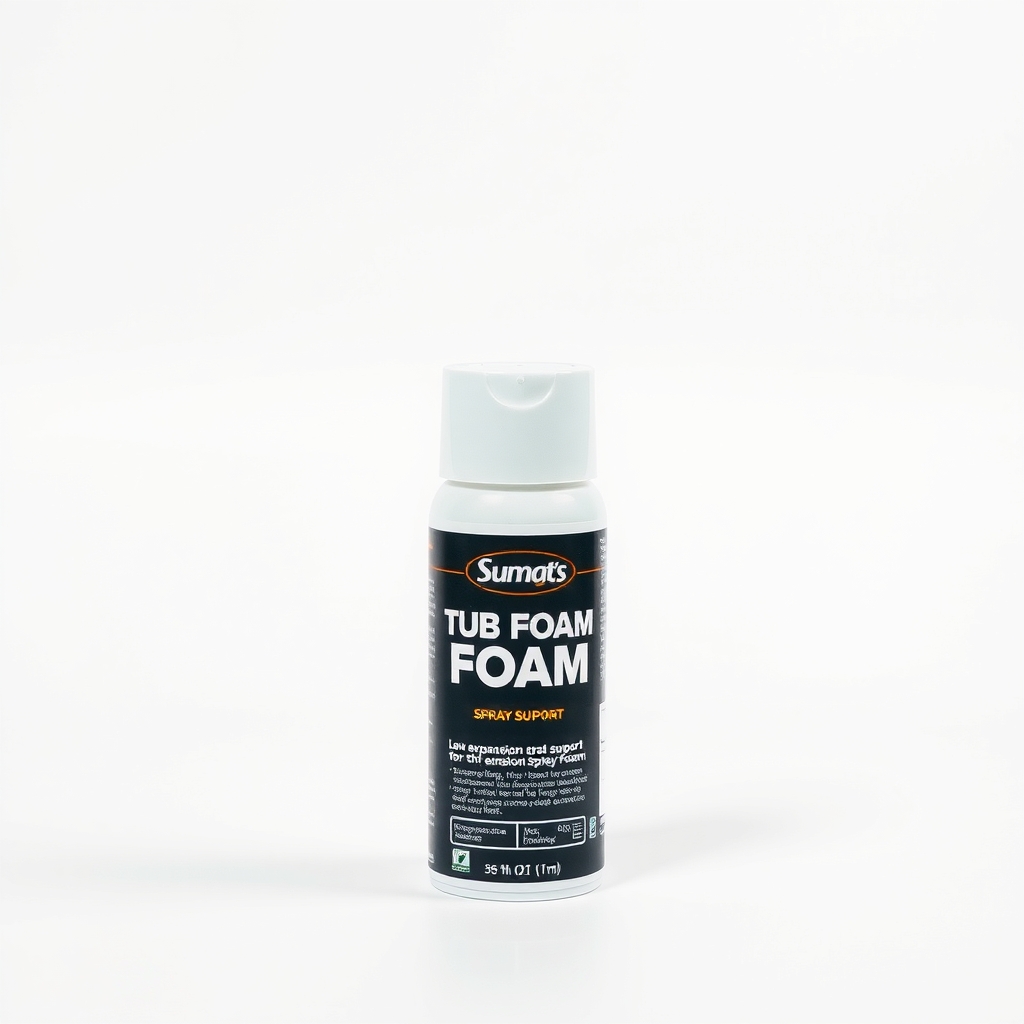
Low-expansion spray foam
Only if the floor of the tub flexes and you can reach the gap under it
Why it happens
A tub floor that flexes
Acrylic and fiberglass tubs rely on support underneath. If there is a gap between the tub and the subfloor, the floor flexes every time you step in, and a crack forms at the stress point.
A hard knock or a dropped object
A heavy bottle, a dropped tool or a ladder foot can crack the surface. The damage may start as a star or a short line that grows over weeks.
Heat and cold swings
Very hot water in a cold tub makes the surface expand faster than the layers below. Over time that stress shows up as a hairline crack.
Water that reached the layers underneath
Once water gets into a crack, it swells the fiberglass layer and pushes the crack wider. A hairline can open into a long line without anyone noticing.
Try this first (free)
Do these in order, starting with the simplest.
-
1. Check for leaks and flex
Look under the tub, from a basement ceiling or an access panel, for damp patches or stains. Then press on the floor of the tub with the heel of your hand. If it gives or crackles, the floor lacks support.
-
2. Clean and dry the crack
Tool used: Rubbing alcohol and a clothWipe the crack and about an inch around it with rubbing alcohol. Let it dry fully, or use a hair dryer on low. Epoxy will not bond to a damp or soapy surface.
-
3. Stop the crack from spreading
Tool used: Drill with a small bitOn acrylic or fiberglass, drill a tiny hole about 1/16 inch wide at each end of the crack, through the surface layer only. This relieves the stress at the tip. Do not drill an enameled steel or cast iron tub.
-
4. Open the crack and fill it
Tool used: Tub and tile repair kitSand a shallow V groove along the crack with coarse paper, wipe it clean, then mix the epoxy as the kit says. Press it into the crack with the spatula, fill slightly proud and level it. Add the tint as the kit directs.
IllustrationCheck price on AmazonTool for this step
Tub and tile repair kit · Choose one made for your tub material, in white or a tint that matches
-
5. Cure, sand and polish
Tool used: Wet and dry sandpaperLeave it for the time the kit lists, often a day, and keep water off it. Then wet-sand with fine paper until flush, and polish. Do not use the tub until the kit says it is safe.
IllustrationCheck price on AmazonTool for this step
Wet and dry sandpaper · Coarse for opening the crack, fine for polishing the repair
When free fixes aren't enough
Epoxy seals a crack, but it will not stop a floor that flexes. If the tub floor gives under your hand, or the crack comes back near the same spot, the tub needs support under it. Low-expansion foam through an access gap can help, or a pro can add a mortar bed. If the crack is wider than a hairline, runs the length of the tub, leaks into the ceiling below, or the tub is soft and spongy, stop using the tub and call a plumber or a pro.
Buy the fix
Still stuck after the free fixes? These are the products we would look at.
| Pick | Product | Fixes | Who it's for | Buy |
|---|---|---|---|---|
| Best pick | Tub and tile repair kit (epoxy) | hairline cracks and small chips that let water into the tub | Anyone with a hairline crack or a small chip in an acrylic, fiberglass or porcelain tub. | Check price |
| Upgrade pick | Low-expansion spray foam for tub support | a tub floor that flexes and keeps cracking | Anyone who can reach the gap under the tub, through an access panel or from below, and whose floor flexes. | Check price |
Tub and tile repair kit (epoxy)
Fixes: hairline cracks and small chips that let water into the tub
Look for: Made for your tub material, such as acrylic, fiberglass or porcelain; White or a tint that matches your tub color; Two-part epoxy with filler, a spatula and sanding pads; A clear cure time on the label.
- Who it's for
- Anyone with a hairline crack or a small chip in an acrylic, fiberglass or porcelain tub.
- Honest downside
- The tub floor flexes a lot or the crack is wide. Fix the support first, or call a pro.
Low-expansion spray foam for tub support
Fixes: a tub floor that flexes and keeps cracking
Look for: A low-expansion foam made for gaps and voids; A thin straw or nozzle for reaching under the tub; A foam that stays flexible when cured.
- Who it's for
- Anyone who can reach the gap under the tub, through an access panel or from below, and whose floor flexes.
- Honest downside
- You cannot see under the tub, or it is a heavy cast iron tub. Expanding foam can lift a tub, so ask a pro.
As an Amazon Associate I earn from qualifying purchases. We don't show prices because they change, so use the button to see today's price.
How we picked: How we picked: this page is based on bathtub repair guides, instructions from epoxy repair kit makers, and the problems and fixes people report in owner reviews. We do not test products by hand.
What is your tub made of?
- Acrylic or fiberglass: light, slightly warm to the touch, and a magnet will not stick. Cracks are common and repairable with epoxy.
- Enameled steel or cast iron: cold, heavy, and a magnet sticks. These chip rather than crack. Use a kit for chips, and do not drill.
Work safely with epoxy
Open a window or run the fan, wear gloves and keep the mixed epoxy off your skin. Read the kit label for fumes, and keep children and pets out until it has cured.
What to skip
Caulk, silicone, super glue and paint
They stay soft or turn brittle, then peel away and trap water in the crack. A flexing tub pushes them out. Epoxy bonds and cures hard. Skip painting over a crack too, since the paint cracks with it.
Frequently asked questions
Can a cracked bathtub be repaired?
Why does my bathtub keep cracking?
How can I tell if a cracked tub is leaking?
How long does a bathtub crack repair last?
Related problems
 Free fix inside
Bathroom · Bathtub
Bathtub Creaking When You Step In? The Support Foam Fix
Read the fix Free fix inside
Bathroom · Bathtub Surface
Bathtub Peeling? What It Means and Whether a Refinishing Kit Works
Read the fix Free fix inside
Bathroom · Bathtub Surface
Bathtub Turning Yellow? How to Whiten It Without Scratching the Finish
Read the fix Free fix inside
Bathroom · Bathtub Surface
Bathtub Not Attached to the Wall? Seal the Gap With the Right Caulk
Read the fixAs an Amazon Associate I earn from qualifying purchases. Affiliate disclosure