Squeaky Upstairs Floors? Quiet Them From Above, No Demo
A squeak means a board is moving over a nail or off a joist. Try powder first, then fasten it down from above with a kit and no tear-out.
By Jamilur Rahman Updated November 5, 2026 · 7 min read
- Time
- 30 min
- Cost
- $20-$50
- Difficulty
- Medium
In this guide
Quick answer
How to fix upstairs squeaky floors: a creak is almost always a board or the subfloor rubbing a nail or lifting off the joist beneath it. Find the spot, work powder into the seam for a quick fix, then fasten the board to the joist from above. A squeaky floor repair kit does the fastening at the right depth, even through carpet, so nothing gets torn out.
Free fix vs. permanent fix
Powder in the seam, or one screw into the joist
- Mark the squeak while someone walks the floor
- Work talcum powder into the seam between boards
- Find the joist before you drive a screw
- Fill the small hole afterward
How long it lasts: Powder often quiets a squeak for weeks or months. A plain screw holds only if it hits the joist and pulls the board down flat.
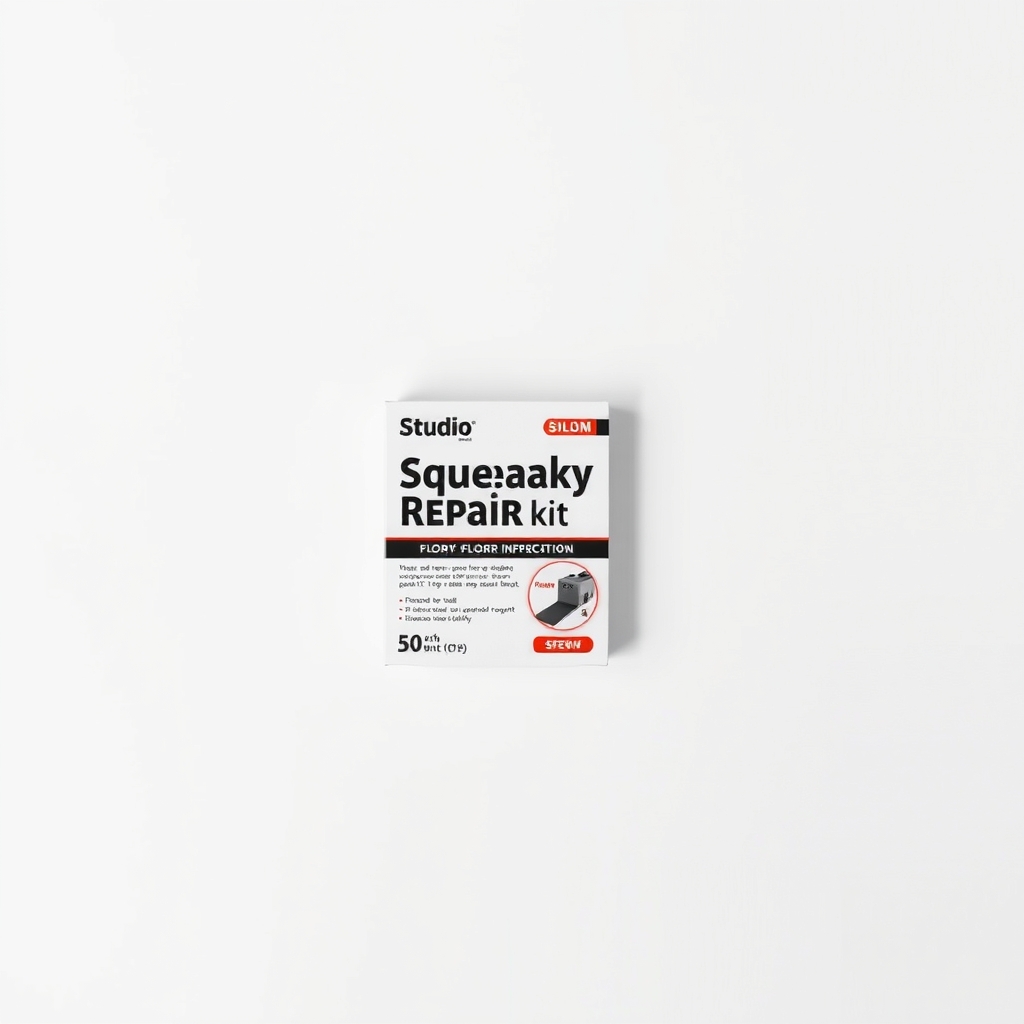
A squeaky floor repair kit
A squeak means the board moves. Powder only lubricates the movement, while a kit stops it. Look for one with a depth guide, so the screw stops at the right depth and does not punch through the floor, and with screws that leave a tiny hole or hide under carpet.
What to get: Squeaky floor repair kit
How long it lasts: Years, because it pulls the board snug to the joist.
As an Amazon Associate I earn from qualifying purchases.
What you'll need
-
Painter's tape
Marks the spots so you can find them again
You have it -
Talcum powder
Powdered graphite works too and does not stain
You have it - Illustration
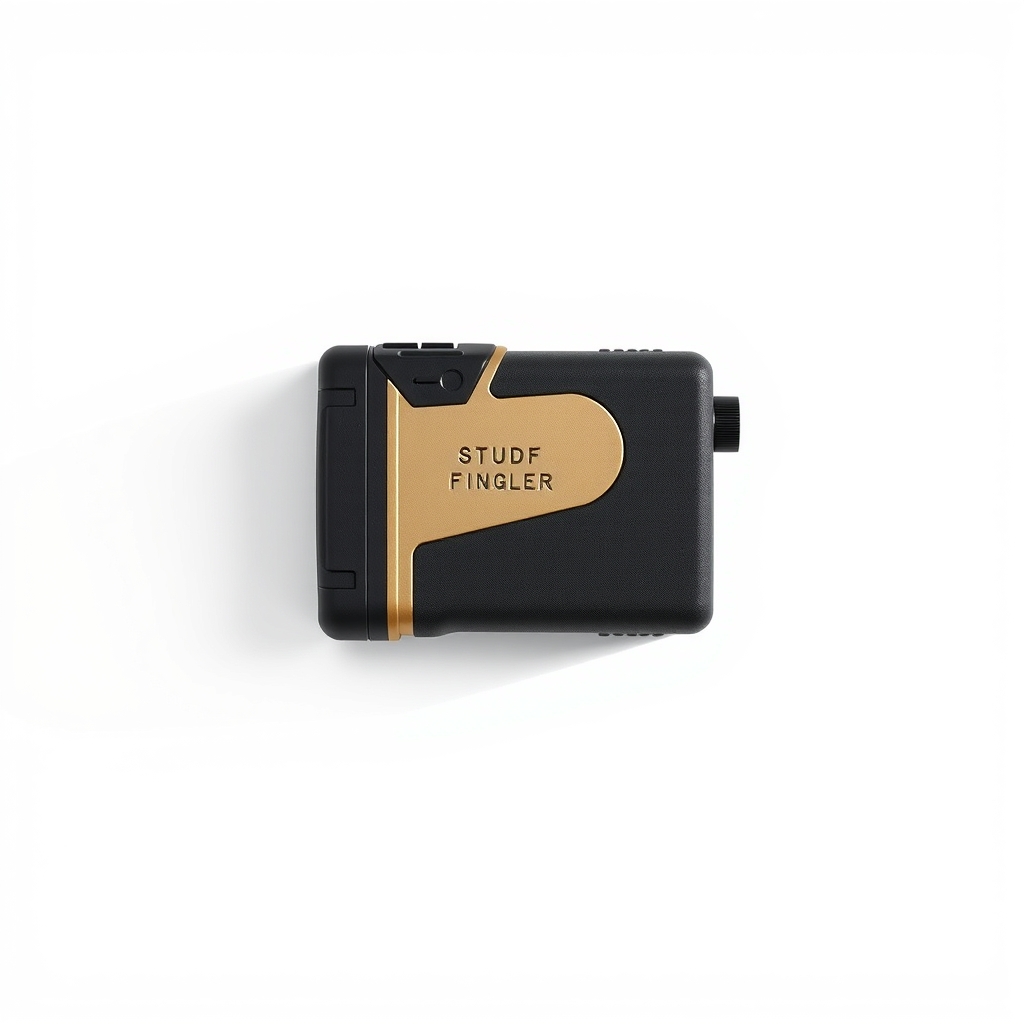
Stud finder
Choose one that finds joists and warns of live wires
-
Cordless drill
Use a small bit to drill a pilot hole
You have it - Our pick Illustration
Squeaky floor repair kit
Follow the kit's directions for bare floor or carpet
- Illustration
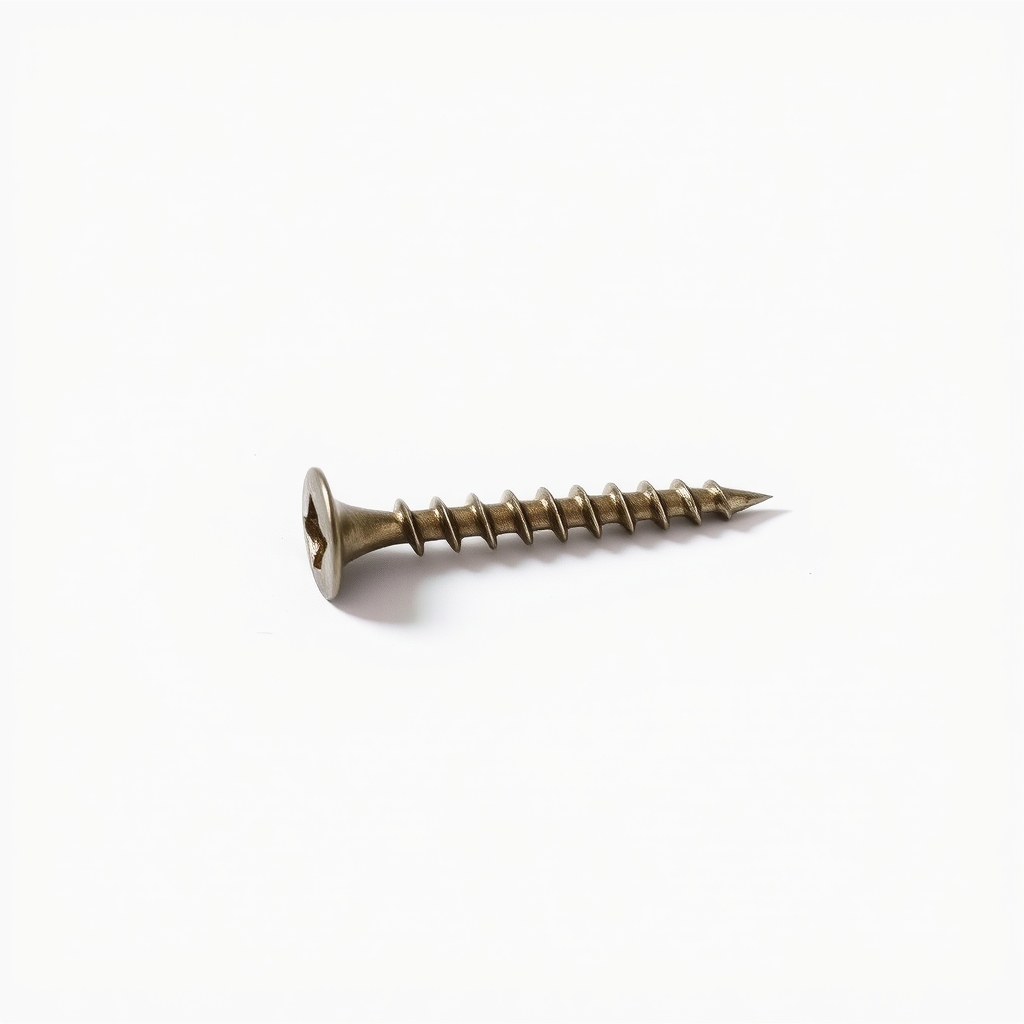
Trim-head wood screws
A plainer, cheaper option for bare hardwood only
Why it happens
A board rubbing on a nail
As wood shrinks and swells through the year, a nail loosens in its hole. The board then slides on it and squeaks with each step.
A gap between the subfloor and the joist
If the subfloor has lifted a hair off the joist beneath, it flexes when you step and the wood rubs with a creak.
Boards rubbing each other
Tongue-and-groove boards can chafe along their edges, usually in one spot where the floor has dried out or shifted.
Dry winter air
Heated homes dry out the wood, boards shrink and gaps open. That is why creaks often get worse in winter and fade in humid summer weather.
Try this first (free)
Do these in order, starting with the simplest.
-
Find and mark the exact spot
Tool used: Painter's tapeWalk slowly and listen. When you find a squeak, press with your foot to see which board moves, then mark it with a strip of tape. Check a few feet around it too.
-
Try powder in the seam first
Tool used: Talcum powderSprinkle talcum powder or powdered graphite along the seam beside the squeak, rub it in with a soft brush or cloth and wipe up the extra. Walk the spot. This helps when two boards are rubbing.
-
Find the joist under the squeak
Tool used: Stud finderJoists run across the boards and usually sit about 16 inches apart. Scan with the finder, mark the center line and skip any spot where it warns of a wire. Never drive a screw near an outlet, a switch or a bathroom wall without checking.
IllustrationCheck price on AmazonTool for this step
Stud finder · Choose one that finds joists and warns of live wires
-
Fasten the board to the joist
Tool used: Squeaky floor repair kitDrill a small pilot hole through the board over the joist. With the drill, drive a kit screw until the board sits snug and flat, using the kit's depth guide. Over carpet, follow the kit's carpet tool.
IllustrationCheck price on AmazonTool for this step
Squeaky floor repair kit · Follow the kit's directions for bare floor or carpet
-
Fill the hole and test
Press in wood filler or a putty stick that matches the finish, wipe it flush and walk the spot again. If it still creaks, add one more screw a few inches along the same board.
When free fixes aren't enough
If powder helped for a week and the squeak came back, the board is moving, not just rubbing, and it needs fastening. If you cannot find a joist, the floor bounces or slopes, the squeak is in a stair tread, or you see new cracks in the ceiling below, stop and call a pro. A single squeaky patch on an otherwise solid floor is what a kit is made for.
Buy the fix
Still stuck after the free fixes? These are the products we would look at.
| Pick | Product | Fixes | Who it's for | Buy |
|---|---|---|---|---|
| Best pick | Squeaky floor repair kit | a board that lifts off the joist and creaks | Anyone with a drill and a few squeaks who does not want to pull up carpet or planks. | Check price |
| Budget pick | Trim-head wood screws | a few squeaks on bare hardwood where you can see the board | People who own a drill and want a cheap fix for one or two spots. | Check price |
Squeaky floor repair kit
Fixes: a board that lifts off the joist and creaks
Look for: A depth-control tool or guide so the screw stops at the right depth; Screws that sit below the surface or snap off, so the hole is small; Directions for both bare floor and carpet; Enough screws to fix several spots.
- Who it's for
- Anyone with a drill and a few squeaks who does not want to pull up carpet or planks.
- Honest downside
- Your floor is a floating floor, like click-lock laminate. There is no joist to fasten to. Also skip it for squeaky stairs, which need a stair kit.
Trim-head wood screws
Fixes: a few squeaks on bare hardwood where you can see the board
Look for: Long enough to pass through the floor and subfloor and reach about an inch into the joist; A small trim head that leaves an easy hole to fill; A star drive that grips the bit.
- Who it's for
- People who own a drill and want a cheap fix for one or two spots.
- Honest downside
- The floor is carpeted, or you do not know how thick your floor is. A screw that is too long can hit pipes or wires.
As an Amazon Associate I earn from qualifying purchases. We don't show prices because they change, so use the button to see today's price.
How we picked: How we picked: this page is based on floor repair guides from flooring makers and trade groups, the directions that come with squeak repair kits, and what owners report in reviews. We do not test products by hand.
Before you drive a single screw
- Wear safety glasses.
- Run the finder in joist mode and keep a few inches from any wire warning.
- Stay away from the area over a bathroom or kitchen, where pipes run.
- Check the kit for the floor thickness it works with.
- Drive screws until the board is snug, not until it dips.
What to skip
Oil, WD-40 and hammering in nails
Oil can stain wood and attract dust, and it does not stop the board from moving. A new nail beside the old one usually pops loose again and splits the board. Fasten with a screw into the joist, or use powder if the cause is only rubbing.
Frequently asked questions
Why does my upstairs floor creak when I walk on it?
How do I stop my upstairs floor from creaking or squeaking?
How do I stop upstairs floorboards creaking under carpet?
Why do floors creak more in winter?
Will powder fix a squeaky floor for good?
Related problems
 Free fix inside
Cleaning · Hardwood Floor
Hardwood Floor Squeaking? Powder, Screws, and a Quiet-Floor Kit
Read the fix Free fix inside
Cleaning · Carpeted Stairs
Carpeted Stairs Creaking? A Kit Quiets Them From Above, No Tear-Out
Read the fix Free fix inside
Cleaning · Hardwood Floor
Hardwood Floor Gaps? Filler, Humidity Control, and When to Worry
Read the fix Free fix inside
Bedroom & Sleep · Bed Frame
Squeaky Bed Frame? 5 Quiet Fixes, From Free to Cheap
Read the fixAs an Amazon Associate I earn from qualifying purchases. Affiliate disclosure