Fish Tank Leak? When to Patch It and When to Replace the Tank
A weeping seam on a small glass tank can be resealed with aquarium-safe silicone. A cracked pane or a bottom-seam leak means a new tank. Here is how to tell.
By Jamilur Rahman Updated November 5, 2026 · 6 min read
- Time
- 1 hour + 2 days cure
- Cost
- Under $20
- Difficulty
- Medium
In this guide
Quick answer
To fix a fish tank leak, move the fish to a bucket, drain the tank below the leak, scrape out the failing silicone and lay a fresh bead of 100% aquarium-safe silicone on clean glass. Let it cure for at least 24 hours before you add water. That repair works for a weeping seam on a sound glass tank. A cracked pane, or a leak at the bottom seam of a larger tank, means it is time to replace the tank.
Free fix vs. permanent fix
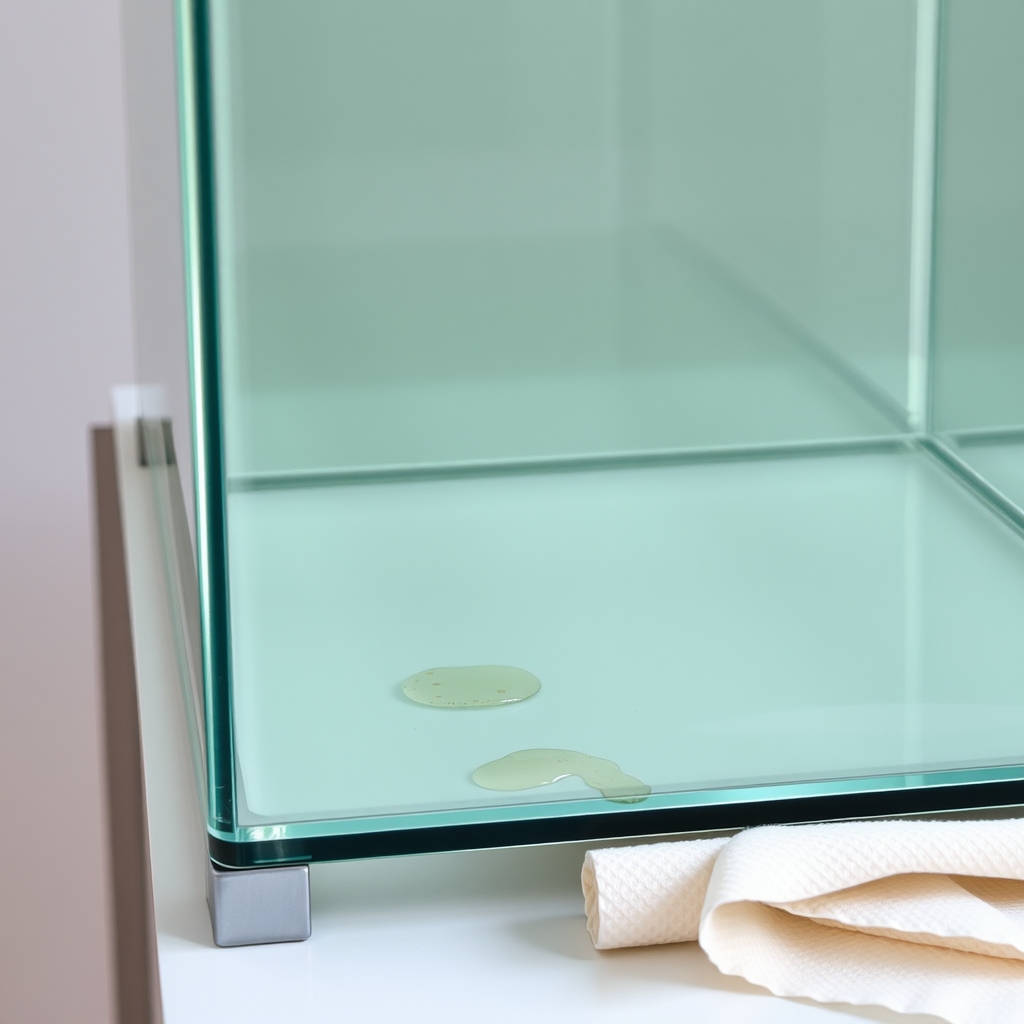
Find the leak and lower the water
- Dry the glass and press a dry paper towel along every seam
- Unplug the heater, filter and light first
- Drain the water to just below the wet spot
- Move the fish to a bucket of tank water if you must empty more
How long it lasts: Only until you refill. It stops the drip and fixes nothing.
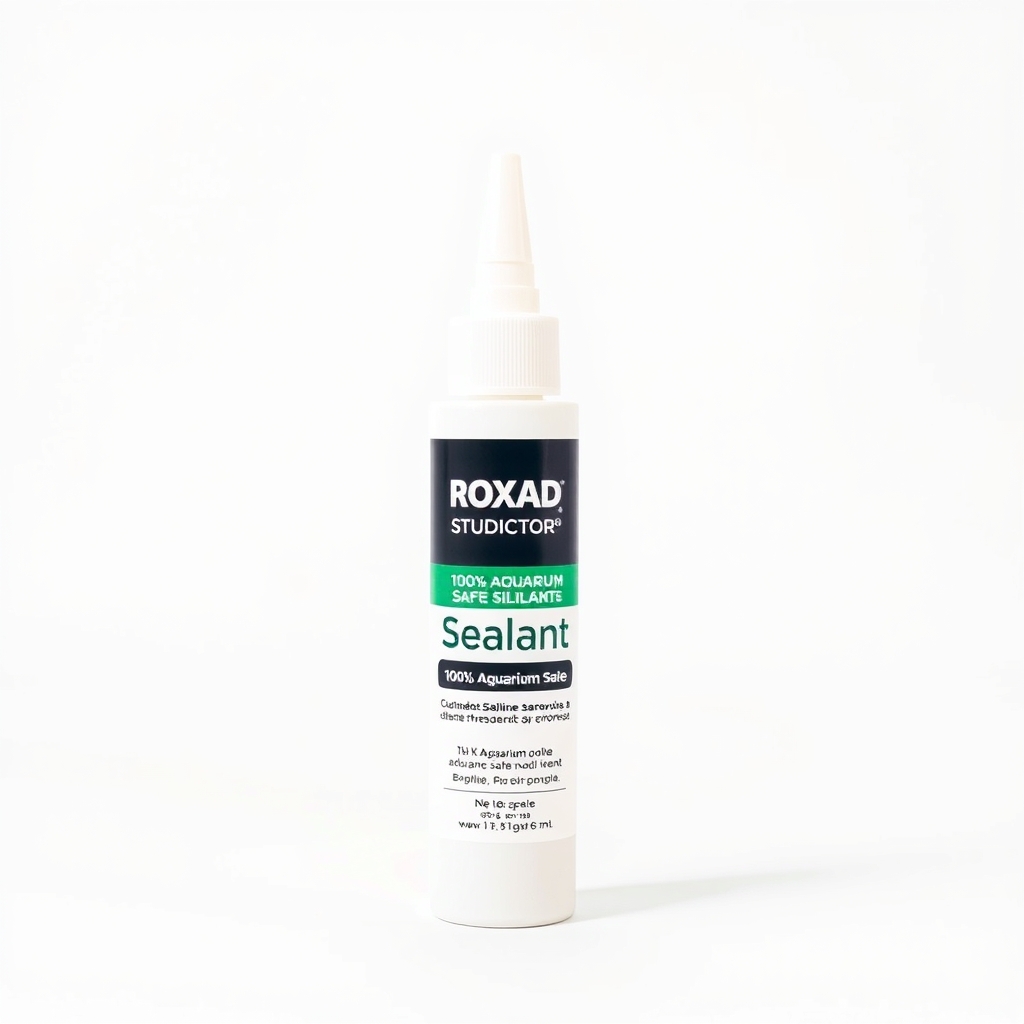
A reseal with 100% aquarium-safe silicone
A seam leaks when the old silicone pulls away from the glass. New silicone only bonds well to clean glass, so you cut out the weak part, clean it and lay a fresh bead. Aquarium-safe silicone has no mildew-killing additives that can harm fish.
What to get: 100% aquarium-safe silicone sealant
How long it lasts: Years on a sound glass tank, if the old bead is cut out and the new one fully cures.
As an Amazon Associate I earn from qualifying purchases.
What you'll need
-
Bucket and tank water
Holds your fish and the water you keep, with a lid or net cover
You have it -
Paper towels and rubbing alcohol
For finding the leak and cleaning the glass so the silicone bonds
You have it -
Painter's tape
Masks the glass so the new bead stays tidy
You have it - Illustration

Razor blade scraper
A single-edge razor in a holder shaves off old silicone without scratching glass
- Our pick Illustration
100% aquarium-safe silicone sealant
Check the label for no mildew or mold inhibitors
- Illustration

Replacement glass aquarium
Only if the glass is cracked or the bottom seam is leaking
Why it happens
Old silicone that has pulled away
Silicone ages, dries and shrinks over years. A gap opens at the glass edge and water weeps through it.
Uneven support
A tank on a stand that is not level twists a little under its own weight and puts stress on one seam. See the related page on leveling.
A knock or stress crack
A bump from a rock, a hard impact on a corner, or a stand that has shifted can crack the glass or break a seam.
It is not the tank at all
Filter hoses, overflow boxes, sump plumbing and condensation can all drip down the outside and look like a leak.
Try this first (free)
Do these in order, starting with the simplest.
-
Find the real source
Tool used: Paper towels and rubbing alcoholUnplug everything. Wipe the glass dry, then press a dry paper towel along every seam, the bottom edge and around any hoses or fittings. The wet spot shows you where.
-
Move the fish out
Tool used: Bucket and tank waterNet the fish into a bucket of tank water and cover it. Keep it out of direct sun and away from drafts until the repair is done.
-
Drain and let the tank dry
Siphon the tank empty into clean buckets and let the glass dry for several hours. The silicone will not bond to a damp seam.
-
Cut out the weak silicone
Tool used: Razor blade scraperSlide the razor along the glass to remove the failing bead and an inch or two of good bead past it. Cut only the silicone you can see, and never pry at the glass.
IllustrationCheck price on AmazonTool for this step
Razor blade scraper · A single-edge razor in a holder shaves off old silicone without scratching glass
-
Clean and tape
Tool used: Painter's tapeWipe the cleared seam with rubbing alcohol and let it dry. Run painter's tape along both sides of the seam for a neat edge.
-
Lay the new bead and let it cure
Tool used: 100% aquarium-safe silicone sealantPress a steady bead into the corner, smooth it with a wet finger and pull the tape right away. Wait at least 24 hours, and longer for a thick bead. Test fill with plain water on towels, watch for a day, then refill with treated water.
IllustrationCheck price on AmazonTool for this step
100% aquarium-safe silicone sealant · Check the label for no mildew or mold inhibitors
When free fixes aren't enough
Lowering the water only stops the dripping. A fresh bead is the real repair, and only if the glass is sound. Replace the tank if you see a crack in a pane, a leak at the bottom seam, bowed or chipped glass, or seams peeling in many places. Those parts carry the water pressure, and a patch will not hold. Acrylic tanks are bonded differently, so go back to the maker or a shop. On a large tank, a failed seam can flood a room, so do not gamble.
Buy the fix
Still stuck after the free fixes? These are the products we would look at.
| Pick | Product | Fixes | Who it's for | Buy |
|---|---|---|---|---|
| Best pick | 100% aquarium-safe silicone sealant | a leaking glass tank seam | Anyone with a small to mid-size glass tank and a weeping seam. | Check price |
| Upgrade pick | Replacement glass aquarium | a tank that cannot be patched safely | Owners with a cracked pane, bowed glass or a bottom-seam leak. | Check price |
100% aquarium-safe silicone sealant
Fixes: a leaking glass tank seam
Look for: Labeled 100% silicone and safe for aquariums; No mold or mildew inhibitor additives; Clear or black, to match your existing seams; A small tube is enough for one reseal.
- Who it's for
- Anyone with a small to mid-size glass tank and a weeping seam.
- Honest downside
- The glass is cracked, the leak is at the bottom seam of a large tank, or the tank is acrylic.
Replacement glass aquarium
Fixes: a tank that cannot be patched safely
Look for: Rated for the volume you need; Even, clean seams with no gaps or bubbles; A glass thickness that suits the tank size; A stand rated for the full weight.
- Who it's for
- Owners with a cracked pane, bowed glass or a bottom-seam leak.
- Honest downside
- You have a small seam weep on a sound tank. A reseal costs far less.
As an Amazon Associate I earn from qualifying purchases. We don't show prices because they change, so use the button to see today's price.
How we picked: How we picked: this page is based on aquarium-care guides on resealing glass tanks, silicone makers' instructions, and what fish keepers report after repairs. We do not test products by hand.
Patch or replace? A quick check
- Patch it: a slow weep at a top or side seam on a small glass tank with no cracks.
- Replace it: a cracked or chipped pane, a leak at the bottom seam, bowed glass, or seams failing in several places.
- Think hard: a large tank. A seam that gives way can flood a room, so many owners replace it or have a shop do the work.
What to skip
Bathroom silicone and outside patches
Kitchen and bath silicone often has a mildew-killing additive that can harm fish, so check the label. Tape, epoxy or glue on the outside does not stop a seam leak, because the water pushes from the inside.
Frequently asked questions
Can I fix a fish tank leak with the fish still in it?
How long does aquarium silicone take to cure?
Can I use regular silicone on a fish tank?
Why is there water under my tank when I can't see a crack?
Is it safe to leave a leaking fish tank alone?
Related problems
 Free fix inside
Pets · Fish Tank Equipment
Fish Tank Not Level? Why It Matters and the Foam Mat Fix
Read the fix Free fix inside
Pets · Fish Tank
Fish Tank Water Evaporating Fast? A Lid Fixes More Than Water Loss
Read the fix Free fix inside
Pets · Fish Tank Equipment
Fish Tank Filter Not Working? Clean, Prime, or Replace the Media
Read the fix Free fix inside
Pets · Fish Tank
Fish Tank Filter Making Noise? Fixes Before You Buy a New One
Read the fixAs an Amazon Associate I earn from qualifying purchases. Affiliate disclosure