Driveway Expansion Joints Failing? Re-Seal Them Right
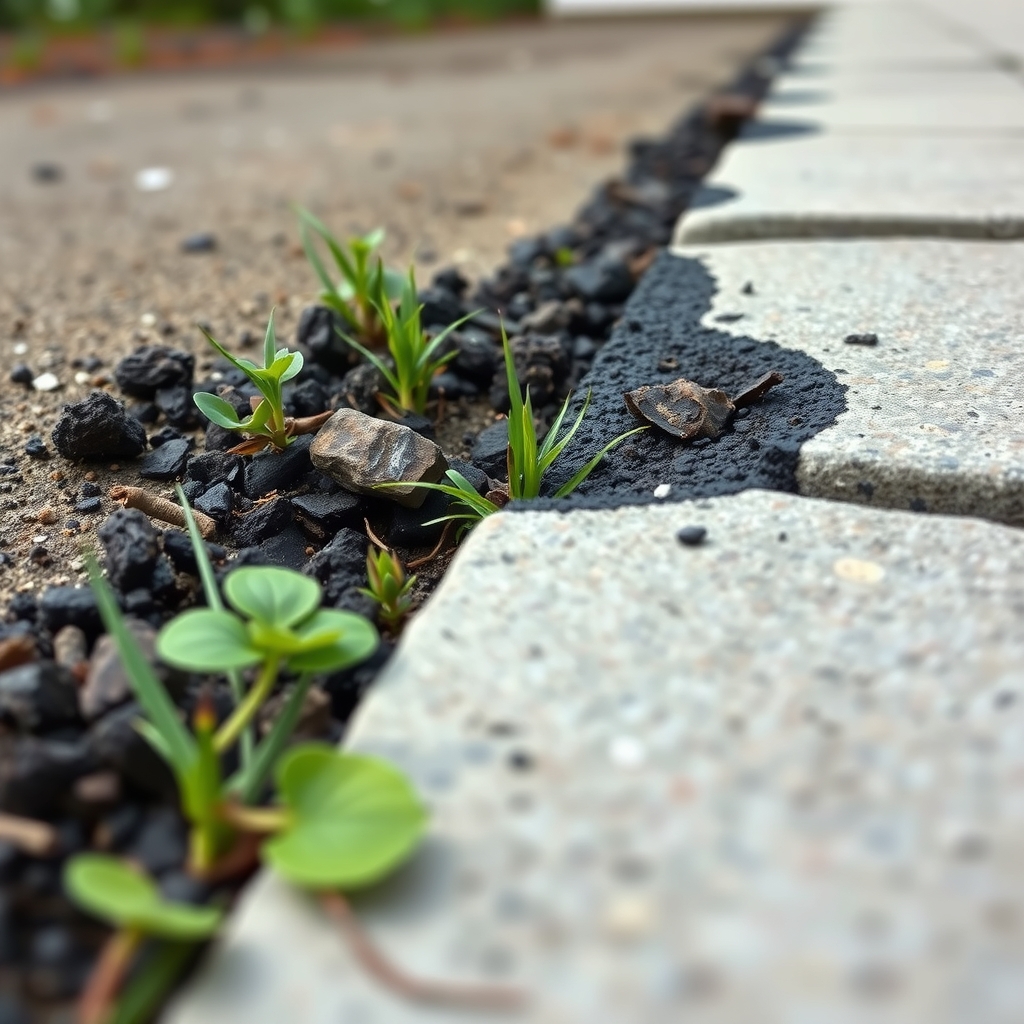
Cracked or empty joints let in water and weeds. Clear out the old filler, fit backer rod and fill with a flexible, traffic-rated sealant.
By Jamilur Rahman Updated November 5, 2026 · 6 min read
- Time
- 3 hours
- Cost
- $20-$50
- Difficulty
- Easy
In this guide
Quick answer
Expansion joints fail when the old filler dries out, shrinks and pulls away, letting water, weeds and dirt in. Pull out the old filler, clear the gap to clean concrete and let it dry. Then set foam backer rod to the right depth and fill the joint with a flexible, traffic-rated sealant. A good sealant stretches and squeezes with the slab, and that is what lasts.
Free fix vs. permanent fix
Clean it out and pull the weeds
- Pull out the old, crumbling filler
- Scrape and brush the joint clean
- Pull the weeds by the roots
- Let the joint dry fully before sealing
How long it lasts: Keeps the joint tidy for a few months, but the open gap lets water and weeds back in.
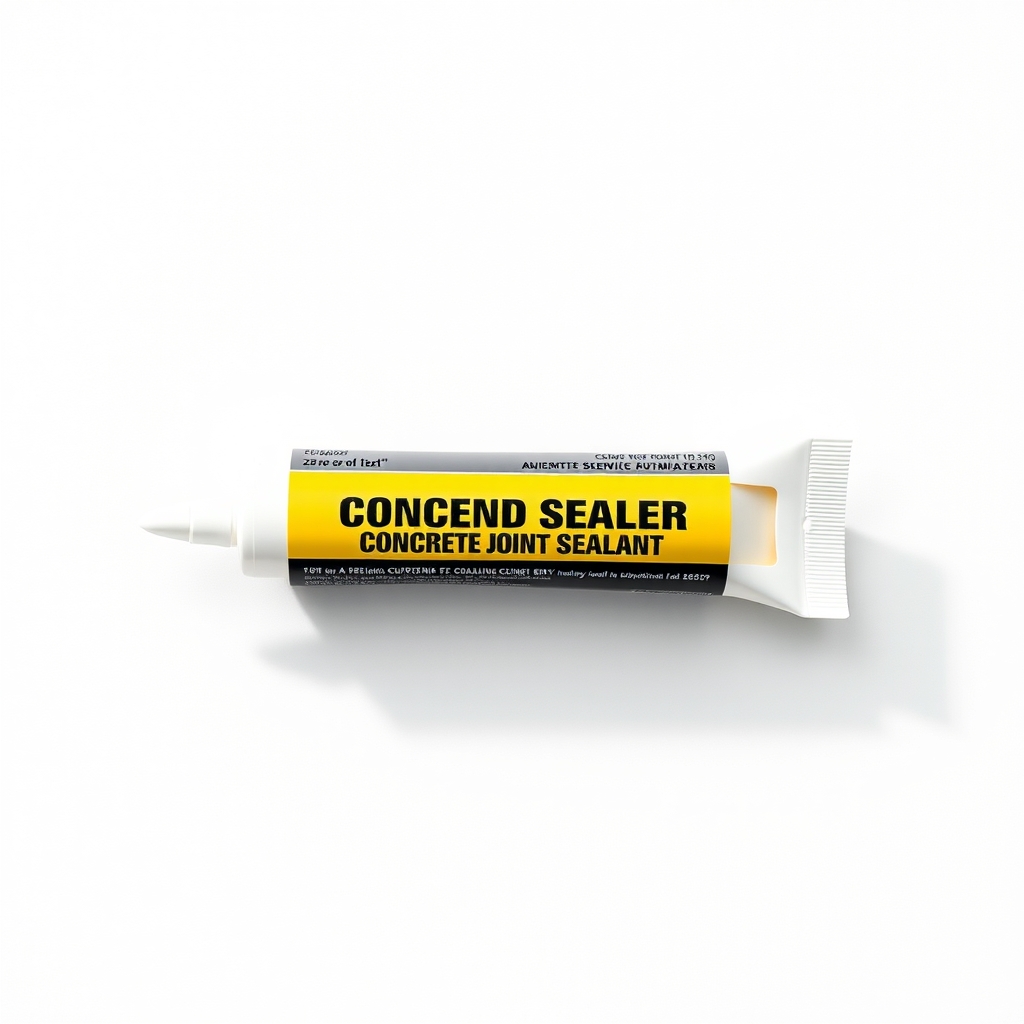
A self-leveling, traffic-rated joint sealant
An expansion joint exists to let the slab move. A rigid or dried-out filler cracks and pulls away. A flexible sealant set at the right depth over backer rod stretches and squeezes with the slab, so the joint stays closed to water and weeds.
What to get: Self-leveling concrete joint sealant
How long it lasts: Many years, since it stays flexible and moves with the slab as it warms and cools.
As an Amazon Associate I earn from qualifying purchases.
What you'll need
-
Flathead screwdriver or utility knife
To dig out and cut away the old filler
You have it -
Wire brush and shop vacuum
To clear dust and debris from the joint
You have it - Illustration
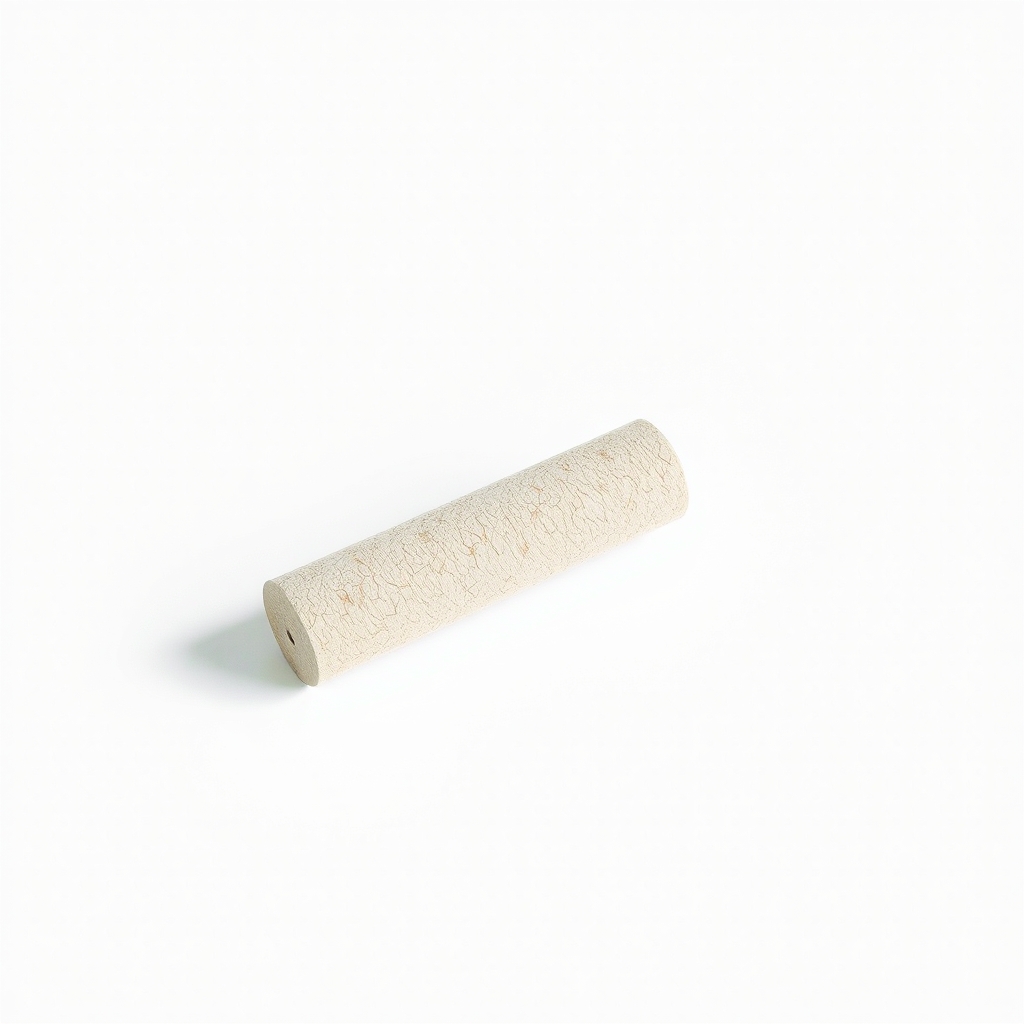
Backer rod
Foam rod that sets the sealant depth
- Our pick Illustration
Joint sealant
Pick self-leveling for flat joints
-
Caulk gun
Needed if your sealant comes in tubes
You have it -
Painter's tape
Masks the edges for a neat line
You have it
Why it happens
Old filler dried out and shrank
Sun, frost and age harden tar-based fillers and caulk. They crack and pull away from the concrete.
The wrong material or too much of it
Ordinary caulk or asphalt filler is not made to flex under tires and temperature swings. A deep fill also tears, because it sticks on three sides.
A dirty or damp joint at install
Sealant will not stick to dust, oil or moisture. A joint filled without cleaning lets go within a season or two.
Slab movement or settling
If a slab sits lower or tilts, the joint tears no matter what sealant goes in.
Try this first (free)
Do these in order, starting with the simplest.
-
1. Pull out the old filler
Tool used: Flathead screwdriver or utility knifeDig out loose filler with a screwdriver or utility knife. If a piece is still firmly bonded, cut along both sides. Remove anything hollow or cracked.
-
2. Scrape and brush
Tool used: Wire brush and shop vacuumWire-brush the joint walls to bare concrete, then vacuum out the dust. Pull weeds by the root.
-
3. Let it dry
Wait 24 hours with no rain. Fill only a dry joint, because sealant will not stick to damp concrete.
-
4. Measure the joint
Check the width and depth. Good sealant depth is usually about half the width, and not less than 1/4 inch. A deeper joint needs backer rod to take up the extra space.
-
5. Set the backer rod
Tool used: Backer rodPress foam backer rod into the joint with a blunt tool. It should be about 25 percent wider than the gap so it fits snug and sits at the depth you measured. Do not stretch it.
IllustrationCheck price on AmazonTool for this step
Backer rod · Foam rod that sets the sealant depth
-
6. Tape the edges and fill
Tool used: Joint sealantTape both sides, cut the nozzle to match the joint width and fill from the bottom so no air is trapped. Smooth the surface and pull the tape before it skins over. Keep traffic off for the time on the label.
IllustrationCheck price on AmazonTool for this step
Joint sealant · Pick self-leveling for flat joints
When free fixes aren't enough
Cleaning out and weeding does not stop the water. An open joint lets rain wash soil from under the slab and feeds weeds. Resealing is the fix. Pick a flexible sealant made for concrete joints and traffic, and set it over backer rod. Standard caulk and tar will crack again. If one slab has dropped lower than its neighbor, the joint is wider than about 1 inch, or the concrete edges crumble, the problem is bigger than a sealant. Ask a concrete contractor about re-leveling or replacing that section.
Buy the fix
Still stuck after the free fixes? These are the products we would look at.
| Pick | Product | Fixes | Who it's for | Buy |
|---|---|---|---|---|
| Best pick | Self-leveling concrete joint sealant | open or crumbling expansion joints that let in water and weeds | Most homeowners with flat concrete and joints that need re-sealing. | Check price |
| Budget pick | Foam backer rod for concrete joints | joints too deep to fill, where sealant sags or tears | Anyone whose joint is deeper than about 1/2 inch. | Check price |
Self-leveling concrete joint sealant
Fixes: open or crumbling expansion joints that let in water and weeds
Look for: Labeled for expansion joints and driveway traffic; Flexible after it cures, not rigid; Self-leveling for flat joints, or non-sag for a sloped driveway; UV and weather resistant.
- Who it's for
- Most homeowners with flat concrete and joints that need re-sealing.
- Honest downside
- Your driveway slopes steeply. A self-leveling sealant runs downhill, so choose a non-sag type.
Foam backer rod for concrete joints
Fixes: joints too deep to fill, where sealant sags or tears
Look for: Closed-cell foam that does not absorb water; A diameter about 25 percent wider than the joint; Enough length to cover your joints.
- Who it's for
- Anyone whose joint is deeper than about 1/2 inch.
- Honest downside
- The joint is already shallow. Fill a shallow joint directly if the sealant label allows it.
As an Amazon Associate I earn from qualifying purchases. We don't show prices because they change, so use the button to see today's price.
How we picked: How we picked: this page is based on concrete-joint sealing guides, sealant maker instructions, and the problems and fixes homeowners report in reviews. We do not test products by hand.
Expansion joint, control joint or crack?
- Expansion joint: a visible gap, often filled with a strip or filler. Re-seal it.
- Control joint: a straight groove. A sealant is fine, but it is not always needed.
- Random crack: follow our concrete crack page to decide what to fill and what to watch.
Self-leveling or non-sag?
On flat concrete, self-leveling flows into the joint and settles flat. On a sloped driveway, it runs downhill, so choose a non-sag sealant that stays where you put it.
What to skip
Plain caulk, tar and sand
Skip ordinary latex caulk, which washes out. Skip tar filler, which dries rigid and cracks. Skip sand or gravel, which packs down and invites weeds. And skip filling a wet or dusty joint, which lets go within a season.
Frequently asked questions
What is the difference between an expansion joint and a control joint?
When is the best time to re-seal driveway expansion joints?
Do I need backer rod?
Why do weeds keep growing in my driveway expansion joints?
Related problems
As an Amazon Associate I earn from qualifying purchases. Affiliate disclosure