Garage Door Keeps Going Back Up? It's Usually the Sensors
A dirty, bumped or blocked sensor makes the door reverse. Clean and realign it in 15 minutes, then replace the pair if one light stays dark.
By Jamilur Rahman Updated November 5, 2026 · 7 min read
- Time
- 20 min
- Cost
- $20-$50
- Difficulty
- Easy

In this guide
Quick answer
A garage door that keeps going back up when closing almost always has a safety sensor problem: dirt on a lens, a sensor knocked out of line, something in the beam or a damaged wire. Wipe both lenses, clear the beam and nudge each sensor until its light glows steady. If one light stays dark or flickers after that, replace the sensor pair with one that matches your opener.
Free fix vs. permanent fix
Clean, clear and realign the sensors
- Check both sensor lights, which should be steady
- Wipe both lenses and clear the beam
- Loosen each bracket and re-aim the eye
- Follow each wire to the opener and look for damage
How long it lasts: Often for good, unless a sensor gets bumped again or a wire is failing.
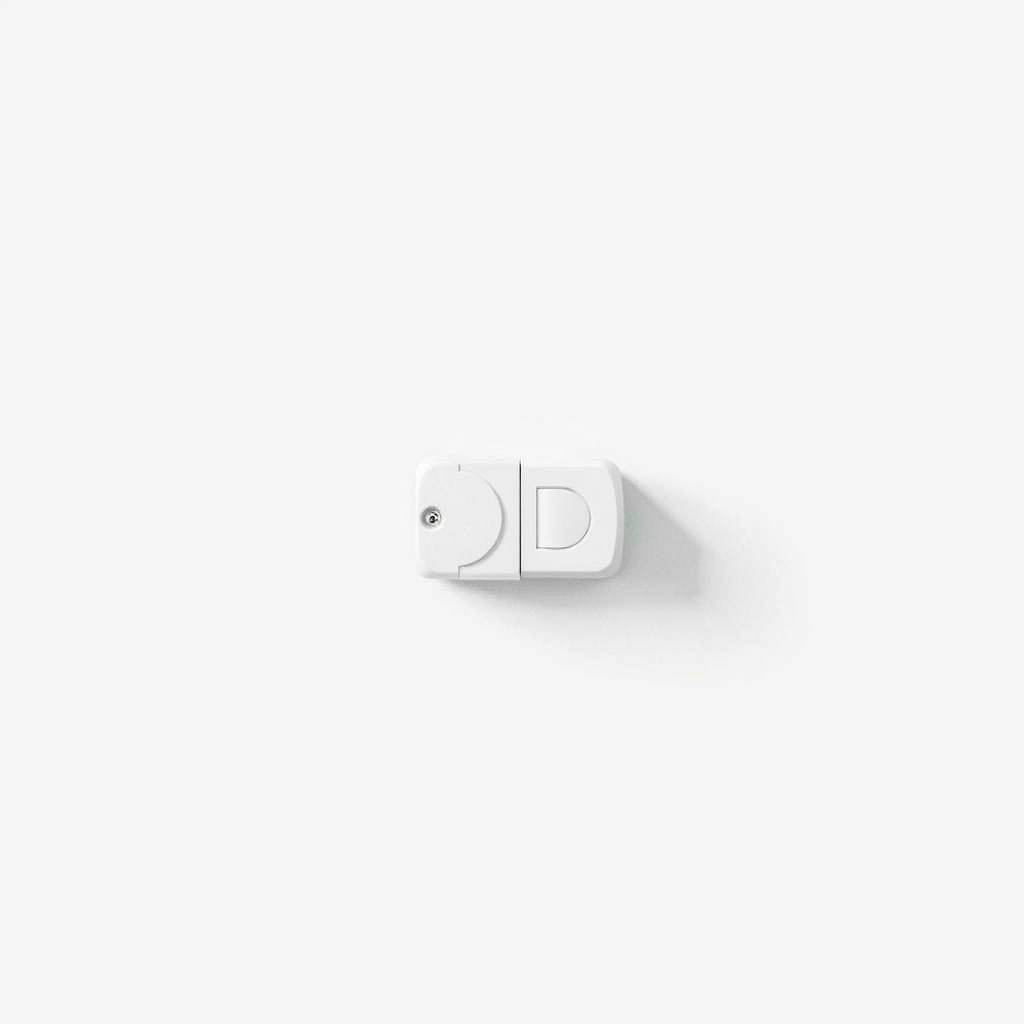
A matching pair of replacement safety sensors
The door reverses when the opener cannot see the beam between the two eyes. Cleaning and aiming fix a dirty or bumped sensor. If a lens is cracked, a light has failed or a wire is damaged, no amount of aiming brings the beam back, and a new pair does.
What to get: Replacement garage door safety sensor pair
How long it lasts: Years. New eyes with fresh wiring stop the random reversals.
As an Amazon Associate I earn from qualifying purchases.
What you'll need
-
Soft microfiber cloth
For both lenses; no paper towel, which can scratch
You have it -
Wrench or pliers
For a bracket nut that is not a wing nut
You have it -
Flashlight
To spot a pinched or chewed wire
You have it - Our pick Illustration
Replacement garage door safety sensor pair
Match your opener's brand and model
- Illustration
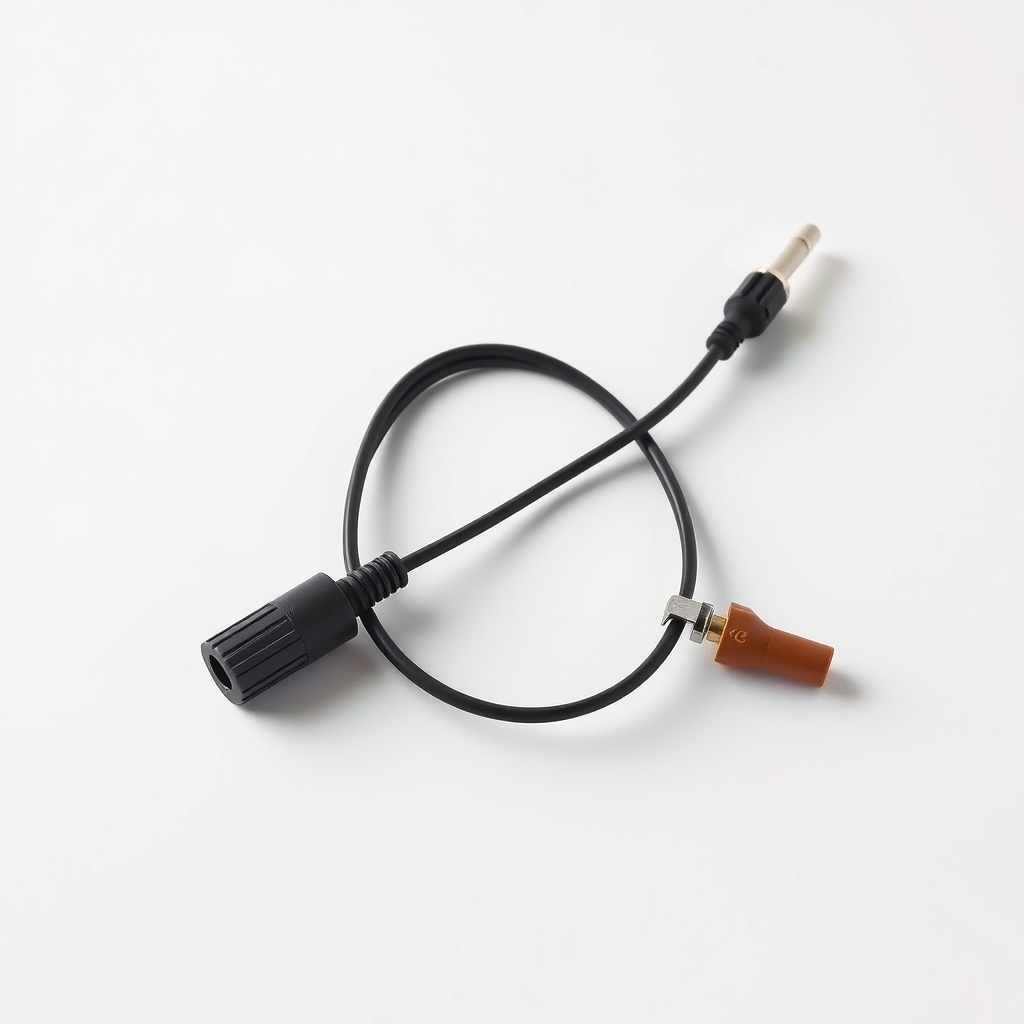
Low-voltage sensor wire and connectors
Only if the wire is cut or pinched
Why it happens
A dirty or blocked lens
Dust, cobwebs, a stored box or a leaning bike can break the beam. The door sees an obstacle and reverses to be safe.
A sensor knocked out of line
A bumped bracket or a loose nut points one eye off target. The two eyes sit across from each other, a few inches off the floor, and the beam has to land on the receiver.
Sun in the receiving eye
Low, direct sun can blind the receiver for a short time each day. If the door fails only at certain hours, suspect this.
A damaged wire or loose terminal
A staple that pinches the wire, a chewed spot or a loose screw at the opener can cut power to a sensor.
An old or failed sensor
After many years the light inside can fail or the lens cracks. Cleaning will not bring it back.
Try this first (free)
Do these in order, starting with the simplest.
-
Check the lights
On many openers one eye shows a steady amber (yellow) light and the other a steady green. Colors vary by brand, so check your manual. Steady lights mean it is lined up. A dim, flickering or dark light is the clue.
-
Clear the beam and wipe both lenses
Tool used: Soft microfiber clothRemove anything standing in the beam. Wipe each lens with a soft cloth and brush off cobwebs.
-
Realign the eyes
Tool used: Wrench or pliersLoosen the wing nut or bracket on the eye with the dim light. Point it at the other eye until the light glows steady, then tighten. Both brackets should sit at the same height, a few inches off the floor.
-
Follow each wire to the opener
Tool used: FlashlightUnplug the opener first. Trace each thin wire up to the motor head and look for staples that pinch, breaks and chew marks. Press loose wires back into their terminals.
When free fixes aren't enough
If one eye stays dark, flickers, or comes alive only when you wiggle the wire, the part or the wire has failed. A matching pair removes the guesswork. Match it to your opener's brand and model, printed on the motor head. Sensors are not a nuisance: they stop the door from closing on a child, a pet or a bumper, so never tape them over or wire around them. If the door looks crooked, slams down, or you see a gap in a spring or a frayed cable, do not touch the springs or cables and call a garage door pro.
Buy the fix
Still stuck after the free fixes? These are the products we would look at.
| Pick | Product | Fixes | Who it's for | Buy |
|---|---|---|---|---|
| Best pick | Replacement garage door safety sensor pair | a dead, cracked or unreliable sensor that cleaning and aiming cannot revive | Anyone whose sensor light stays off or flickers, or whose sensors are old and cracked. | Check price |
| Budget pick | Low-voltage sensor wire and connectors | a pinched, chewed or broken sensor wire | Anyone whose light flickers when they wiggle the wire or who finds a cut in it. | Check price |
Replacement garage door safety sensor pair
Fixes: a dead, cracked or unreliable sensor that cleaning and aiming cannot revive
Look for: Listed as compatible with your opener's brand and model; A matched sending and receiving pair, with brackets and wire; A light on each eye so you can see alignment; Wire long enough to reach the opener from the floor.
- Who it's for
- Anyone whose sensor light stays off or flickers, or whose sensors are old and cracked.
- Honest downside
- A clean, aimed pair already shows steady lights. Also skip if you cannot find a pair that fits your opener; check the brand's parts list.
Low-voltage sensor wire and connectors
Fixes: a pinched, chewed or broken sensor wire
Look for: Two-conductor low-voltage wire of the gauge your manual lists; Enough length to run from the sensor to the opener, plus extra; Insulated connectors or a splice kit for low-voltage wire.
- Who it's for
- Anyone whose light flickers when they wiggle the wire or who finds a cut in it.
- Honest downside
- The wire looks fine and the lens is the problem. Never splice household-voltage wiring. This is low-voltage sensor wire only, and the opener should be unplugged.
As an Amazon Associate I earn from qualifying purchases. We don't show prices because they change, so use the button to see today's price.
How we picked: How we picked: this page is based on garage door opener manuals and safety guides, sensor and wire spec sheets, and the problems and fixes people report in reviews. We do not test products by hand.
Garage door not closing? A 4-step check
- Sensor lights: both should be steady.
- Track and door: look for something blocking the door's path or a bent track.
- Wall control: a lock or vacation mode can block remotes.
- Power: confirm the opener is plugged in and the outlet has power.
Why does my garage door not close all the way? Check the down limit
If the sensors are fine and the door stops short or reverses as it touches the floor, the opener's down limit or close force is likely set wrong. Your manual shows the adjustment, which is usually a screw or a button on the motor head. Make small changes and test after each one. Never touch the springs or cables.
What to skip
Bypassing the sensors
Taping over an eye, holding the wall button or disconnecting a wire makes the door close again, but it also disables the feature that stops it closing on a child or pet. Fix the sensor instead.
Frequently asked questions
Garage door keeps reversing when closing: sensors or the opener?
Garage door not closing and the light is blinking. What does it mean?
Why is my garage door sensor yellow?
How to fix a garage door sensor?
Why is my garage door not closing even after the sensors look fine?
Related problems
 Free fix inside
Outdoor & Garage · Garage Door
Garage Door Won't Open With the Remote? 4 Fixes, Free First
Read the fix Free fix inside
Outdoor & Garage · Garage Door
Garage Door Opening on Its Own? Stuck Button or Signal Clash
Read the fix Free fix inside
Outdoor & Garage · Garage Door Opener
Garage Door Opener Beeping? Often It's the Backup Battery
Read the fix Free fix inside
Outdoor & Garage · Garage Door
Garage Door Squeaking? The Right Lube and 3 Spots to Hit
Read the fixAs an Amazon Associate I earn from qualifying purchases. Affiliate disclosure