How to Hide Cables on Your Desk: The Under-Desk Tray Setup
Loose cords and a power strip on the floor make a desk look messy. Route and bundle for free, then lift the strip and chargers into an under-desk tray.
By Jamilur Rahman Updated November 5, 2026 · 6 min read
- Time
- 30 min
- Cost
- Under $20
- Difficulty
- Easy
In this guide
Quick answer
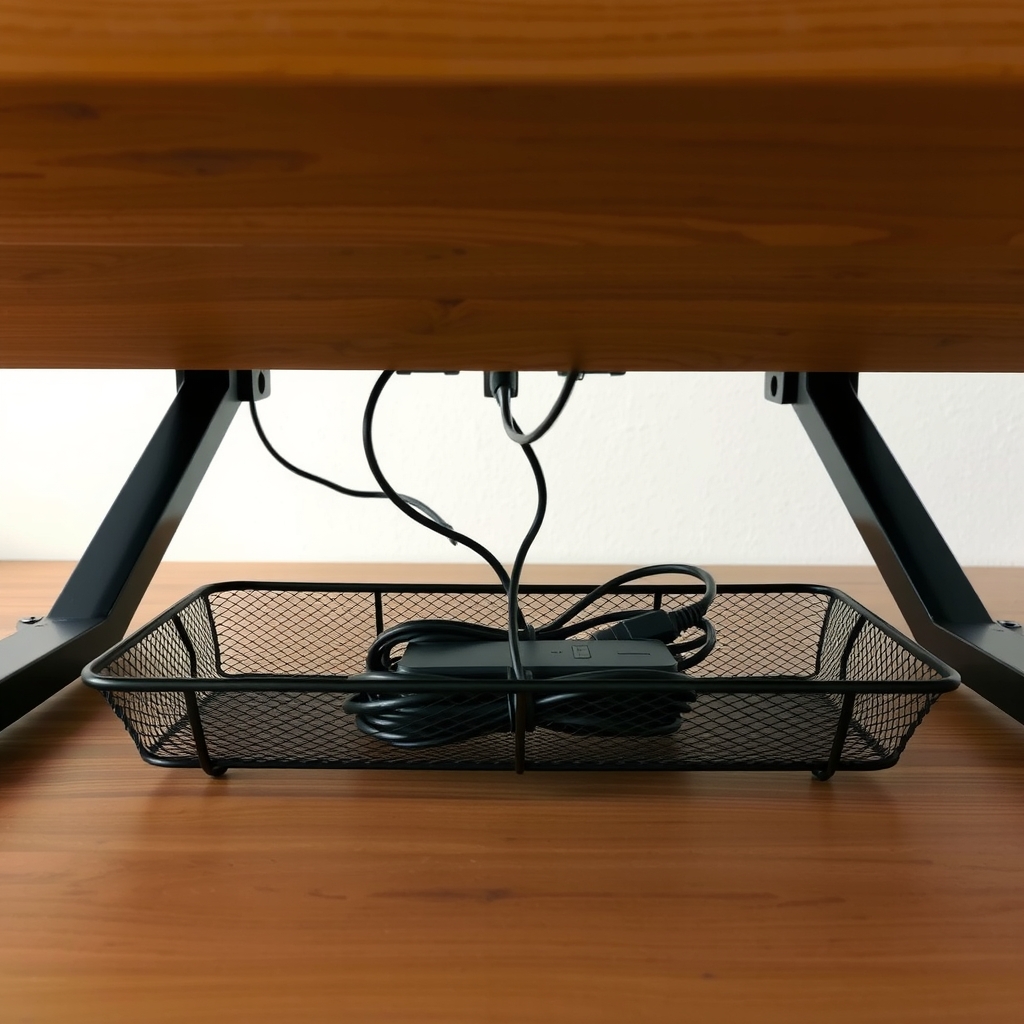
Tag each cord, plan one route and bundle the slack. That tidies the cords, but the power strip and chargers still sit on the floor, which is most of the mess. An under-desk cable tray lifts them out of sight, with one neat line down to the wall. It takes about 30 minutes and a screwdriver.
Free fix vs. permanent fix
Tag, route and bundle
- Unplug everything and tag each cord with masking tape
- Run all cords along one route down a leg or the back edge
- Coil spare length in loose loops
- Use twist ties or rubber bands if you have no cable ties
How long it lasts: Tidy for weeks. The power strip and bricks stay on the floor, and loose loops can come undone with use.
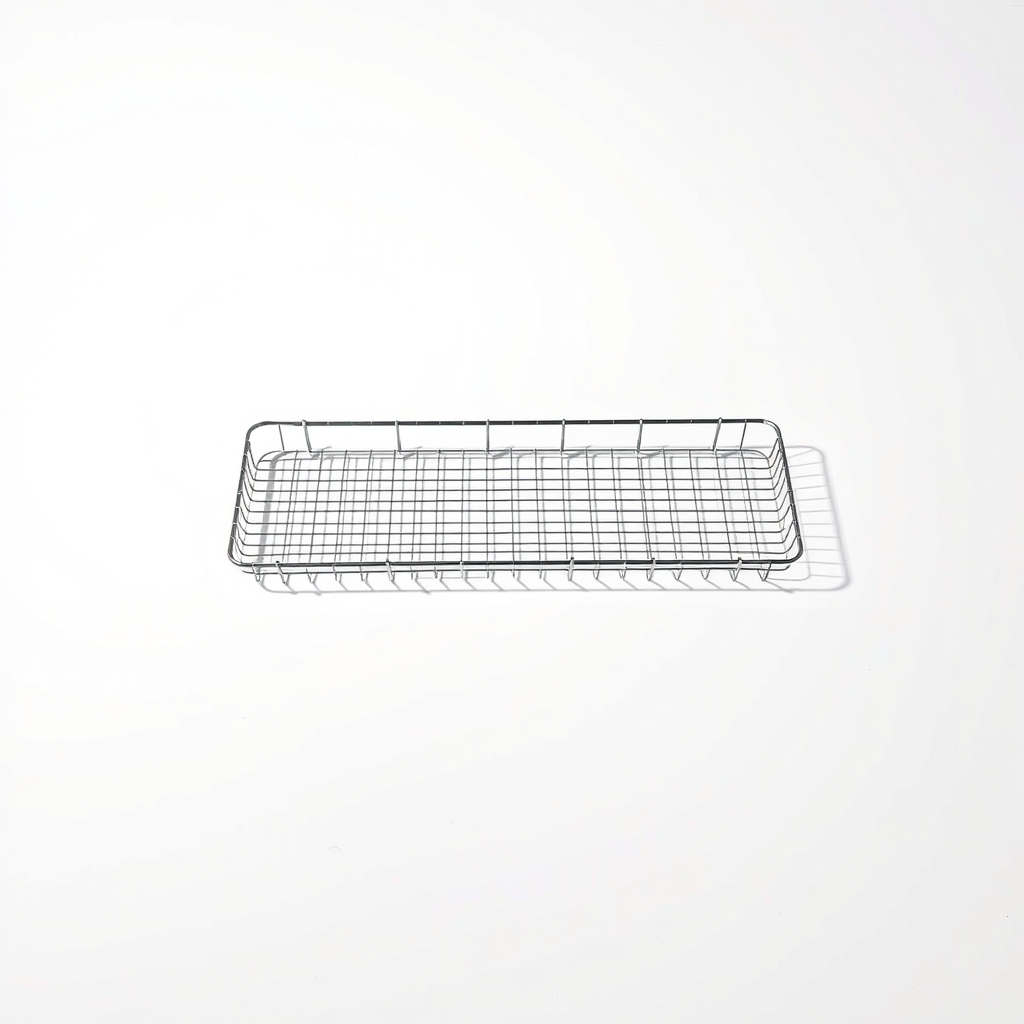
An under-desk cable tray
The power strip and chargers on the floor are the mess, and they collect dust and get kicked. A tray holds them under the desk, off the floor and out of sight, with air gaps around the bricks. Tag and route first, then drop everything in.
What to get: Under-desk cable management tray (steel wire or mesh)
How long it lasts: The life of the desk. Nothing to refill or replace.
As an Amazon Associate I earn from qualifying purchases.
What you'll need
-
Masking tape and marker
To mark each plug end
You have it -
Screwdriver and tape measure
To mount the tray and check the strip fits
You have it - Our pick Illustration
Under-desk cable tray
Check your power strip length and your desk type first
- Illustration

Reusable hook-and-loop ties and adhesive clips
Neater than twist ties, and you can adjust them later
- Illustration
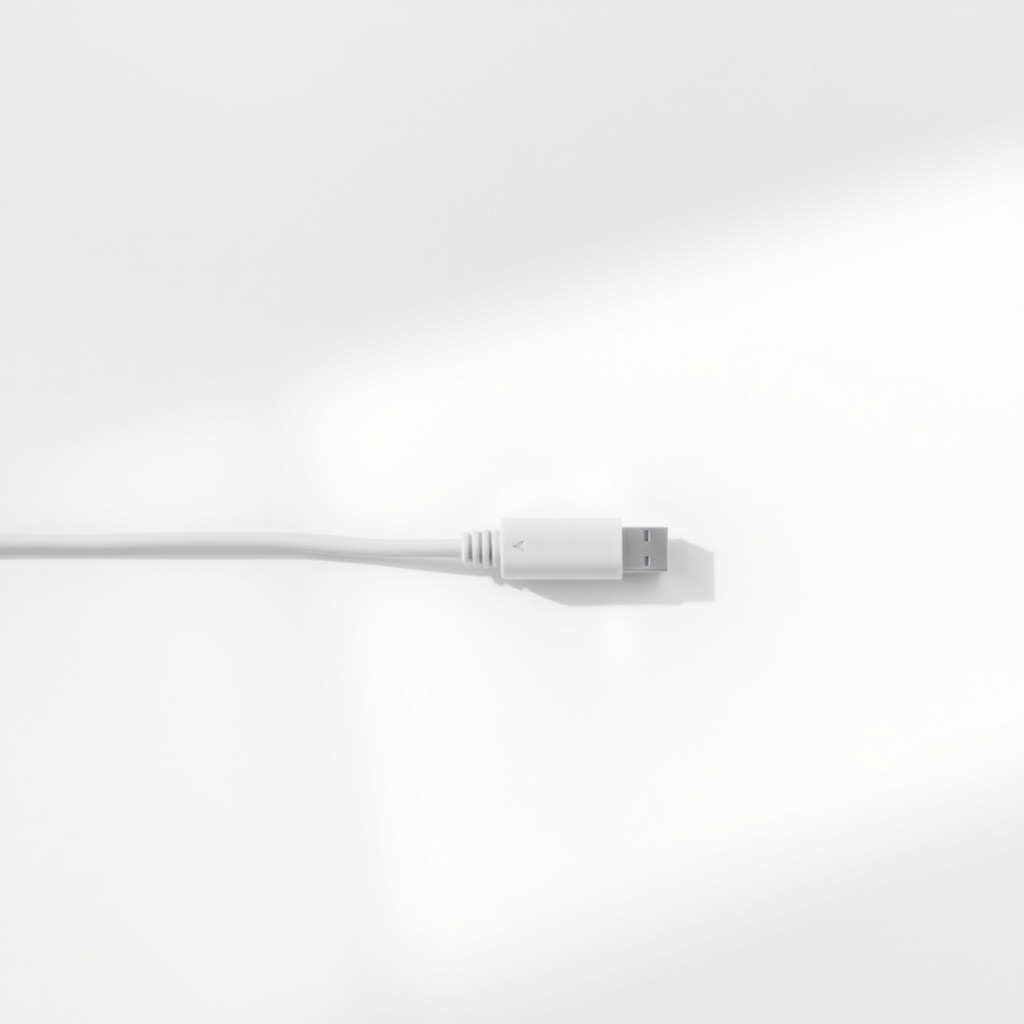
Paintable cord cover
Hides the last run from desk to wall outlet
Why it happens
Power strips and chargers on the floor
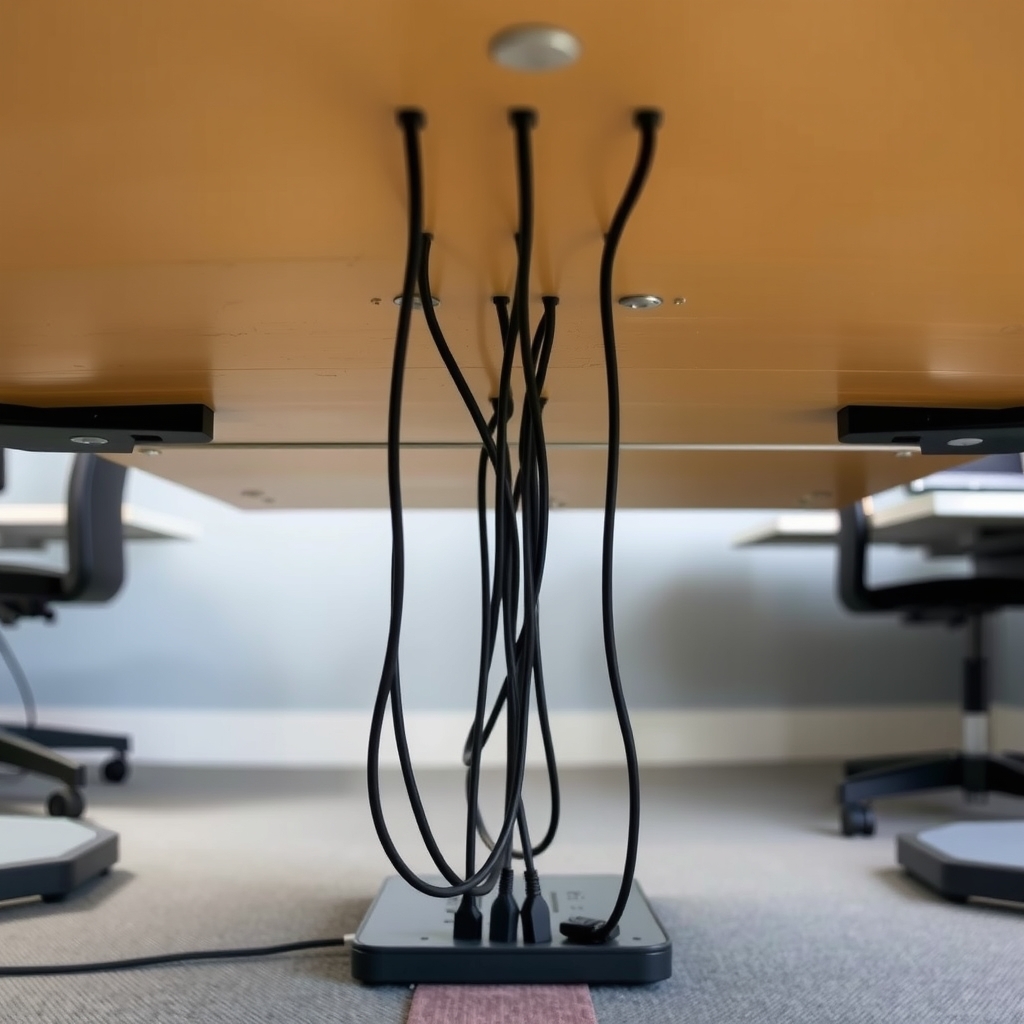
A power strip and bricks on the floor create the tangle that makes a desk look cluttered. They collect dust and get kicked or tugged every time you move your chair.
Cables far longer than you need
A 6-foot cord for a monitor 2 feet from the outlet makes loops and tangles. The extra length has to go somewhere.
No planned route
Without a route, each cord takes its own path. They cross, hang off the desk edge and snag your chair.
Try this first (free)
Do these in order, starting with the simplest.
-
Unplug everything and tag each cord
Tool used: Masking tape and markerPut a strip of masking tape on each plug end and write what it powers: monitor, laptop, lamp. It makes re-plugging simple and lets you swap one device later without tracing cords. Shut down and unplug the computer first.
-
Plan one route
Run cords along the back of the desk, then down one leg or the back edge to the wall outlet. Keep power cords on one side and thin data or video cables on the other, which cuts the tangle.
-
Lift the strip and bricks off the floor
Tool used: Under-desk cable trayIf your power strip has keyhole slots on the back, two short screws under the desk can hold it. Bricks and chargers still need a home, so a tray holds all of them with a little air around each. Screw-in trays need a desk thick enough for the screws. Use a clamp-on or adhesive tray for glass or thin desks. Do not stack bricks or cover them with fabric.
IllustrationCheck price on AmazonTool for this step
Under-desk cable tray · Check your power strip length and your desk type first
-
Bundle the slack
Tool used: Reusable hook-and-loop ties and adhesive clipsGather spare length in loose loops and wrap each with a reusable tie. Leave a little slack so you can move the monitor and chair.
IllustrationCheck price on AmazonTool for this step
Reusable hook-and-loop ties and adhesive clips · Neater than twist ties, and you can adjust them later
-
Hide the last run to the wall
Tool used: Paintable cord coverRun the line down the desk leg or back edge, then use a paintable cord cover along the baseboard. Do not tuck cords under a rug, where heat and wear go unseen.
IllustrationCheck price on AmazonTool for this step
Paintable cord cover · Hides the last run from desk to wall outlet
When free fixes aren't enough
Tagging, routing and ties tidy the cords, but they leave the power strip and bricks on the floor, where they collect dust, get kicked and tug on plugs. If you have a strip and more than a couple of chargers, a tray fixes that. A strip with keyhole slots can be screwed to the desk for free, but the bricks still dangle. If your desk is glass or thin, pick a clamp-on or adhesive tray.
Buy the fix
Still stuck after the free fixes? These are the products we would look at.
| Pick | Product | Fixes | Who it's for | Buy |
|---|---|---|---|---|
| Best pick | Under-desk cable management tray (steel wire or mesh) | the power strip, chargers and slack lying in view | Anyone with a standard desk and a power strip or a few chargers to hide. | Check price |
| Budget pick | Reusable hook-and-loop cable ties plus adhesive cable clips | loose cords drifting across the desk and floor | People who only need to tidy a few cords and do not want a tray. | Check price |
Under-desk cable management tray (steel wire or mesh)
Fixes: the power strip, chargers and slack lying in view
Look for: Long enough for your power strip, so check the strip length first; A mount that fits your desk: screws, clamp or adhesive; An open design with air gaps around power bricks.
- Who it's for
- Anyone with a standard desk and a power strip or a few chargers to hide.
- Honest downside
- Your desk is glass or very thin and the tray only screws in. Pick a clamp-on or adhesive version.
Reusable hook-and-loop cable ties plus adhesive cable clips
Fixes: loose cords drifting across the desk and floor
Look for: Reusable ties, not single-use; Adhesive clips rated for your desk finish.
- Who it's for
- People who only need to tidy a few cords and do not want a tray.
- Honest downside
- You have a power strip and several bricks to hide. A tray holds them better.
As an Amazon Associate I earn from qualifying purchases. We don't show prices because they change, so use the button to see today's price.
How we picked: How we picked: this page is based on electrical safety guidance for power strips, mounting instructions from tray makers, and the problems and fixes people report in reviews. We do not test products by hand.
Which tray style fits your desk?
- Screw-mount steel basket: holds the most weight, but needs a desk thick enough for the screws. Check that the screws are shorter than the desk.
- Clamp-on: best for glass, metal-framed or thin desks. Check the desk edge thickness the clamp can hold.
- Adhesive: only for light loads such as a few cables. A full power strip may be too heavy.
Safety rules for power cords
- Do not plug one power strip into another.
- Do not run cords under rugs or through tight spaces.
- Do not cover a power strip or bricks with fabric.
- Plug space heaters and other high-power items straight into the wall, never into a strip.
- Replace any cord that is warm, frayed or has a bent plug.
What to skip
Tight zip ties and closed cable boxes
Zip ties pulled tight can crush cables, and they cannot be adjusted. Fully closed boxes around a power strip and bricks can trap heat. Use hook-and-loop ties and an open tray.
Frequently asked questions
How do I hide cables on a standing desk?
How do I get rid of cable clutter without drilling?
Can I hide cables on a glass desk?
Related problems

As an Amazon Associate I earn from qualifying purchases. Affiliate disclosure