Bathroom Toothbrush Holder for Tiny Counters: Wall-Mount Picks
A small counter has no room for a cup. A wall-mounted holder keeps brushes upright, dry and off the sink. Here is how to choose and mount one.
By Jamilur Rahman Updated November 5, 2026 · 7 min read
- Time
- 15 min
- Cost
- Under $20
- Difficulty
- Easy
In this guide
- Quick answer
- Free vs. permanent fix
- What you'll need
- Why it happens
- Try this first (free)
- When free fixes aren't enough
- Buy the fix
- Bathroom toothbrush storage ideas for a tiny counter
- Bathroom toothbrush storage cabinet: use the inside of the door
- Dorm room toothbrush holder: shared bathrooms and no drilling
- What to skip
- FAQ
- Related problems
Quick answer
The best bathroom storage toothbrush holder for a tiny counter is one that mounts on the wall, so the counter stays clear. Pick a slotted or cup-style holder that keeps brushes upright with the heads apart and lets water drain. For rentals and dorms, an adhesive mount works on smooth tile. For a family, a screw-mount holder carries more weight.
Free fix vs. permanent fix
Move brushes into a cabinet or onto a shelf
- Stand brushes in a mug inside a cabinet or on a high shelf
- Keep the heads apart so they can air-dry
- Keep them as far from the toilet as the room allows
- Do not store them in a closed container
How long it lasts: Fine for one person. A loose cup on a tiny counter tips over, collects water and still takes space.
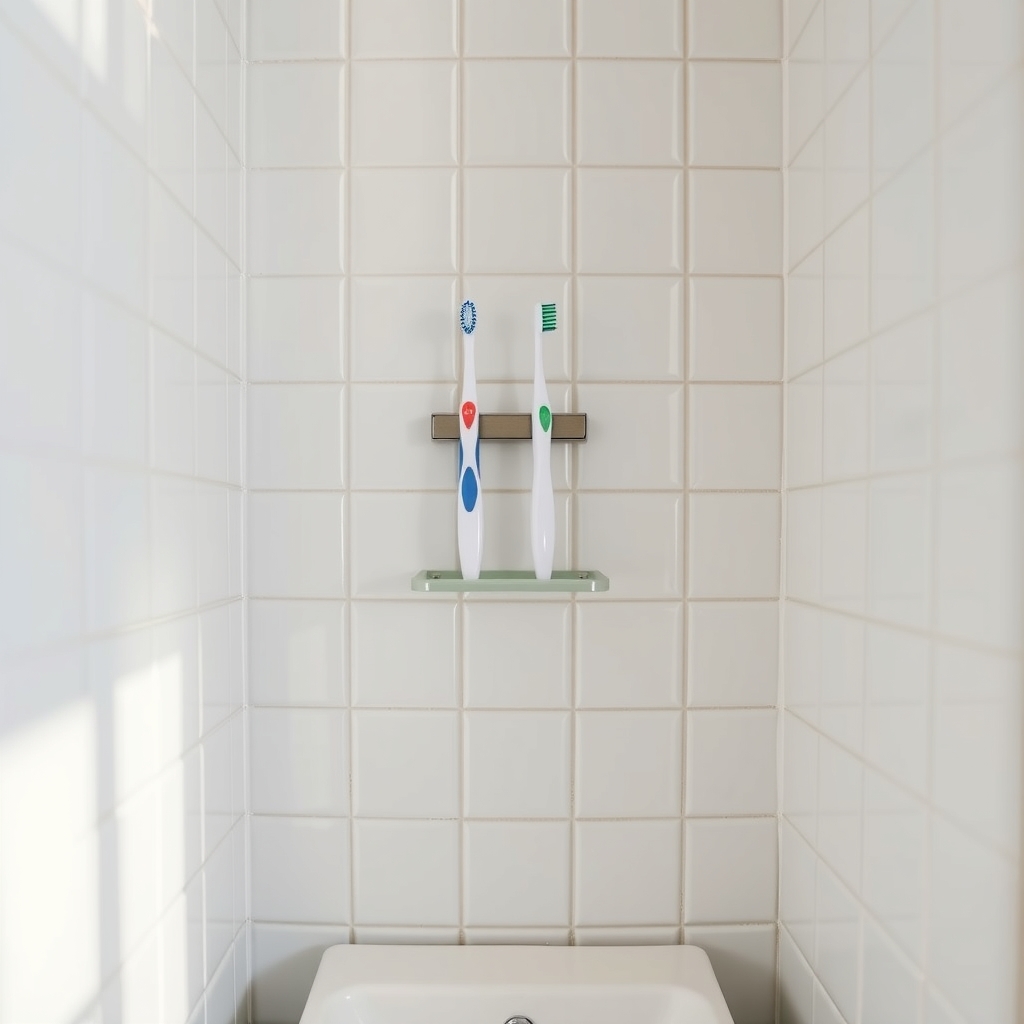
A wall-mounted toothbrush holder
A wall mount puts the brushes in unused space above the sink, so the counter stays free. Open slots or a draining cup let each brush air-dry upright, which is how dental groups advise storing them.
What to get: Wall-mounted toothbrush holder
How long it lasts: Years. It sits off the counter and has open slots, so brushes dry.
As an Amazon Associate I earn from qualifying purchases.
What you'll need
-
Tape measure
To check the wall space beside the sink
You have it -
Pencil
To mark where the holder goes
You have it -
Rubbing alcohol and cloth
Cleans the wall so adhesive sticks
You have it - Our pick Illustration
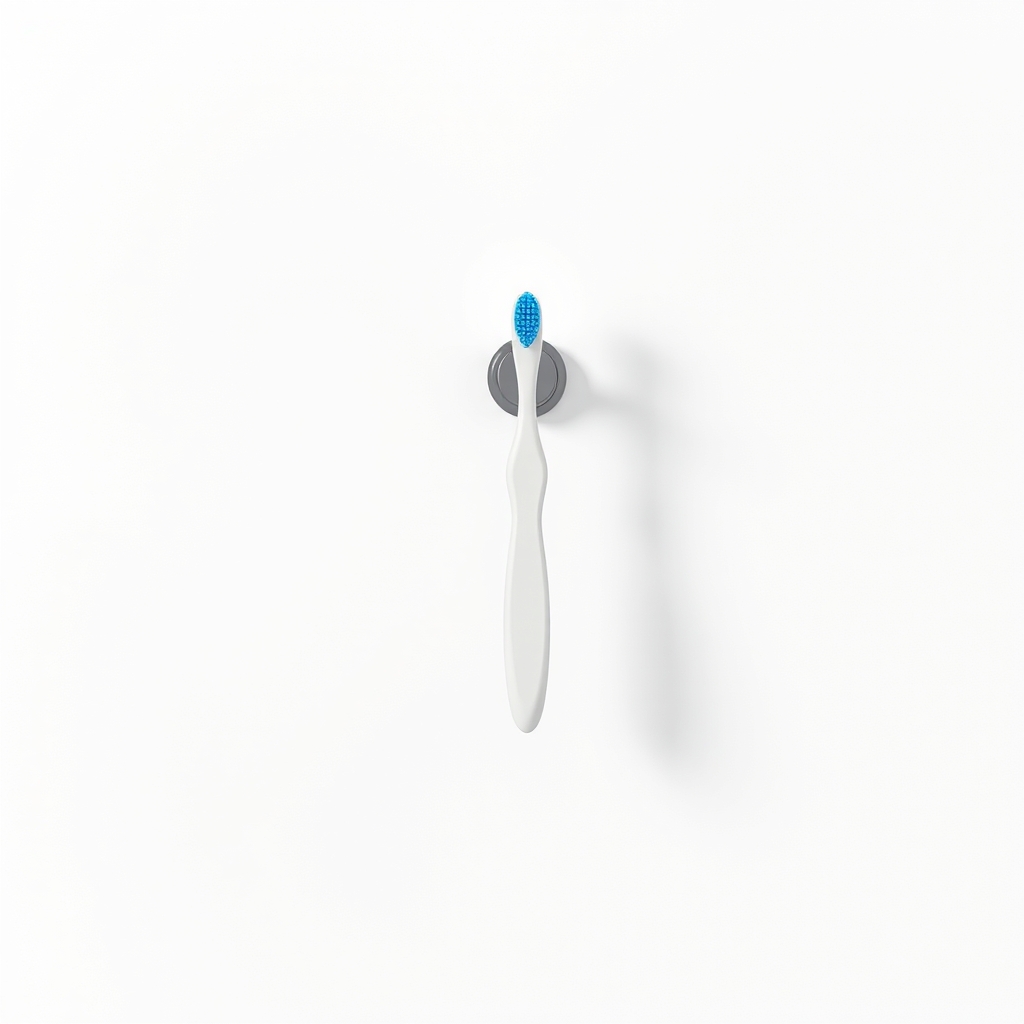
Wall-mounted toothbrush holder
Slots or cups with drain holes
- Illustration
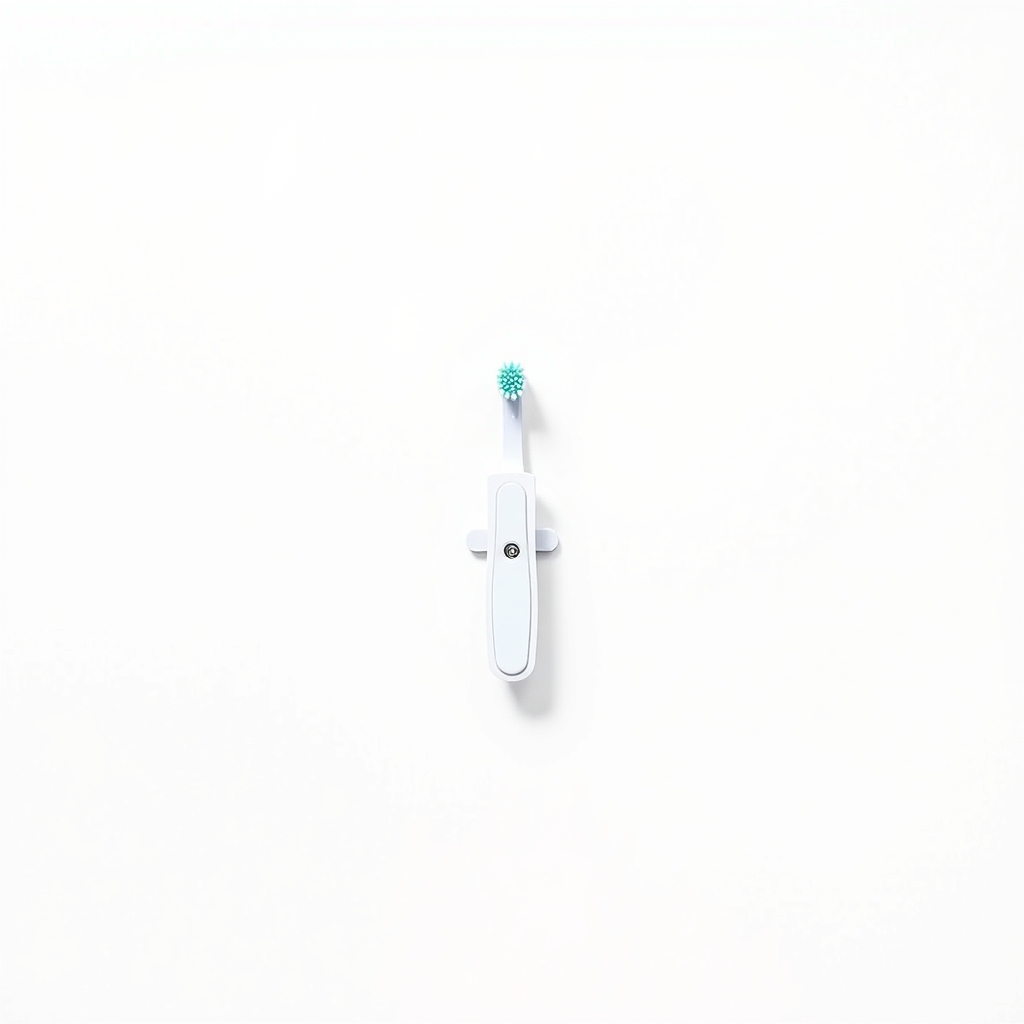
Stick-on toothbrush slots
The cheapest way to get brushes off the counter
- Illustration
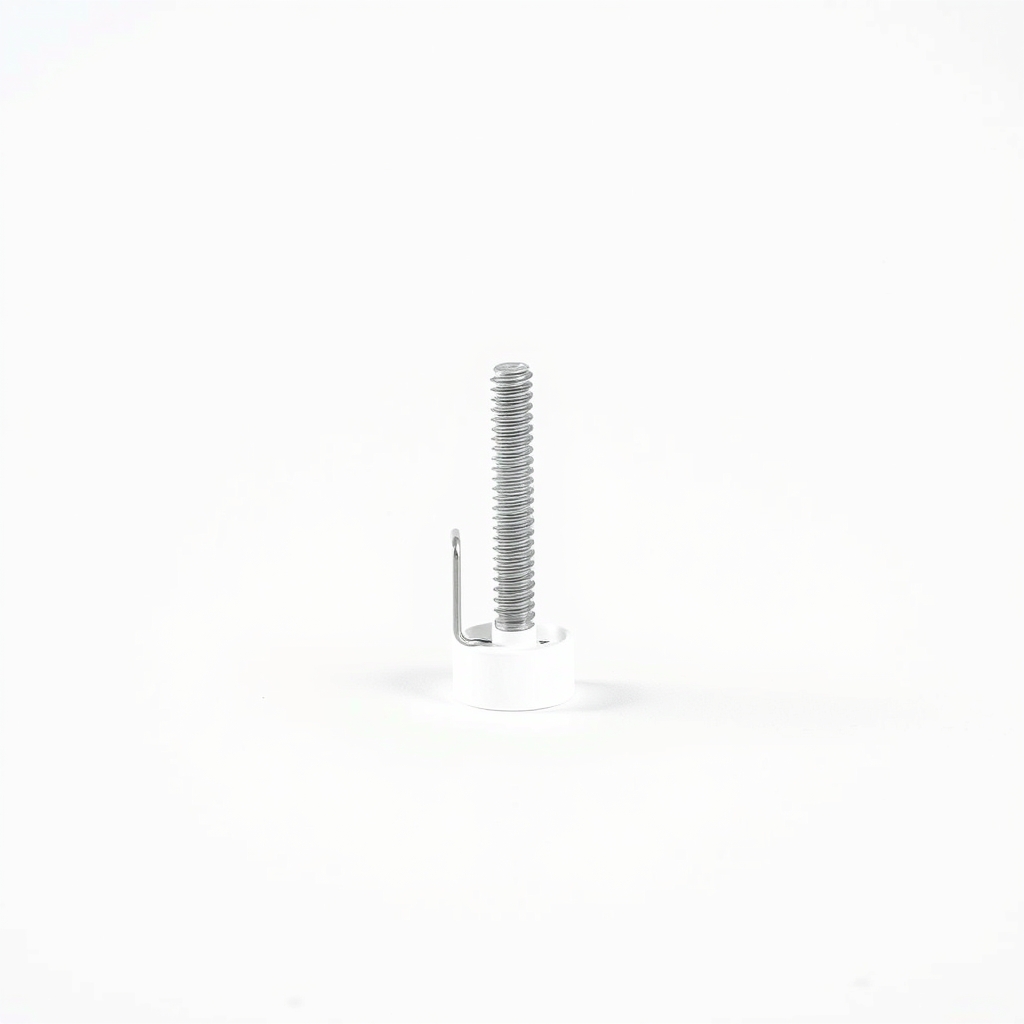
Screw-mount stainless steel holder
For a family that wants a holder that lasts
Why it happens
A cup uses counter space you do not have
On a narrow vanity, a cup of brushes crowds the sink edge and gets knocked into the basin.
Wet bases breed grime
Water pools under a cup or in a closed holder and leaves slime rings and mildew, which turns cleaning it into a chore.
Brushes touching each other
Crowded brushes touch heads and do not dry well. Each brush should have its own spot.
Try this first (free)
Do these in order, starting with the simplest.
-
Pick the spot
Tool used: Tape measureChoose a wall near the sink at arm height, away from the toilet and out of the direct splash. Measure the space the holder needs, and check the mirror and any faucet swing.
-
Check what the wall is made of
Smooth tile, glass, a mirror and glossy painted metal take adhesive. Textured or flaking paint, wallpaper and porous grout do not, so use screws there.
-
Clean and dry the spot
Tool used: Rubbing alcohol and clothWipe the wall with rubbing alcohol and let it dry completely. A soap film or water stops adhesive from sticking.
-
Mount the holder
Tool used: Wall-mounted toothbrush holderFor an adhesive mount, peel the backing and press firmly for the time on the pack. For screws, mark through the holes with a pencil. Use a tile bit or wall anchors where needed, and check for pipes or wires behind the wall first. Adhesive mounts often need an hour or more to set, so follow the instructions before you hang the brushes.
IllustrationCheck price on AmazonTool for this step
Wall-mounted toothbrush holder · Slots or cups with drain holes
-
Let brushes dry upright
Rinse the brush, shake off the water and put it in the slot with the heads apart. Replace brushes every three to four months, or sooner if the bristles fray.
When free fixes aren't enough
The free fix is fine for one person with a spare shelf. It stops working when the counter is the problem: a mug on a tiny counter gets knocked over, collects water and takes space. If two or more people share the bathroom, or you share a dorm bathroom, brushes end up in a pile with heads touching. A wall holder with a slot for each brush is the lasting answer. If your wall is textured or wet from the shower, or you cannot drill, choose the mount type to match, and check the weight the holder can carry.
Buy the fix
Still stuck after the free fixes? These are the products we would look at.
| Pick | Product | Fixes | Who it's for | Buy |
|---|---|---|---|---|
| Best pick | Wall-mounted toothbrush holder | a counter too small for a cup | Anyone sharing a small bathroom, including renters and dorm residents. | Check price |
| Budget pick | Stick-on toothbrush slots | counter clutter at the lowest price | Anyone who needs one to four slots and wants the cheapest option. | Check price |
| Upgrade pick | Screw-mount stainless steel holder | a holder that has to carry several brushes and toothpaste for years | Homeowners and families with a wall they can drill. | Check price |
Wall-mounted toothbrush holder
Fixes: a counter too small for a cup
Look for: A slot or cup for each person, with drain holes; An adhesive mount rated for your wall, or a screw option; A rust-resistant finish such as stainless steel or sealed plastic; Enough spots for the brushes in your household.
- Who it's for
- Anyone sharing a small bathroom, including renters and dorm residents.
- Honest downside
- Your wall is porous or flaking and you cannot use screws. Choose an inside-cabinet holder instead.
Stick-on toothbrush slots
Fixes: counter clutter at the lowest price
Look for: Open-bottom slots that drain; A strong adhesive back; A smooth surface that wipes clean.
- Who it's for
- Anyone who needs one to four slots and wants the cheapest option.
- Honest downside
- You use a bulky electric brush. Check that the slot size fits it before you buy.
Screw-mount stainless steel holder
Fixes: a holder that has to carry several brushes and toothpaste for years
Look for: Brushed stainless steel or a similar rust-resistant finish; Mounting screws and anchors included; Room for an electric brush handle or toothpaste.
- Who it's for
- Homeowners and families with a wall they can drill.
- Honest downside
- You rent and cannot drill, or there may be pipes behind the tile.
As an Amazon Associate I earn from qualifying purchases. We don't show prices because they change, so use the button to see today's price.
How we picked: How we picked: this page is based on toothbrush storage advice from dental groups, adhesive and mounting instructions from makers, and what owners report in reviews of wall-mounted holders. We do not test products by hand.
Bathroom toothbrush storage ideas for a tiny counter
- On the wall beside the sink: a slot or cup holder, the best use of empty space.
- Inside the medicine cabinet: a narrow holder on the door or the side wall.
- Inside a vanity door: a slim holder on the inside of the door, out of sight.
Bathroom toothbrush storage cabinet: use the inside of the door
A cabinet keeps brushes out of sight and splash, but a closed, damp cabinet stays humid. Mount a slim holder on the inside of the door rather than on a shelf, rinse and shake the brush before you put it away, and leave the door open a crack after you brush.
What to skip
Closed brush covers and suction cups
Closed covers keep a brush damp, which is the opposite of what dental groups advise. Keep them for travel, and dry the brush first. Suction cups on wet tile slip over time and drop brushes into the sink.
Frequently asked questions
Bathroom storage toothbrush: what is the cleanest way to keep one?
How far should a toothbrush be from the toilet?
How many brushes can a wall mount hold?
How often should I replace my toothbrush?
Related problems
 Free fix inside
Small Spaces & Storage · Bathroom Storage
Bathroom Storage With No Drill: Stick-On Shelves That Really Hold
Read the fix Free fix inside
Small Spaces & Storage · Bathroom Storage
How to Increase Storage in a Small Bathroom Without Remodeling
Read the fix Free fix inside
Small Spaces & Storage · Coat Rack
Coat Rack on a Door: Over-the-Door Hooks That Skip the Drill
Read the fix Free fix inside
Small Spaces & Storage · Small Apartment
Small Apartment, Too Much Stuff? Storage That Works Up the Walls
Read the fixAs an Amazon Associate I earn from qualifying purchases. Affiliate disclosure