Stuffed Dog Toy Ripped? How to Repair It for Round Two
A torn seam does not mean the toy is done. Close it with small, tight stitches and strong thread, and know when to retire it instead.
By Jamilur Rahman Updated November 5, 2026 · 6 min read
- Time
- 15 min
- Cost
- Under $20
- Difficulty
- Easy
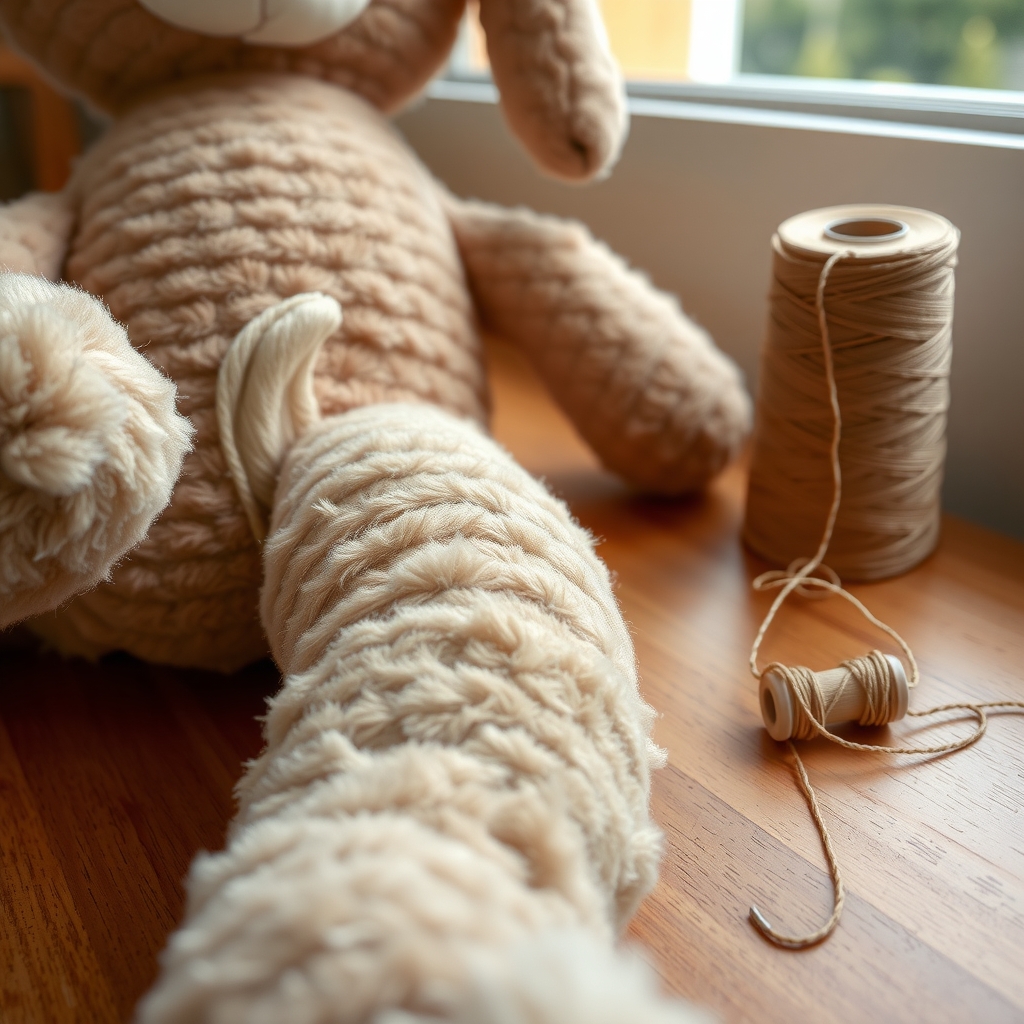
In this guide
Quick answer
To repair stuffed dog toys, push the stuffing back in and sew the seam shut with small, tight stitches, then reinforce the spot with a second row. Thread and needle you already own will fix a small split, but dogs pull hard, so strong upholstery thread is what survives round two. If the fabric is shredded or the squeaker is loose, replace the toy instead.
Free fix vs. permanent fix
Sew it shut with what you have
- Tuck the stuffing back in and leave the toy a little under-filled
- Sew with doubled thread and tiny stitches, about 1/8 inch apart
- Sew a second row for strength
- Bury the knot inside and trim the ends
How long it lasts: A few days to a couple of weeks for an enthusiastic chewer. Ordinary sewing thread is thin, so a dog's teeth can snap it.
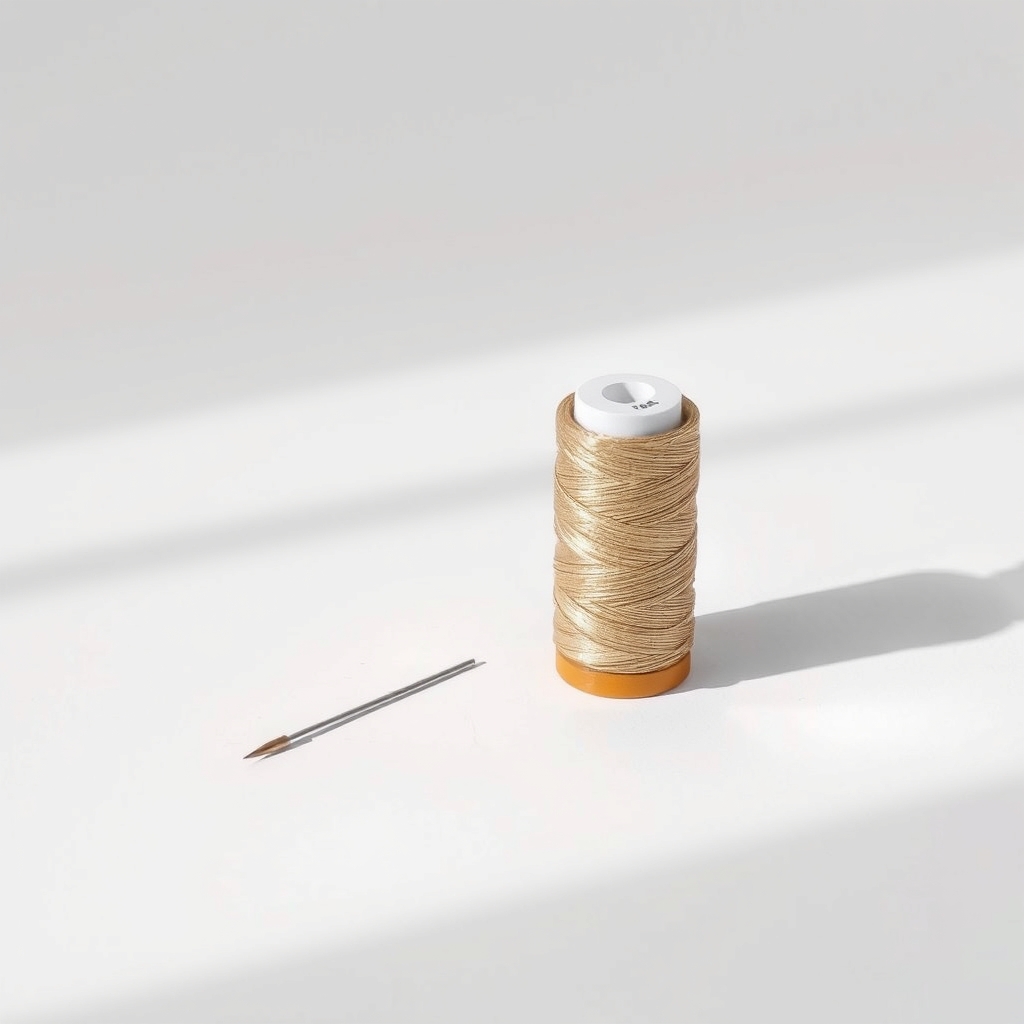
Heavy-duty upholstery thread and a needle kit
Standard sewing thread snaps in a good tug-of-war. Heavy-duty upholstery or nylon thread is built for strain, and a thick curved needle gets through tough fabric without bending. The repair stops being the weak point.
What to get: Heavy-duty upholstery thread and needle kit
How long it lasts: Often the length of the toy's life. Strong thread holds the seam under the tugging that snaps ordinary thread.
As an Amazon Associate I earn from qualifying purchases.
What you'll need
-
Scissors
To trim loose threads and frayed edges
You have it -
Scrap of denim or canvas
Cut from an old pair of jeans, for patching torn fabric
Free -
Ordinary needle and thread
Fine for a tiny split. Double the thread
You have it - Our pick Illustration
Heavy-duty upholstery thread and needle kit
Strong thread and sturdy needles for repairs that need to hold
- Illustration
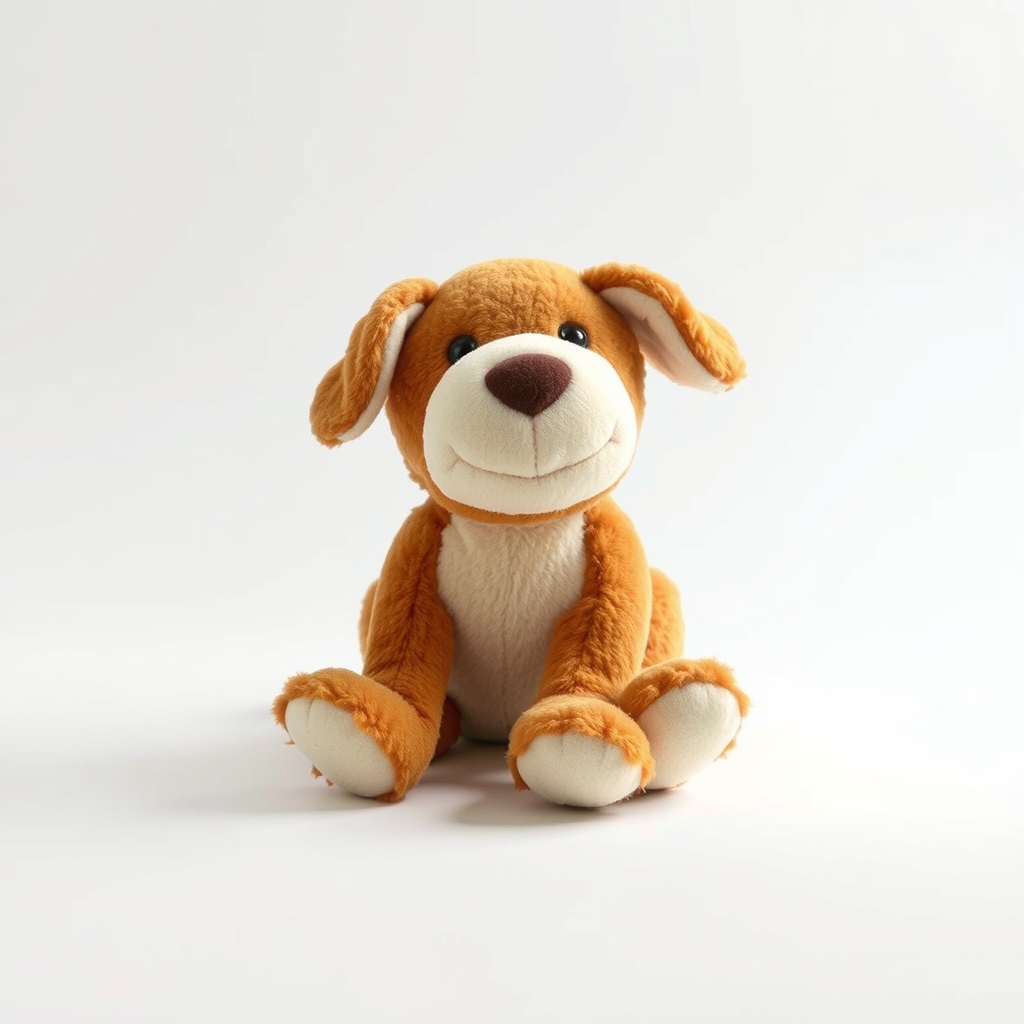
Reinforced-seam plush dog toy
A replacement for when the toy is beyond saving
Why it happens
A seam that was only sewn once
Most plush toys have a single line of thin thread along the edge. Teeth and tugging find it first, and one pulled stitch can open the whole seam.
Weak fabric at stress points
Ears, tails, limbs and the neck take the most pulling. The fabric there thins out, then tears right next to the seam.
Tug-of-war and shaking
Shaking a toy and tugging it hard puts all the force on a few stitches. A big dog's bite adds even more.
A repair that was never reinforced
A single row of loose stitches pulls out the same way the original did. The first repair is usually the weakest part of the toy.
Try this first (free)
Do these in order, starting with the simplest.
-
Decide if the toy is worth saving
A split seam or a small hole is an easy fix. If the fabric is shredded, chunks are missing, or you can see the squeaker or a plastic piece, retire the toy.
-
Remove loose stuffing and any small parts
Pull out any torn stuffing and take out a cracked squeaker. Put the stuffing back, leaving the toy a little softer than it was so the seam is not under strain.
-
Sew the opening with small tight stitches
Tool used: Heavy-duty upholstery thread and needle kitFold the raw edges inward. Double the thread and sew a whip stitch or a ladder stitch about 1/8 inch apart, pulling each stitch snug.
IllustrationCheck price on AmazonTool for this step
Heavy-duty upholstery thread and needle kit · Strong thread and sturdy needles for repairs that need to hold
-
Sew a second row, or patch a torn spot
Tool used: Scrap of denim or canvasStitch back over the seam, about 1/4 inch in from the first row. For torn fabric, sew a scrap of denim or canvas inside or over the hole.
-
Bury the knot and trim the ends
Tool used: ScissorsPull the knot into the stuffing through the fabric and snip the thread close. Loose thread tails get chewed and swallowed.
-
Give it a tug test, then supervise
Pull gently on the seam before you hand it back. Watch your dog with the repaired toy for the first few play sessions.
When free fixes aren't enough
Ordinary thread works for a tiny split on a gentle chewer. If your dog is a tugger or a shredder, thin thread will snap and you will be mending the same seam in a week. Heavy-duty thread and a strong needle are what make a repair last. Even so, no stitch beats a determined chewer. If the toy comes apart again within days, switch to a tougher toy rather than sewing the same one repeatedly.
Buy the fix
Still stuck after the free fixes? These are the products we would look at.
| Pick | Product | Fixes | Who it's for | Buy |
|---|---|---|---|---|
| Best pick | Heavy-duty upholstery thread and needle kit | seams that snap under tugging because ordinary thread is too thin | Anyone repairing toys for a dog that pulls and shakes, or who wants to patch beds and other gear too. | Check price |
| Upgrade pick | Reinforced-seam plush dog toy | toys that fall apart again within days of a repair | Owners whose dog destroyed the toy again soon after the repair. | Check price |
Heavy-duty upholstery thread and needle kit
Fixes: seams that snap under tugging because ordinary thread is too thin
Look for: Thick nylon or polyester thread meant for upholstery; Includes sturdy needles, ideally a curved one; A few spools or colors so the repair matches the toy; A needle eye big enough to take doubled thread.
- Who it's for
- Anyone repairing toys for a dog that pulls and shakes, or who wants to patch beds and other gear too.
- Honest downside
- The toy's fabric is thin or already shredded. Heavy thread tears it further. Replace the toy.
Reinforced-seam plush dog toy
Fixes: toys that fall apart again within days of a repair
Look for: Double-stitched or reinforced seams; A size that suits your dog, so it cannot be swallowed; Sturdy fabric that looks heavier than a standard plush.
- Who it's for
- Owners whose dog destroyed the toy again soon after the repair.
- Honest downside
- Your dog chews through any soft toy within minutes. A hard rubber chew is the better choice.
As an Amazon Associate I earn from qualifying purchases. We don't show prices because they change, so use the button to see today's price.
How we picked: How we picked: this page is based on hand-sewing and plush repair guides, pet-safety advice on thread and stuffing, and the repair and durability problems dog owners report in reviews. We do not test products by hand.
Which stitch to use
- Whip stitch: loop the thread over the edge each time. It is quick, strong and good for a seam that has opened.
- Ladder stitch: sew small stitches that run along the fold on alternate sides, then pull tight. It hides the thread and is neat on a small opening.
- Patch: for a hole in the fabric, sew a scrap of tough fabric behind the tear and stitch around its edge.
Is a repaired toy safe for a power chewer?
Often no. A dog that rips toys open in minutes will rip a repair too, and the stuffing and thread then become a swallowing risk. Save repairs for toys that need only a second chance, and give heavy chewers tough toys made for them. Supervise any repaired toy at first.
What to skip
Glue, staples and safety pins
Superglue and hot glue can harden into a sharp lump or contain chemicals your dog should not chew. Staples and pins can open and be swallowed. A stitch is the only safe closure for something that goes in a dog's mouth.
Frequently asked questions
How do I fix ripped dog toys?
What thread is safe for dog toys?
Should I take the squeaker out before sewing?
When should I throw the toy away?
Related problems
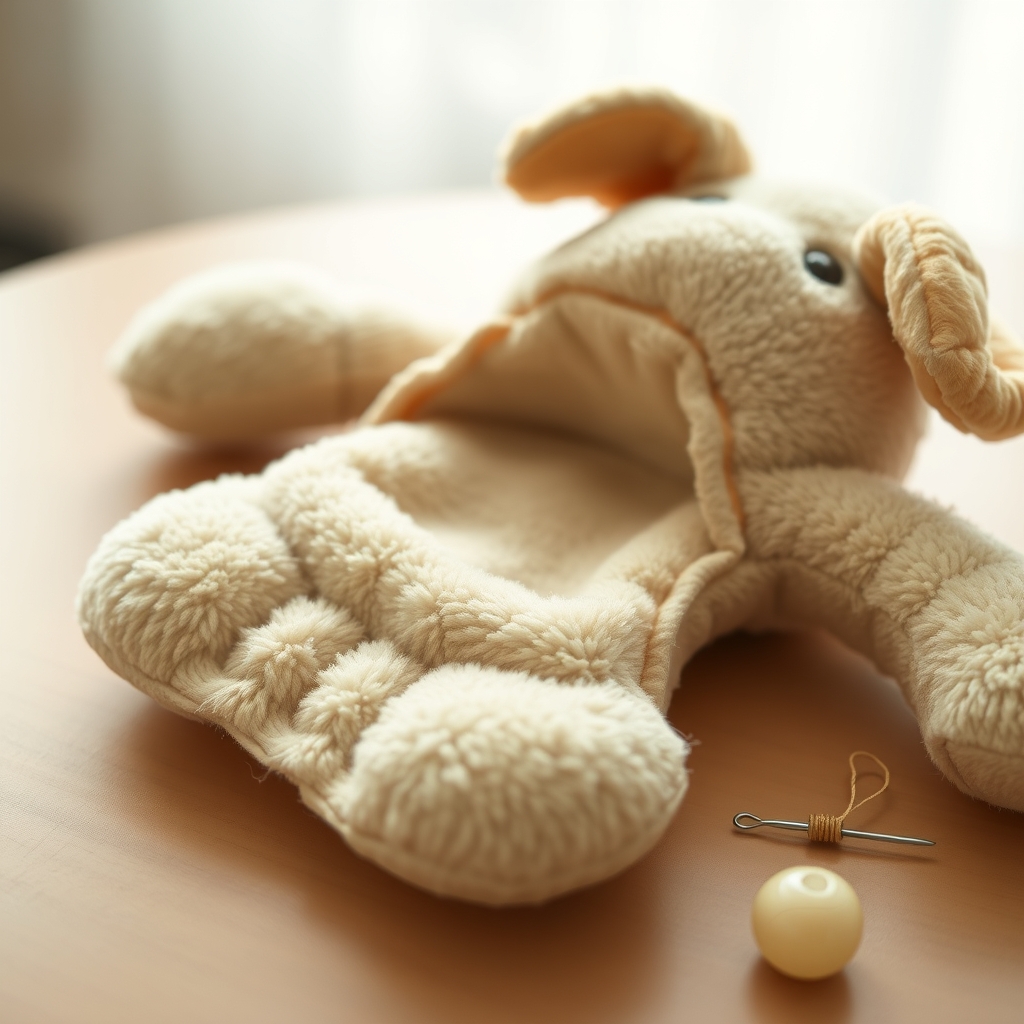 Free fix inside
Pets · Dog Toys Repair
Dog Toy Squeaker Stopped Working? Swap in a New One
Read the fix Free fix inside
Pets · Dog Toys
Dog Toys Not Stuffed: Flat Plush Toys That Skip the Fluff Mess
Read the fix Free fix inside
Pets · Dog Toys
Dog Destroying Toys in Minutes? Tough Chew Toys Worth the Price
Read the fix Free fix inside
Pets · Dog Bed Repair
Ripped Dog Bed? Patch It Instead of Tossing It
Read the fixAs an Amazon Associate I earn from qualifying purchases. Affiliate disclosure