Leaky Laundry Room Faucet? The Washer Swap That Stops the Drip
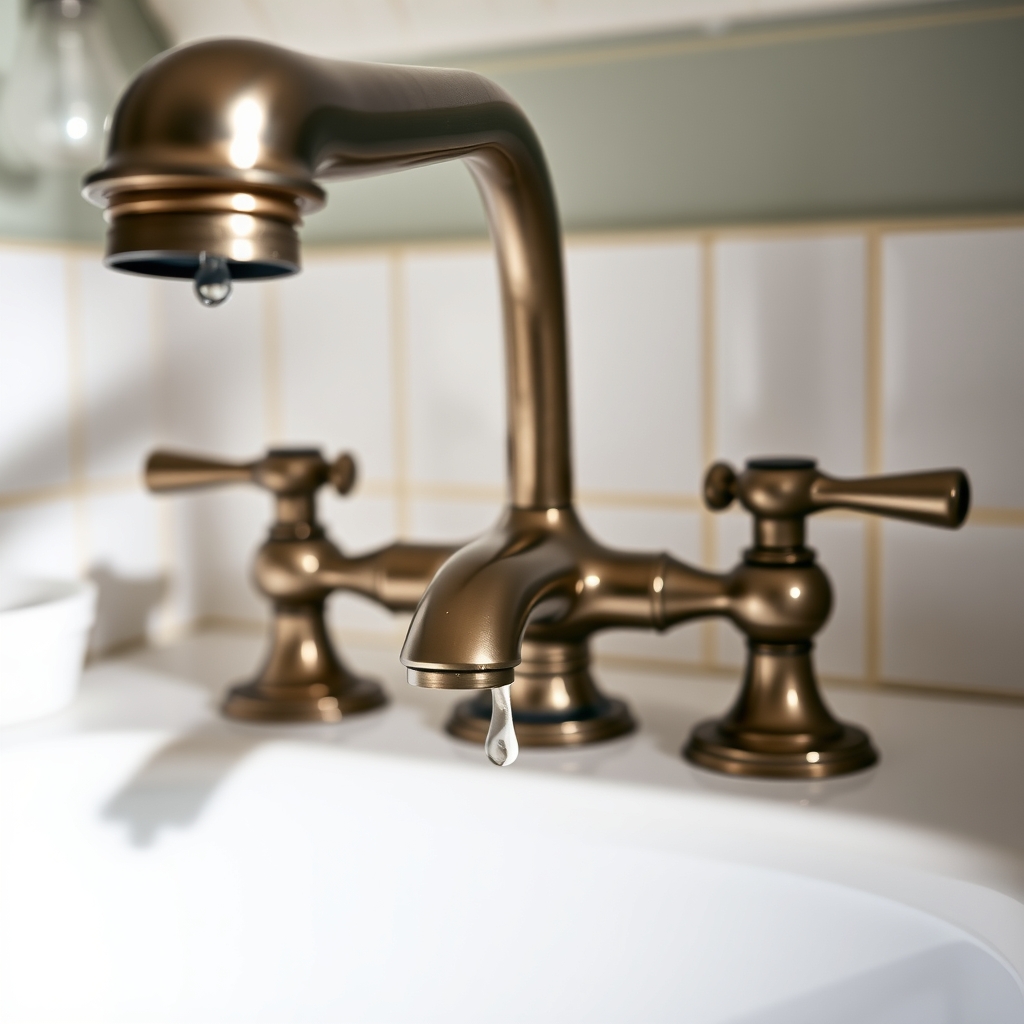
A dripping spout or a wet handle usually means a worn rubber washer or O-ring. Tighten first, then swap both for a few dollars.
By Jamilur Rahman Updated November 5, 2026 · 6 min read
- Time
- 30 min
- Cost
- Under $20
- Difficulty
- Easy
In this guide
Quick answer
To fix a leaky laundry room faucet, shut off the water, take out the stem and replace the rubber washer and O-ring inside. A drip from the spout usually means a worn washer, and a leak at the handle usually means a worn O-ring or a loose packing nut. A faucet washer and O-ring repair kit has the parts, and a quarter-turn on the packing nut can stop a handle leak first.
Free fix vs. permanent fix
Tighten the packing nut
- Close the shut-off valves under the sink, or the main
- Take off the handle and snug the packing nut a quarter turn
- Turn the water back on and check for drips after an hour
- If the spout still drips, the washer is worn
How long it lasts: It can stop a leak at the handle for months. It will not stop a drip from the spout, because that comes from a worn washer.
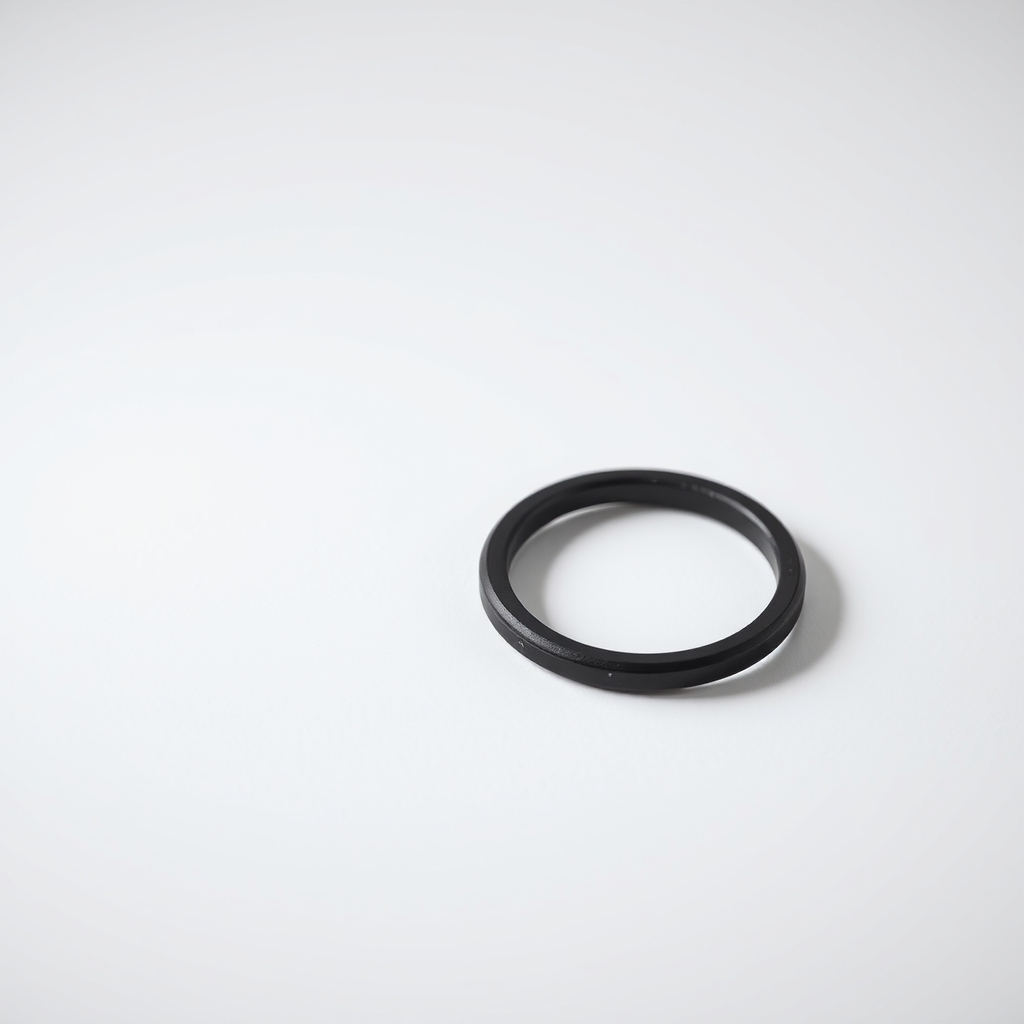
A faucet washer and O-ring repair kit
In a compression faucet, a rubber washer presses on a metal seat to stop the water, and an O-ring seals around the stem. Both wear out, and tightening cannot bring back worn rubber. A kit has the washers and O-rings you need, so the faucet seals again.
What to get: Faucet washer and O-ring repair kit
How long it lasts: Often several years, since new rubber seals the way the faucet did when it was new
As an Amazon Associate I earn from qualifying purchases.
What you'll need
-
Adjustable wrench
For the packing nut
You have it -
Flat and Phillips screwdrivers
The handle screw hides under a small cap
You have it -
Rag or towel
Lay it in the sink so small parts cannot fall down the drain
You have it - Our pick Illustration
Faucet washer and O-ring repair kit
Choose a kit with flat and beveled washers in several sizes
- Illustration
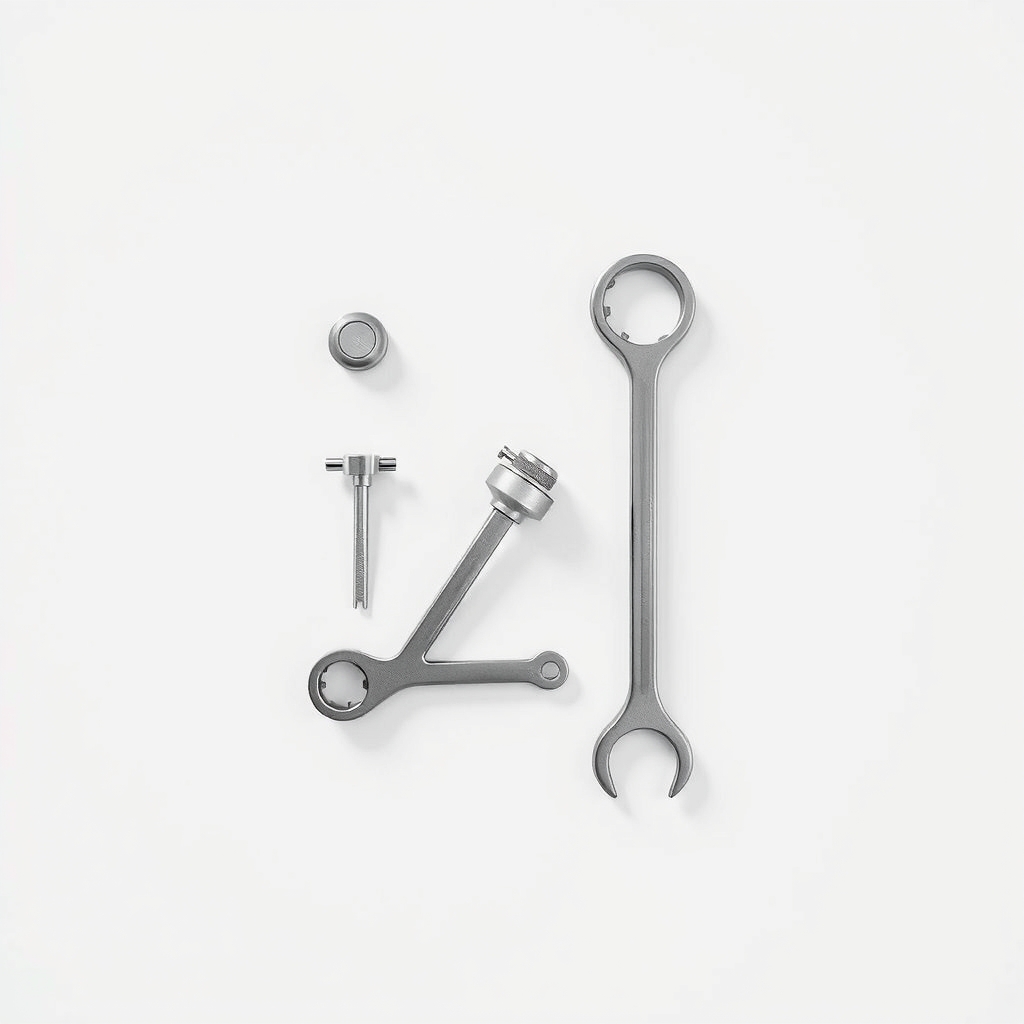
Faucet seat wrench and dresser set
Only if a new washer still drips
Why it happens
A worn seat washer
Each time you shut the tap, a rubber washer squeezes against a metal seat. After years it hardens, cracks or flattens, and water creeps past. This is the usual cause of a drip from the spout.
A dried-out O-ring or loose packing nut
Water that seeps around the handle or the base of the stem points to a worn O-ring or a packing nut that has worked loose. Hard water and heavy use wear them faster.
A pitted valve seat
Grit and mineral scale chew the brass seat. A new washer cannot seal on a rough seat, so the drip comes back soon after a repair.
Over-tightening the handle
Cranking the handle shut flattens the washer fast. Close it until the water stops, then stop turning.
Try this first (free)
Do these in order, starting with the simplest.
-
1. Shut off the water
Tool used: Rag or towelClose the supply valves under the sink. If there are none, close the main. Open the faucet to drain it. Lay a rag in the sink so small parts cannot fall in.
-
2. Remove the handle
Tool used: Flat and Phillips screwdriversPry off the small cap on top, take out the screw and lift the handle off. Some handles need a gentle wiggle.
-
3. Snug the packing nut
Tool used: Adjustable wrenchIf it leaks at the handle, tighten the packing nut under it a quarter turn with the wrench. Turn the water back on and check. If the leak stops, you are done.
-
4. Pull the stem and swap the washer and O-ring
Tool used: Faucet washer and O-ring repair kitUnscrew the packing nut and lift out the stem. Remove the screw at the bottom to replace the rubber washer, and roll the old O-ring off and slide on a matching new one. Match the shape (flat or beveled) and the size to the old parts.
IllustrationCheck price on AmazonTool for this step
Faucet washer and O-ring repair kit · Choose a kit with flat and beveled washers in several sizes
-
5. Rebuild and test
Put the stem back and reassemble the handle. Open the supply valves slowly, then open and close the faucet fully a few times. Check around the handle and under the spout after an hour.
When free fixes aren't enough
If the drip returns within days of a new washer, the seat is probably pitted. A seat wrench and a dresser can fix that on a compression faucet. If your faucet has one handle, or has no washer stem, it likely uses a cartridge or a ball, and a washer kit will not fit. You then need a cartridge or a new faucet. If the faucet is badly corroded, or you cannot shut off the water, call a plumber. If the leak is at the hose connection to the washer, that is the rubber washer inside the hose coupling, not the faucet.
Buy the fix
Still stuck after the free fixes? These are the products we would look at.
| Pick | Product | Fixes | Who it's for | Buy |
|---|---|---|---|---|
| Best pick | Faucet washer and O-ring repair kit | a drip from the spout or a wet handle on a two-handle compression faucet | Anyone with a two-handle laundry sink faucet that drips. | Check price |
| Upgrade pick | Faucet seat wrench and dresser set | a drip that comes back after a new washer because the seat is pitted | Anyone whose new washer still drips after a rebuild. | Check price |
Faucet washer and O-ring repair kit
Fixes: a drip from the spout or a wet handle on a two-handle compression faucet
Look for: Flat and beveled washers in several sizes; O-rings and brass screws in the box; Labeled sizes so you can match the old parts.
- Who it's for
- Anyone with a two-handle laundry sink faucet that drips.
- Honest downside
- Your faucet has one handle and a cartridge or ball. A washer kit will not fit.
Faucet seat wrench and dresser set
Fixes: a drip that comes back after a new washer because the seat is pitted
Look for: A seat wrench that fits your seat, usually double-ended; A seat dresser to smooth a rough seat; Hand tools only, so no power tool is needed.
- Who it's for
- Anyone whose new washer still drips after a rebuild.
- Honest downside
- A new washer already stopped the drip. A pitted seat is the rare case.
As an Amazon Associate I earn from qualifying purchases. We don't show prices because they change, so use the button to see today's price.
How we picked: How we picked: this page is based on faucet repair guides, parts descriptions from plumbing makers and the problems and fixes people report in owner reviews. We do not test products by hand.
Compression faucet or not? Check before you buy
- Two handles that spin many turns: a compression faucet. A washer and O-ring kit is the right fix.
- One handle that lifts or swings: a cartridge, ball or ceramic disc faucet. You need that faucet's cartridge, not washers.
- A threaded spout for a hose: common on laundry tubs. Many of these are compression too, so check the handle first.
What to skip
Wrapping the stem with tape or smearing sealant on the handle
Tape around the stem or silicone around the handle hides the leak for a while without sealing it. It also makes the faucet harder to take apart later. Replace the worn rubber instead.
Frequently asked questions
How to fix a laundry sink faucet that will not stop dripping?
Why is my laundry faucet leaking around the handle?
How do I know what kind of faucet I have?
Do I need to turn off the water to fix a leaky faucet?
Related problems
 Free fix inside
Laundry · Laundry Plumbing
How to Turn Off Laundry Room Water: Add a Quarter-Turn Valve
Read the fix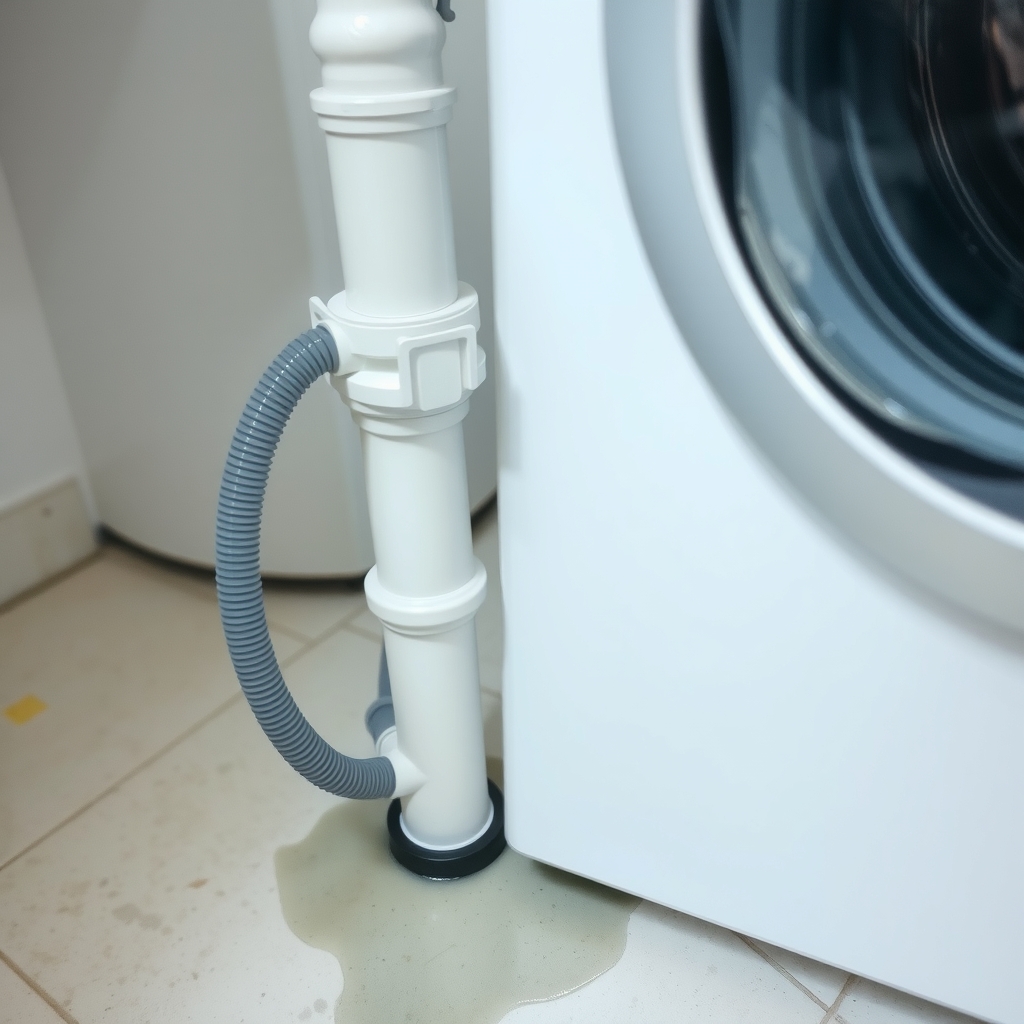 Free fix inside
Laundry · Laundry Plumbing
Laundry Room Drain Backing Up? Snake the Standpipe First
Read the fix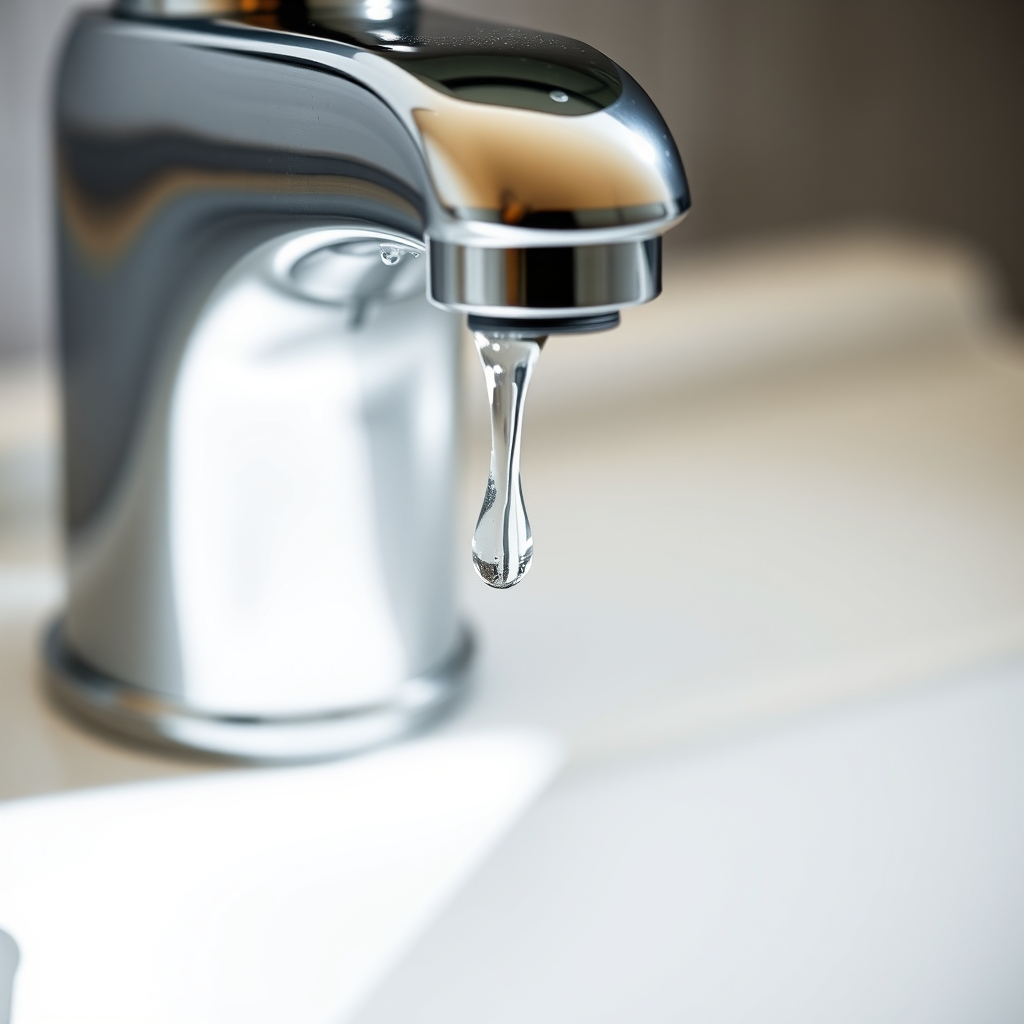 Free fix inside
Bathroom · Bathroom Faucet
Bathroom Faucet Dripping? Find Your Faucet Type, Then Fix It
Read the fix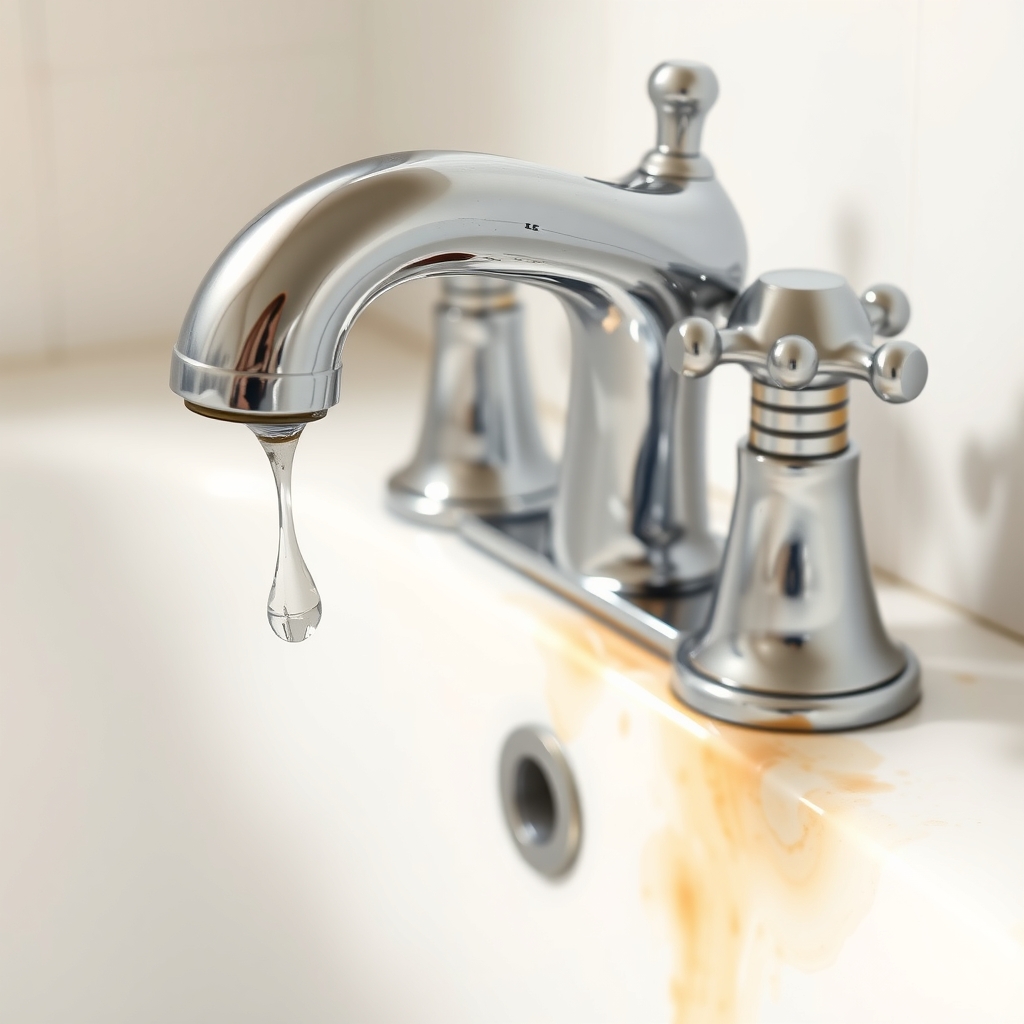 Free fix inside
Bathroom · Bathtub Faucet
Bathtub Faucet Leaking or Dripping? Washer Fix for Two-Handle Taps
Read the fixAs an Amazon Associate I earn from qualifying purchases. Affiliate disclosure