Blender Leaking From the Bottom? A 3-Minute Gasket Check First
A leaking blender base is usually a twisted or worn gasket, not a dead blender. Check it in three minutes, then swap the gasket or blade assembly.
By Jamilur Rahman Updated November 5, 2026 · 6 min read
- Time
- 10 min
- Cost
- Under $20
- Difficulty
- Easy
In this guide
Quick answer
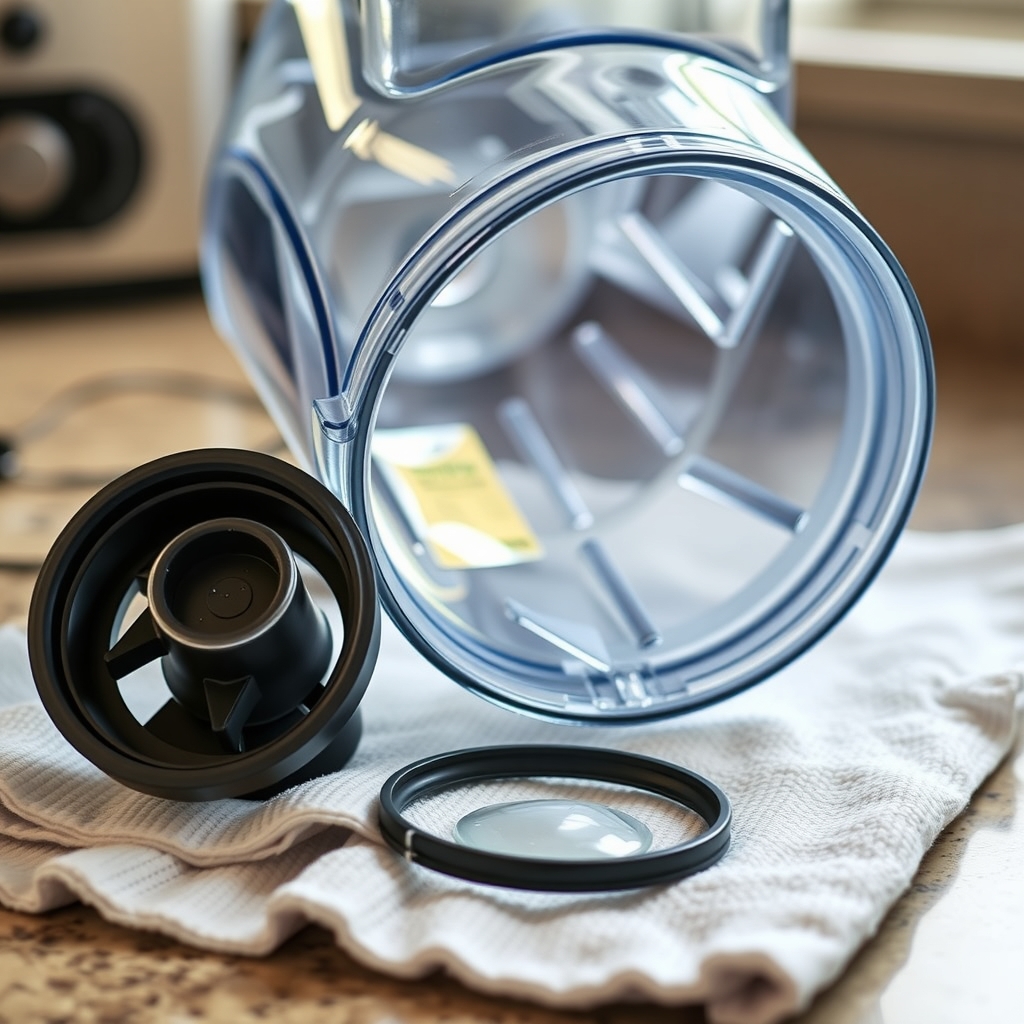
A blender that drips from the bottom almost always leaks at the blade base: the rubber gasket is twisted, dirty, stretched or cracked, or the base is not tight. Unplug it, unscrew the base, clean and reseat the gasket, then screw it back on hand-tight. If the ring is cracked or flat, or the leak comes from the middle under the blades, a new gasket or blade assembly stops it for good.
Free fix vs. permanent fix
Reseat the gasket and retighten the base
- Unplug, then unscrew the blade base
- Lift out the gasket, wash it and dry it
- Press it flat into its groove
- Screw the base back on hand-tight and test with water
How long it lasts: Fine if the ring was only twisted or the base was loose. A worn ring leaks again within a few uses.
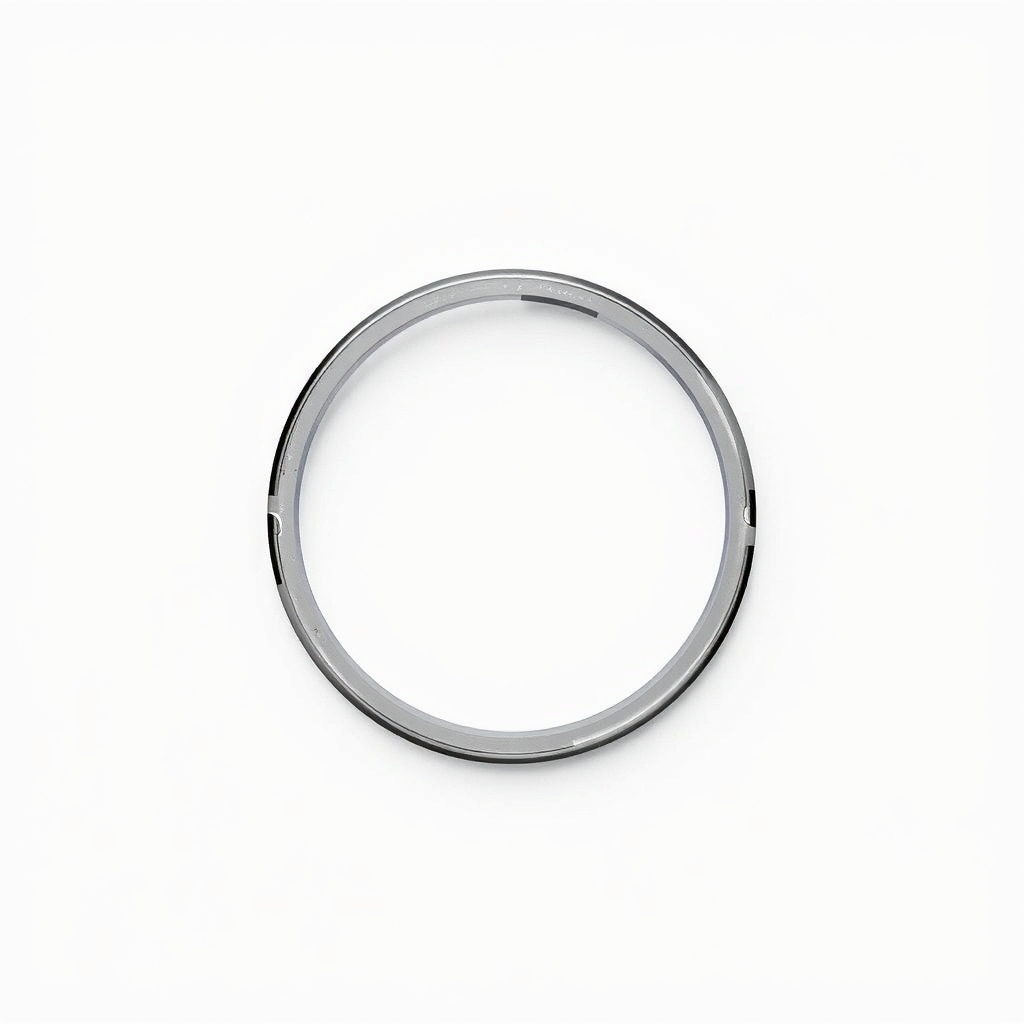
A fresh replacement gasket
The gasket is the seal between the jar and the blade base. It is a soft rubber ring that hardens, stretches and flattens over time, and cleaning cannot restore a worn one. A new gasket is the cheap fix. If the leak is at the blade shaft, the full blade assembly, which has its own seal, is what needs replacing.
What to get: Replacement blender gasket (sealing ring)
How long it lasts: A long time with hand washing. Keep a spare, and the next swap takes a minute.
As an Amazon Associate I earn from qualifying purchases.
What you'll need
-
Dish towel
For gripping the base and keeping fingers off the blades
You have it -
Dish soap and a soft brush
For the gasket groove and the base threads
You have it -
Water for a leak test
Fill the jar halfway before you put any food in it
Free - Our pick Illustration
Replacement gasket
Match it to your blender brand and model number
- Illustration
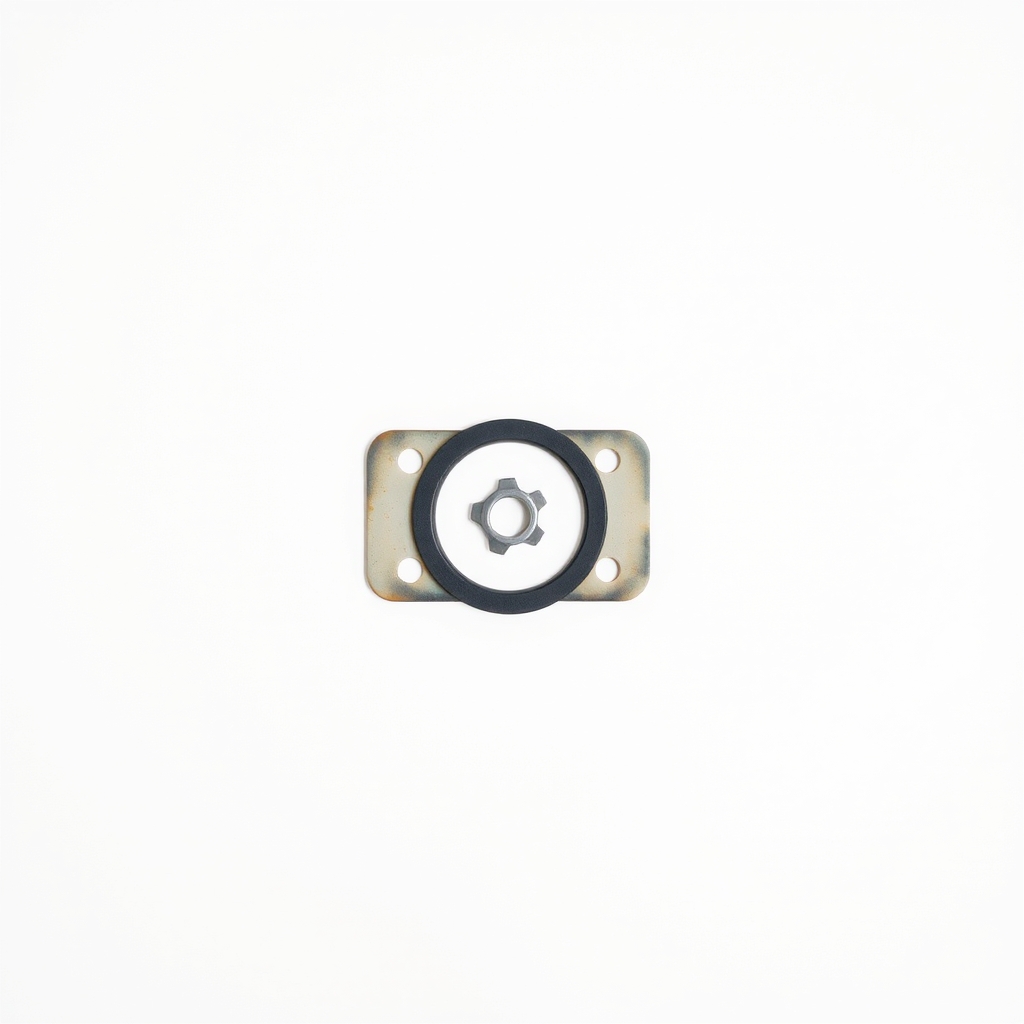
Replacement blade assembly with gasket
When the leak is at the blade shaft, or the blades are worn
Why it happens
Gasket twisted or out of its groove
After washing, the ring can roll or sit crooked. The base then clamps unevenly, and liquid seeps through the gap.
Worn, stretched or cracked gasket
Heat from the dishwasher, hot liquids and age harden the rubber. It flattens, cracks and stops sealing even when it is seated correctly.
Blade base too loose or too tight
A loose base leaks along the threads. An over-tightened one crushes the gasket or cracks the jar.
Worn blade shaft seal or a cracked jar
If liquid drips from the center under the blades, the seal around the shaft has worn out. A hairline crack in the jar base or threads leaks too, and that needs a new jar.
Try this first (free)
Do these in order, starting with the simplest.
-
1. Unplug and empty the jar
Pull the plug from the wall. Pour out the contents, then set the jar upside down on a towel.
-
2. Unscrew the blade base
Tool used: Dish towelTurn it counterclockwise by hand, gripping it with a towel. Some models come with a small wrench. Keep your fingers away from the blades.
-
3. Inspect and clean the gasket
Tool used: Dish soap and a soft brushLift the ring out of its groove. Look for cracks, flat spots, stretching or a gummy feel. Wash the ring, the groove and the threads, then dry them.
-
4. Reseat it flat
Press the ring evenly into the groove so it sits flat with no twists. Screw the base back on until it is snug. Do not use tools to tighten it.
-
5. Test with water
Tool used: Water for a leak testFill the jar halfway with water, set it on a dry paper towel and wait two minutes. If the towel stays dry, run it on low for 15 seconds and check again.
When free fixes aren't enough
If the ring is cracked, flattened or stretched, the leak will come back within a few uses, so replace it. If water drips from the center under the blades, or the blades wobble or spin roughly, the blade assembly's own seal has worn out. Replace the whole assembly, which comes with a fresh gasket. If the jar has a crack in the base or threads, replace the jar. Do not keep running a leaking blender, because liquid that reaches the motor base can damage it. Unplug it if the base gets wet.
Buy the fix
Still stuck after the free fixes? These are the products we would look at.
| Pick | Product | Fixes | Who it's for | Buy |
|---|---|---|---|---|
| Best pick | Replacement blender gasket (sealing ring) | a worn or flattened gasket that leaks from the blade base | Anyone whose jar leaks around the blade base. | Check price |
| Upgrade pick | Replacement blade assembly with gasket | leaks at the blade shaft and dull or wobbly blades | Owners whose new gasket still leaks, or whose blades are chipped or dull. | Check price |
Replacement blender gasket (sealing ring)
Fixes: a worn or flattened gasket that leaks from the blade base
Look for: Made for your brand and model, so check the number on the base; Soft, flexible rubber that is food-safe; A pack of two or more, so you have a spare.
- Who it's for
- Anyone whose jar leaks around the blade base.
- Honest downside
- The leak is from the center under the blades, or the jar is cracked. A gasket will not stop that.
Replacement blade assembly with gasket
Fixes: leaks at the blade shaft and dull or wobbly blades
Look for: Fits your jar threads and your model; Includes the gasket; Stainless blades that sit level and spin freely.
- Who it's for
- Owners whose new gasket still leaks, or whose blades are chipped or dull.
- Honest downside
- Your blender is old and cheap. Check the assembly's price first, since a new blender may cost about the same.
As an Amazon Associate I earn from qualifying purchases. We don't show prices because they change, so use the button to see today's price.
How we picked: How we picked: this page is based on blender manuals, care guides from appliance makers, and the problems and fixes owners report in reviews. We do not test products by hand.
Find the right part
Look for the model number on a sticker on the bottom of the motor base or the jar. Gaskets and blade assemblies are usually not universal. Match the brand, the model, the jar thread and the number of blades before you order.
What to skip
Sealing a leak with silicone, glue or tape
Sealant on a blade base is not food-safe and breaks down with hot liquids and washing. Skip it, and skip over-tightening the base with a wrench. A crushed gasket or a cracked jar costs more than a new gasket.
Frequently asked questions
Why does my blender leak from the bottom?
Why is my blender leaking when I blend hot liquids?
How do I stop my blender from leaking for good?
Can the gasket go in the dishwasher?
Related problems
As an Amazon Associate I earn from qualifying purchases. Affiliate disclosure