Tile Grout Molding? Kill It, Then Seal the Grout So It Stays Gone
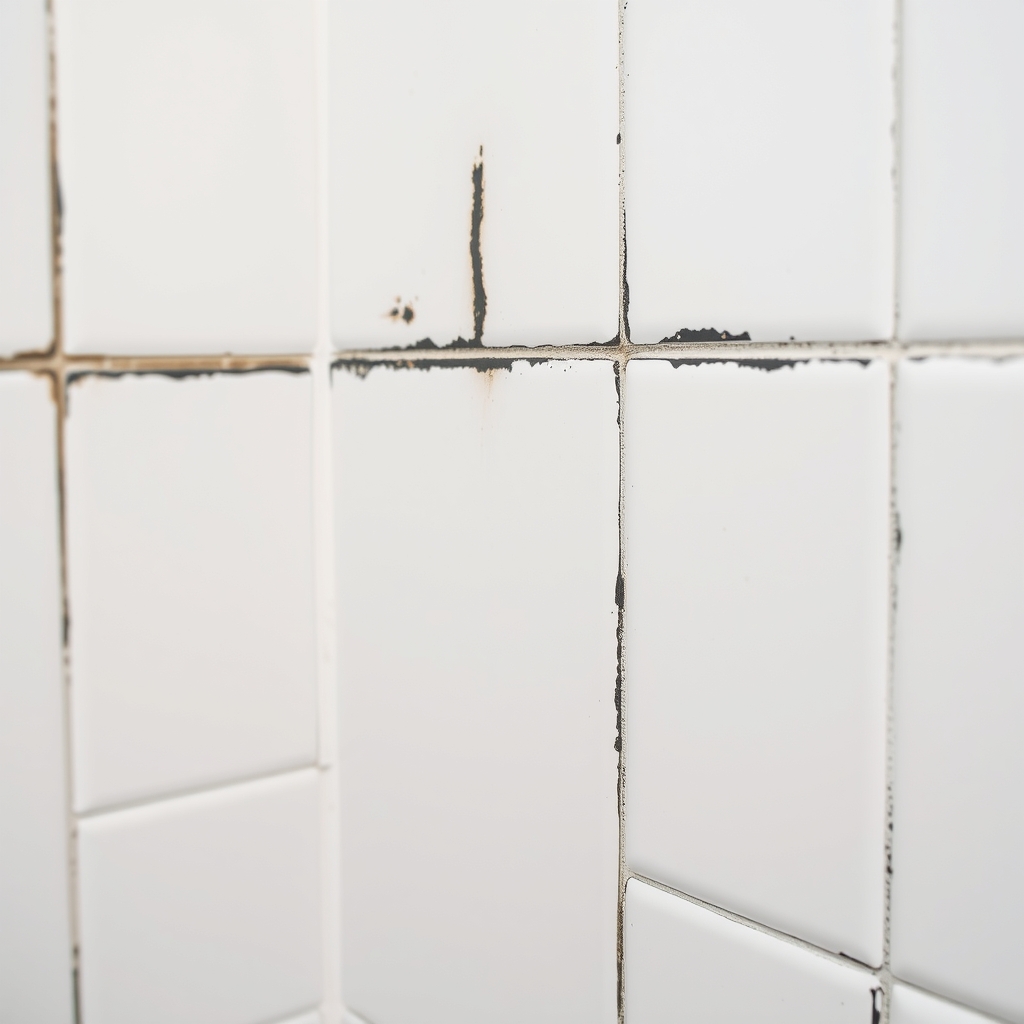
Porous grout soaks up water and soap scum, and mold feeds on both. Scrub the mold out, let the grout dry, then seal it so the damp cannot soak back in.
By Jamilur Rahman Updated November 5, 2026 · 7 min read
- Time
- 1 hour plus drying
- Cost
- Under $20
- Difficulty
- Medium
In this guide
Quick answer
Grout molds because it is porous. It soaks up water and soap scum, and mold grows in the damp. Scrub the grout with a baking soda and hydrogen peroxide paste, rinse and let it dry completely. Then apply a penetrating grout sealer, which fills the pores so water stays out. Cleaning without sealing is why the mold comes back in a few weeks.
Free fix vs. permanent fix
Scrub, rinse and run the fan
- Scrub with baking soda and 3% hydrogen peroxide paste
- Rinse well and dry the tile
- Run the fan for 20 minutes after each shower
- Squeegee the tile walls after showering
How long it lasts: A few weeks to a few months. Open pores keep holding damp, so mold regrows where the grout stays wet.
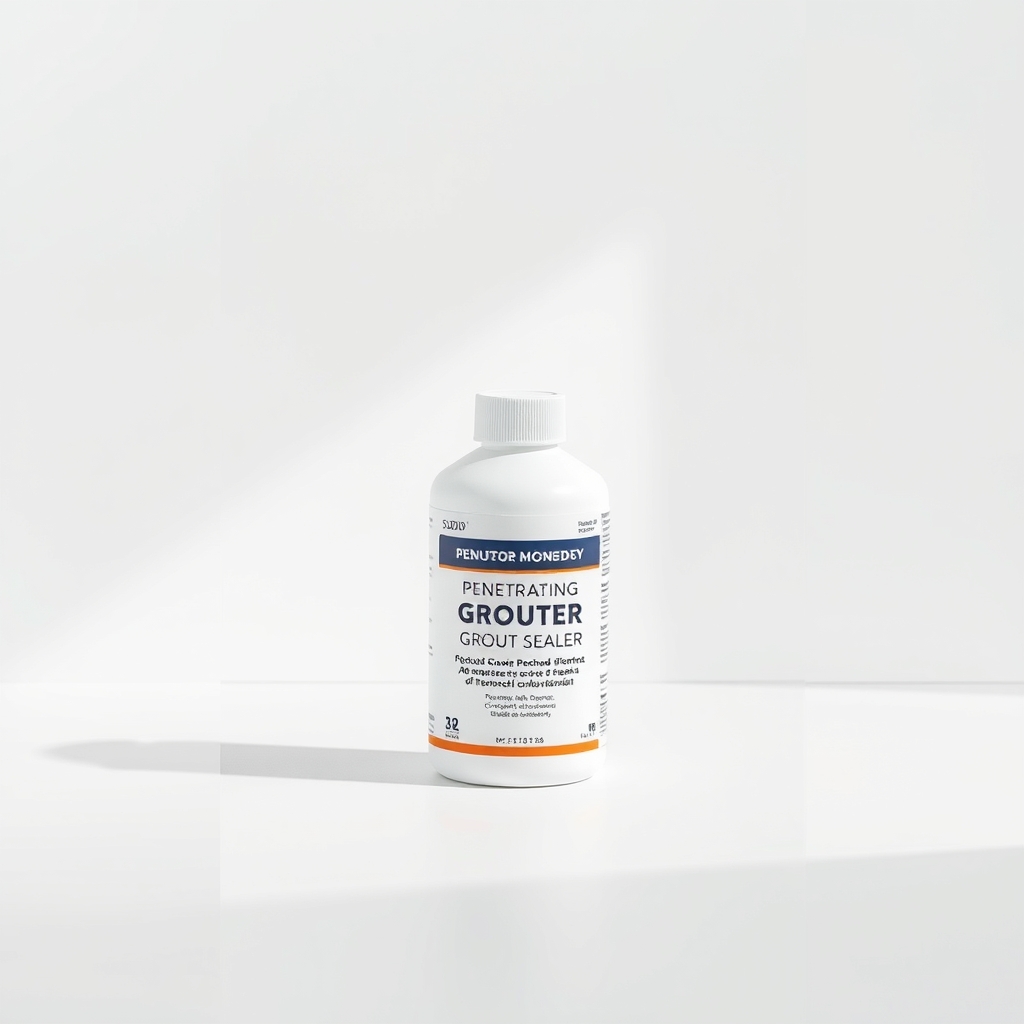
A penetrating grout sealer
Unsealed grout acts like a sponge. A penetrating sealer fills the pores below the surface, so water and soap scum cannot soak in, and the mold has nothing to feed on. It only works on clean, dry grout, which is why the scrub comes first.
What to get: Penetrating grout sealer
How long it lasts: Often a year or more in a shower, longer on dry floors. Check with a water drop every six to twelve months.
As an Amazon Associate I earn from qualifying purchases.
What you'll need
-
Rubber gloves, goggles and an N95 mask
Protects you from mold spores and cleaners
You have it -
Baking soda and 3% hydrogen peroxide
A gentle paste that lifts mold
You have it - Illustration
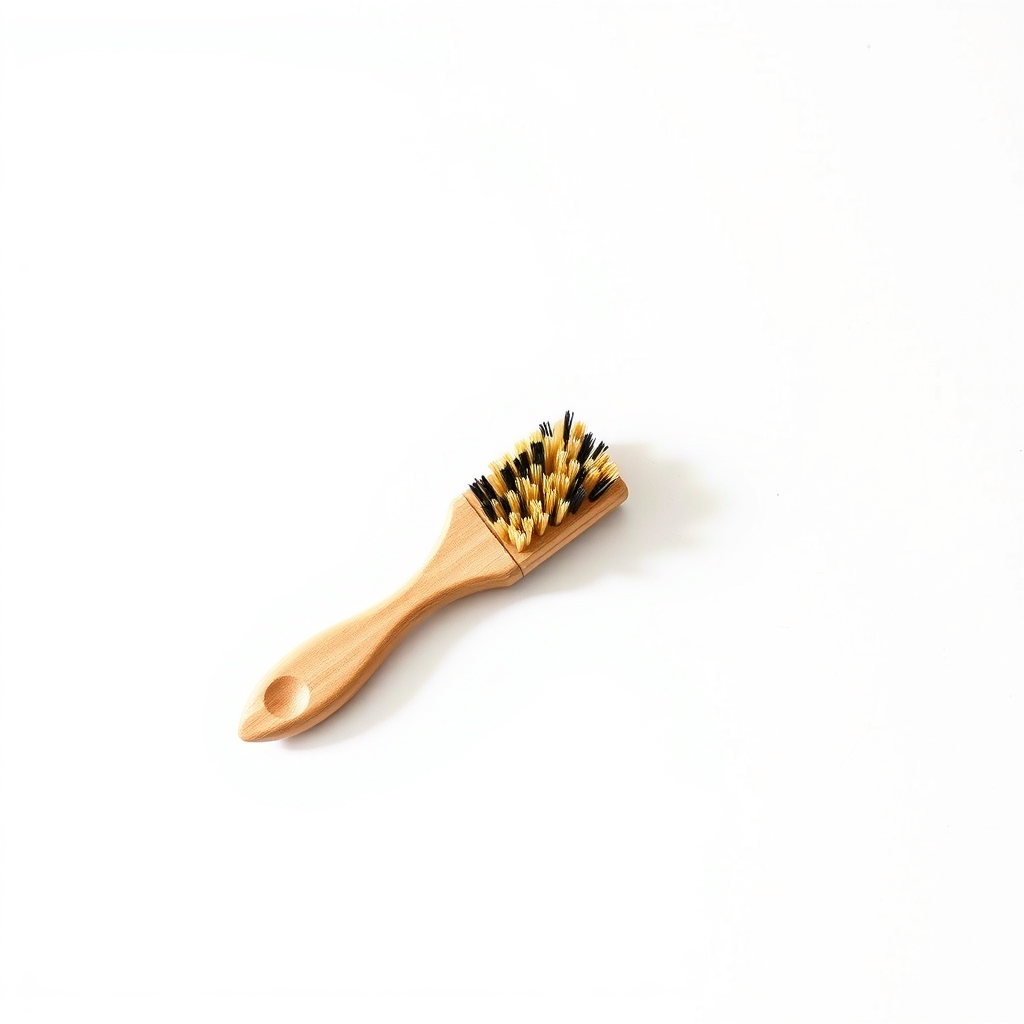
Stiff grout brush
Narrow bristles that reach into the lines
- Our pick Illustration
Grout sealer
Sold with an applicator that fits narrow lines
- Illustration
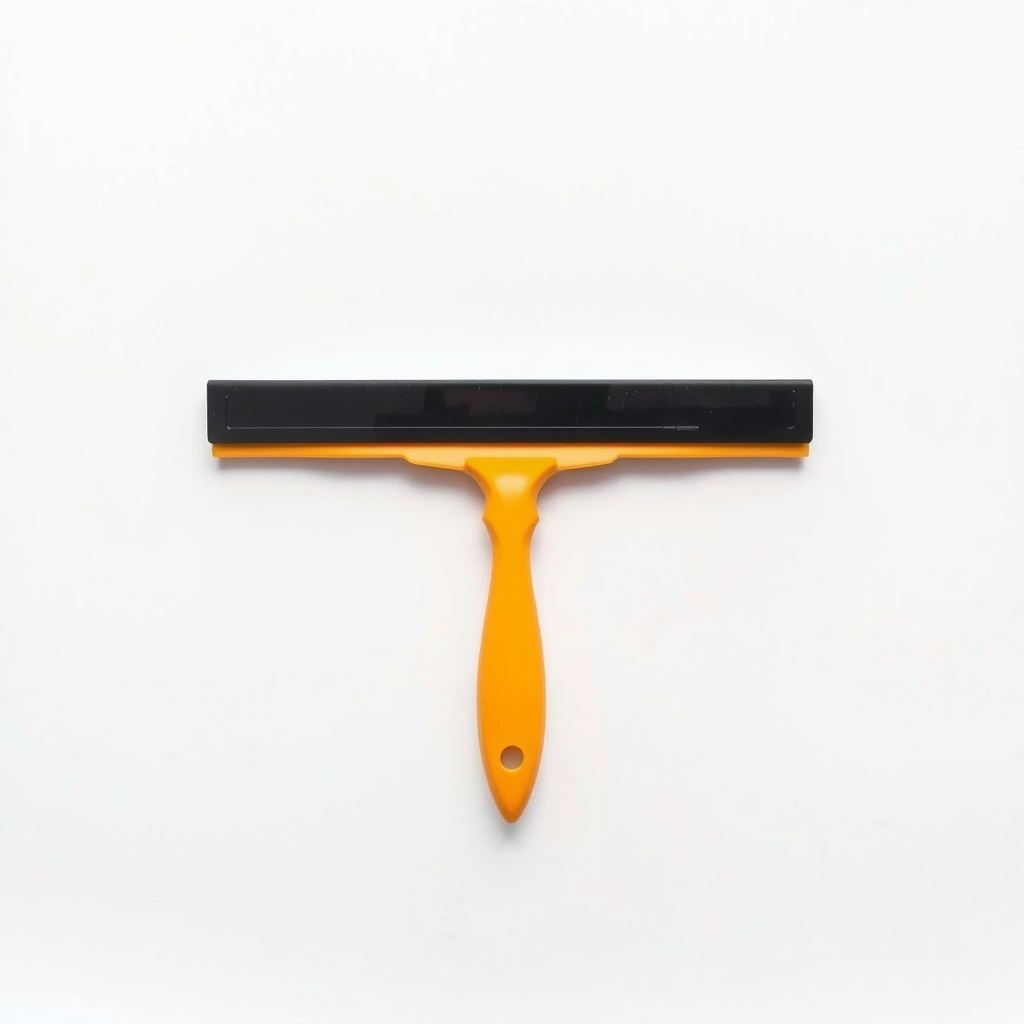
Squeegee
A 10-second habit after each shower
Why it happens
Porous grout
Cement-based grout is full of tiny pores. It drinks in water, soap scum and body oils, then stays damp for hours.
Soap film and skin flakes as food
Mold feeds on the film in the grout lines, not on the tile. A grout line that is hard to keep dry is a perfect place for it.
Not enough ventilation
Without a fan, or with a weak one, steam hangs in the room and the grout stays wet long after the shower.
Grout that was never sealed, or whose seal has worn off
Many installers skip sealing, and a sealer wears off over time. Either way, the pores are open.
Leaks or cracked caulk
Water that gets behind the tile keeps grout wet from behind. If mold returns right after cleaning and sealing, check the caulk at corners and edges.
Try this first (free)
Do these in order, starting with the simplest.
-
Gear up and ventilate
Tool used: Rubber gloves, goggles and an N95 maskWear gloves, goggles and an N95 mask. Open the window or run the fan. Never mix bleach with vinegar or ammonia, because the mix gives off toxic gas.
-
Mix a scrub paste
Tool used: Baking soda and 3% hydrogen peroxideStir baking soda into 3% hydrogen peroxide until it is like toothpaste. Spread it over the moldy grout lines and leave it for 10 to 15 minutes.
-
Scrub the lines
Tool used: Stiff grout brushWork a stiff grout brush along each line. Rinse with warm water and repeat on stubborn spots. If the dark color comes off, it was mold or soap scum.
IllustrationCheck price on AmazonTool for this step
Stiff grout brush · Narrow bristles that reach into the lines
-
Dry completely
Wipe the tile dry and run the fan or open a window. Let the grout dry for at least 24 hours, or as long as the sealer label says.
-
Test whether the grout needs sealing
Drop a little water on a grout line. If it darkens and soaks in within a minute or two, seal it. If it beads up, you still have a seal.
-
Apply the sealer
Tool used: Grout sealerFollow the label. Run the bottle's applicator along the grout lines, wait the stated time, then wipe excess off the tile surface. Add a second coat if the label says so, and keep the area dry for the stated cure time, often a day or two.
IllustrationCheck price on AmazonTool for this step
Grout sealer · Sold with an applicator that fits narrow lines
When free fixes aren't enough
If the black returns within weeks of a thorough scrub, the grout is holding moisture, and a sealer is the fix. Seal only after the grout is clean and fully dry. Sealing over mold locks it in. If a stain will not lift, the color is deep in the grout, and a colorant sealer can cover it. If grout is crumbling, soft or cracked, or mold covers more than about 10 square feet, spreads into the wall or smells musty, water is getting behind the tile. Call a pro to check for leaks before anything else.
Buy the fix
Still stuck after the free fixes? These are the products we would look at.
| Pick | Product | Fixes | Who it's for | Buy |
|---|---|---|---|---|
| Best pick | Penetrating grout sealer | grout that soaks up water, soap scum and mold | Anyone with cement-based grout in a shower, tub or damp bathroom. | Check price |
| Budget pick | 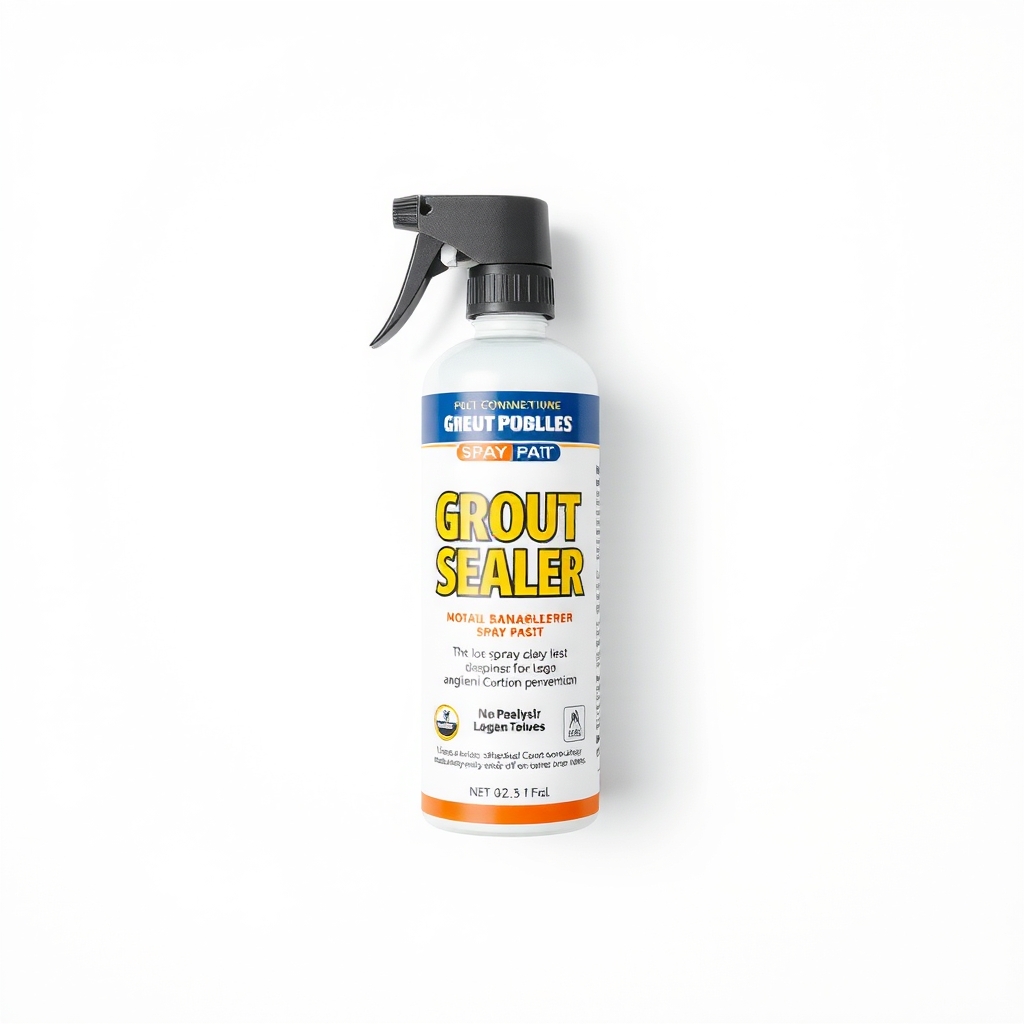 Spray-on grout sealer | light protection and quick touch-ups | Small areas, or a maintenance coat between full seals. | Check price |
| Upgrade pick | 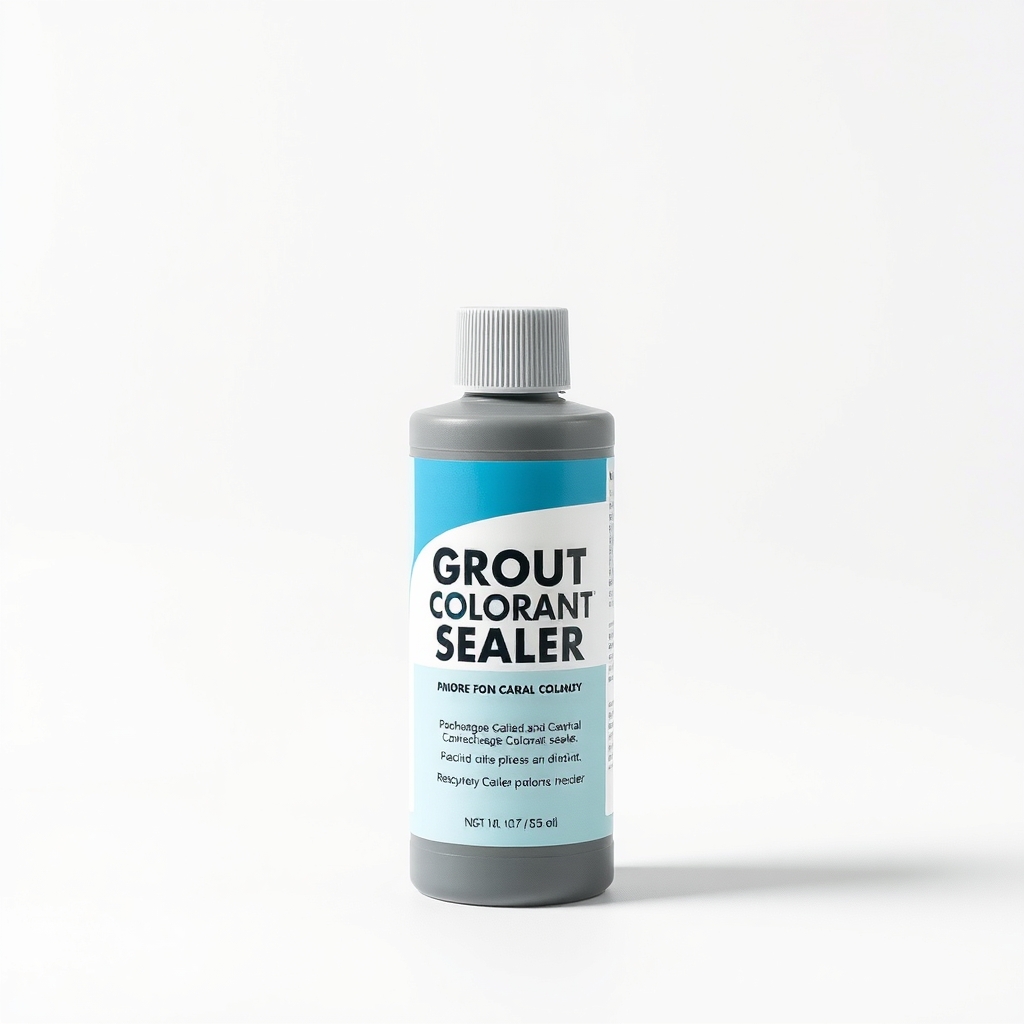 Grout colorant sealer | stained grout that scrubbing will not whiten | Stained grout that is still in good shape. | Check price |
Penetrating grout sealer
Fixes: grout that soaks up water, soap scum and mold
Look for: Made for cement-based grout, and safe for your tile type; A penetrating (impregnating) formula that does not leave a film; An applicator bottle with a roller or brush tip for narrow lines; Rated for showers and wet areas.
- Who it's for
- Anyone with cement-based grout in a shower, tub or damp bathroom.
- Honest downside
- Your grout is epoxy, which does not need sealing, or your tile is natural stone and the sealer is not made for stone.
Spray-on grout sealer
Fixes: light protection and quick touch-ups
Look for: An easy spray applicator; A short dry time; A label that lists your tile type.
- Who it's for
- Small areas, or a maintenance coat between full seals.
- Honest downside
- Your grout is badly stained or very porous. A brush-on penetrating sealer reaches the pores better.
Grout colorant sealer
Fixes: stained grout that scrubbing will not whiten
Look for: A color that matches your tile; Stain-blocking and sealing in one coat; An applicator that fits grout lines.
- Who it's for
- Stained grout that is still in good shape.
- Honest downside
- The mold is still active, or the grout is crumbling. Clean and repair first.
As an Amazon Associate I earn from qualifying purchases. We don't show prices because they change, so use the button to see today's price.
How we picked: How we picked: this page draws on tile and grout care guides, sealer instructions, public mold-cleanup guidance and the problems and fixes owners describe in reviews. We do not test products by hand.
Is the sealer right for your tile?
- Ceramic or porcelain tile: a penetrating grout sealer is fine. Wipe excess off the tile face.
- Natural stone such as marble or travertine: use a sealer made for stone, and test a hidden spot.
- Epoxy grout: no sealer needed.
- Newly laid grout: wait until it has cured fully.
Cut the damp at the source
- Run the fan for 20 minutes after each shower.
- Squeegee the tile walls and wipe wet corners.
- Hang wet towels outside the shower area.
- Re-caulk any cracked or peeling lines at corners and edges.
What to skip
Sealing wet or moldy grout, and mixing cleaners
Sealer over damp or moldy grout traps the moisture and the mold under it. Mixing bleach with vinegar or ammonia gives off toxic gas. Pick one cleaner, rinse well and let the grout dry before sealing.
Frequently asked questions
Why is my tile grout turning black?
How do I stop tile grout going mouldy again?
Do I need to seal grout in a bathroom?
Can I use vinegar on grout?
How long should grout dry before sealing?
Related problems
As an Amazon Associate I earn from qualifying purchases. Affiliate disclosure