Shower Head Leaking at the Connection? The 2-Minute Tape Fix
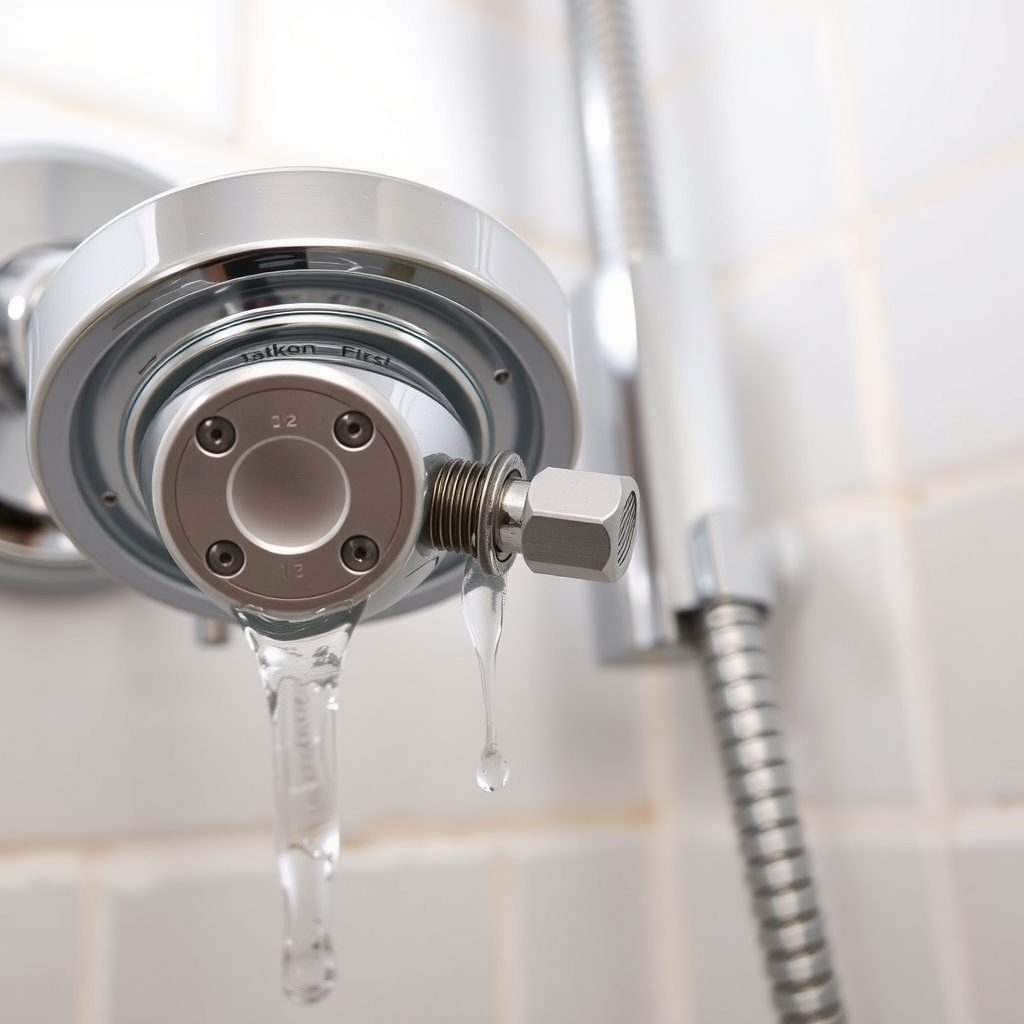
A drip where the head meets the arm is usually a worn washer or threads that do not seal. Wrap the threads with plumber's tape and it seals in minutes.
By Jamilur Rahman Updated November 5, 2026 · 7 min read
- Time
- 10 min
- Cost
- Under $20
- Difficulty
- Easy
In this guide
Quick answer
A shower head leaks at the connection when the threads do not seal, usually because the rubber washer inside the head is worn or missing, or the arm's threads are old. Unscrew the head, check the washer, wrap the arm's threads with PTFE (plumber's) tape and screw the head back on. Hand-tight plus a small snug with a cloth-wrapped wrench is enough. If the leak is inside the wall, call a plumber.
Free fix vs. permanent fix
Reseat and tighten
- Unscrew the head and look at the rubber washer inside
- Wipe the threads and the washer clean
- Screw the head on by hand, then snug it a quarter turn with a cloth-wrapped wrench
- Do not crank it hard, which can crack the plastic
How long it lasts: Fixes a loose head. If the washer is bad or the threads are worn, the drip comes back within days.
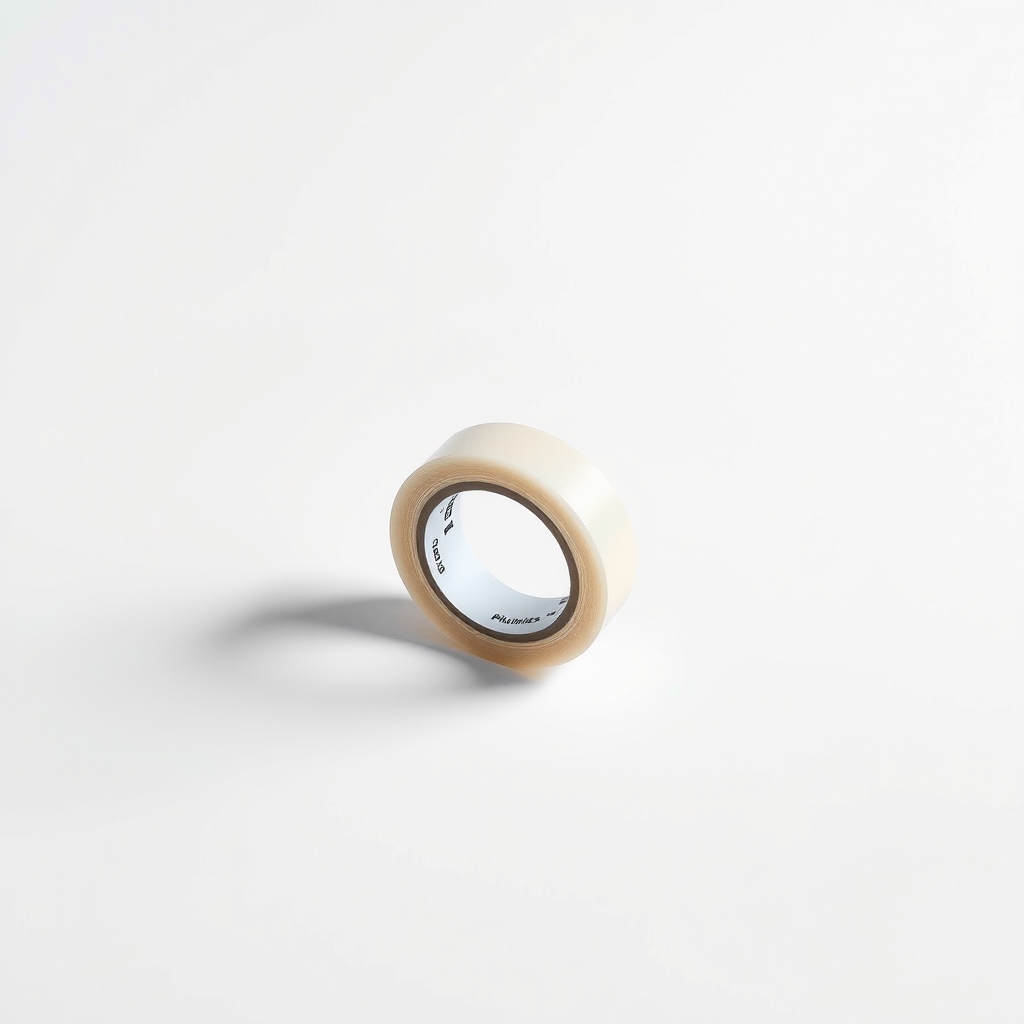
PTFE plumber's tape on the threads
Water leaks out along the spiral of the threads. PTFE tape, also sold as Teflon tape, fills that gap and lubricates the threads, so the head screws on snugly and seals without over-tightening. A roll is inexpensive and covers many jobs.
What to get: PTFE plumber's tape
How long it lasts: Until you next take the head off. Tape fills the gaps in the threads, so the joint seals even when the metal is worn.
As an Amazon Associate I earn from qualifying purchases.
What you'll need
-
Adjustable wrench or pliers
For a snug final quarter turn
You have it -
Soft cloth or old towel
Protects the finish from scratches
You have it -
Old toothbrush and white vinegar
Scrubs mineral scale off the threads
You have it - Our pick Illustration
PTFE plumber's tape
Also called Teflon tape, sold in the plumbing aisle
- Illustration
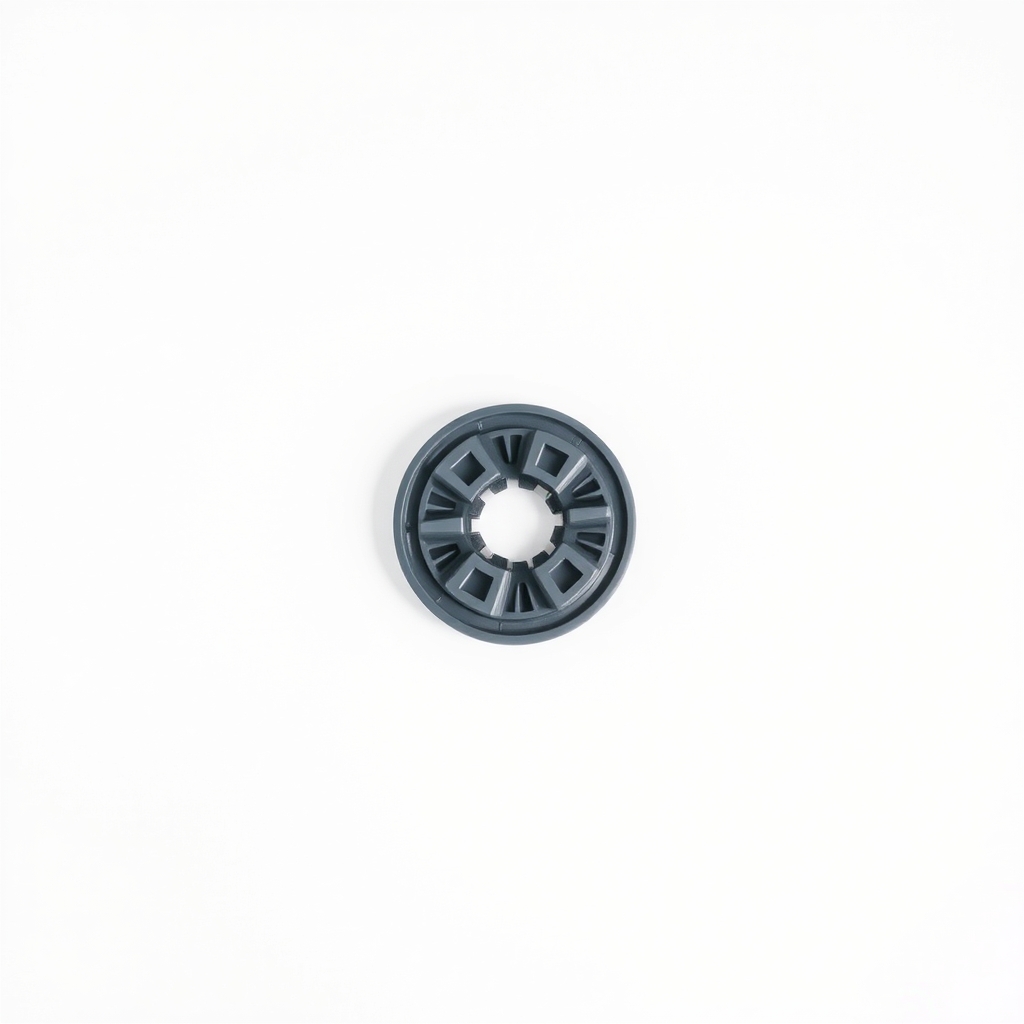
Rubber shower head washers
Only if the old washer is cracked, flat or missing
- Illustration
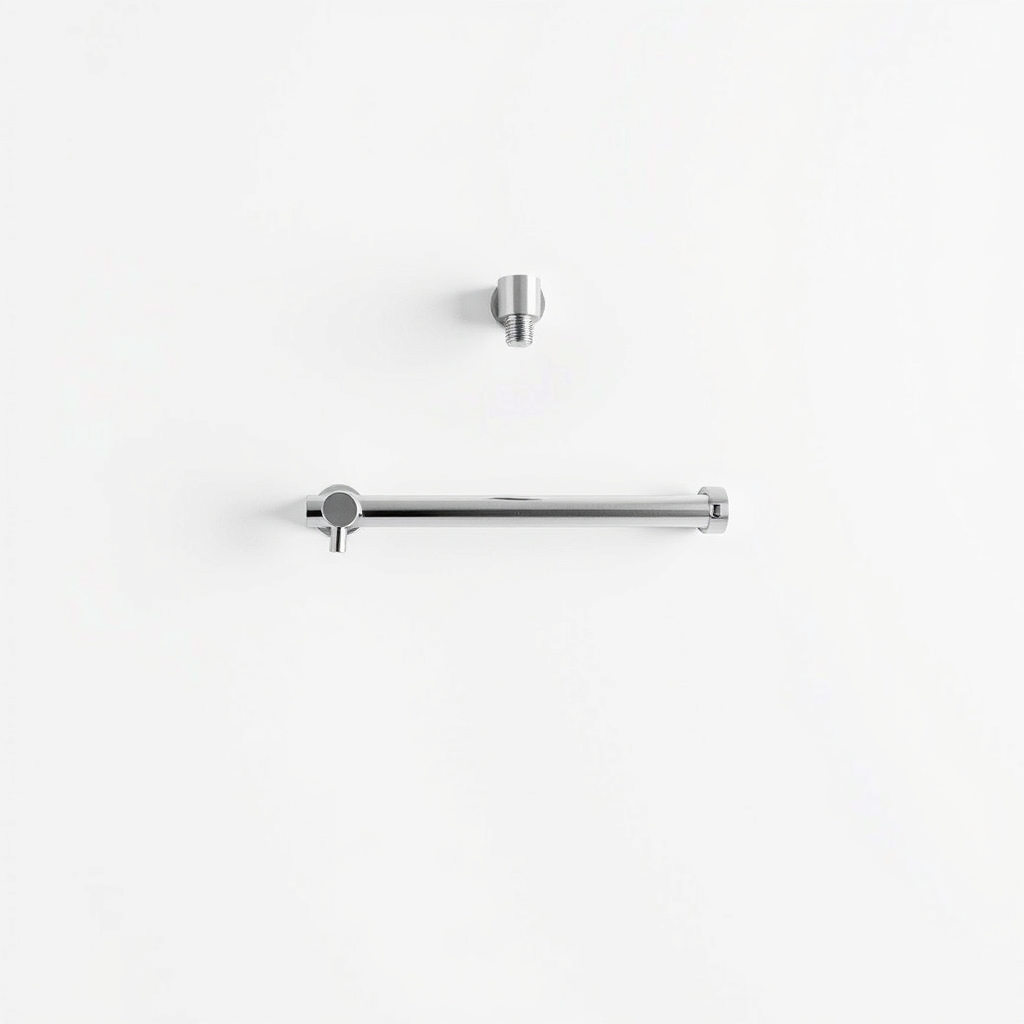
Replacement shower arm
Only if the threads are stripped or corroded
Why it happens
A worn or missing washer
A small rubber washer seals the head to the arm. It flattens, cracks or falls out when the head is removed. Without it, water seeps out around the top of the head.
Threads that do not seal
Shower arm threads are usually sealed with a washer and plumber's tape. Old threads can be worn, or have mineral scale that keeps the head from seating.
A loose or cross-threaded head
A head that went on crooked, or was left loose, lets water out. Cross-threading damages the threads.
A different leak that looks the same
Water at the back of a swivel head or at the wall flange is a different problem. A drip after the water is off may be the valve, not the head.
Try this first (free)
Do these in order, starting with the simplest.
-
Turn off the water and unscrew the head
Tool used: Soft cloth or old towelTurn the shower off. Wrap the head in a cloth and turn it counterclockwise by hand. If it is stuck, grip it with a cloth-wrapped wrench and hold the arm still with your other hand, so the pipe in the wall does not twist.
-
Check the washer and clean the threads
Tool used: Old toothbrush and white vinegarLook inside the head for a small rubber washer. Replace it if it is cracked, flat or missing. Scrub the arm's threads with the toothbrush and a little white vinegar to remove scale, then dry them.
-
Wrap the threads with tape
Tool used: PTFE plumber's tapeHold the arm end toward you and wrap the tape clockwise, 3 to 4 turns, pulling it snug into the threads. Press it in with a fingernail and tear it off. Clockwise matters, because tape wrapped the other way unwinds as the head goes on.
IllustrationCheck price on AmazonTool for this step
PTFE plumber's tape · Also called Teflon tape, sold in the plumbing aisle
-
Screw on the head and snug it
Tool used: Adjustable wrench or pliersScrew the head on by hand until it stops, then add a quarter turn with a cloth-wrapped wrench. Over-tightening can crack the head or strip the threads.
-
Test it
Run the shower for 30 seconds and press a dry paper towel against the joint. If it still weeps, snug it another small turn, or take it off and re-wrap with one or two more turns of tape.
When free fixes aren't enough
If a good washer and fresh tape do not stop the drip, the threads are probably stripped or corroded, or the head itself is cracked. Try a new head or a replacement arm. Call a plumber if water drips from the wall where the arm enters, the wall or ceiling beside the shower is damp or stained, or the arm turns in the wall when you loosen the head. Those mean the leak is behind the wall, and tape cannot reach it.
Buy the fix
Still stuck after the free fixes? These are the products we would look at.
| Pick | Product | Fixes | Who it's for | Buy |
|---|---|---|---|---|
| Best pick | PTFE plumber's tape | a leak at the thread joint between the shower head and the arm | Anyone with a drip at the shower head connection and a washer in good shape. | Check price |
| Budget pick | Rubber shower head washers | a worn, cracked or missing washer that lets water seep at the top of the head | Anyone whose head leaks even after retightening and whose old washer is damaged. | Check price |
| Upgrade pick | Replacement shower arm | stripped, corroded or bent shower arm threads | Anyone whose threads are damaged and who is comfortable unscrewing the old arm. | Check price |
PTFE plumber's tape
Fixes: a leak at the thread joint between the shower head and the arm
Look for: Labeled PTFE or Teflon thread seal tape; A standard half-inch width, easy to wrap on small threads; Labeled for water or general use (yellow tape is for gas).
- Who it's for
- Anyone with a drip at the shower head connection and a washer in good shape.
- Honest downside
- The leak comes from a cracked head, a worn swivel ball or the wall. Tape does not seal those.
Rubber shower head washers
Fixes: a worn, cracked or missing washer that lets water seep at the top of the head
Look for: A size that matches your head's opening, so check the pack; Soft, flexible rubber or silicone; A set with several sizes so one fits.
- Who it's for
- Anyone whose head leaks even after retightening and whose old washer is damaged.
- Honest downside
- Your washer looks fine. Tape the threads first.
Replacement shower arm
Fixes: stripped, corroded or bent shower arm threads
Look for: A length that matches your old arm, so measure it; Solid brass or stainless steel; A finish that matches your fixtures.
- Who it's for
- Anyone whose threads are damaged and who is comfortable unscrewing the old arm.
- Honest downside
- The arm will not budge or turns in the wall. Leave it to a plumber.
As an Amazon Associate I earn from qualifying purchases. We don't show prices because they change, so use the button to see today's price.
How we picked: How we picked: this page is based on plumbing guides, thread-seal tape instructions from the makers, and the problems and fixes people report in owner reviews. We do not test products by hand.
Where exactly is the water coming from?
- The joint between the head and the arm: this page. Check the washer, the threads and the tape.
- The back of an adjustable head: the swivel ball joint is leaking.
- The wall where the arm comes out: the flange or the pipe behind it. Do not ignore this one, because water behind a wall causes damage.
- The spout or head after the water is off: the valve cartridge.
What to skip
Cranking it tighter and silicone caulk
Over-tightening cracks plastic heads and strips threads, and the leak comes back. Caulk or silicone on the joint hides the drip for a while, traps water against the metal and makes the head hard to remove later. Seal with tape and a good washer instead.
Frequently asked questions
Why is my shower head leaking from the top?
Which way do I wrap plumber's tape?
How many wraps of tape do I need?
Why does my shower leak when the water is off?
Related problems
As an Amazon Associate I earn from qualifying purchases. Affiliate disclosure