How to Install a Window AC With a Support Bracket
A heavy window AC can strain the sill and sash all summer. Install it level and tilted out, held by a bracket, with a helper and the right fasteners.
By Jamilur Rahman Updated November 5, 2026 · 7 min read
- Time
- 1 hour
- Cost
- $20-$50
- Difficulty
- Medium
In this guide
Quick answer
Check the window frame and sill are solid, plug in nearby, fit the support bracket first, then lift the unit onto the sill with a helper. Tilt it slightly toward the outside, lower the sash, extend the side panels and seal the gaps. The bracket carries the unit's weight so the sill and the sash do not have to, which is what keeps a window AC from sagging, rattling loose or falling.
Free fix vs. permanent fix
Install it with the kit in the box
- The unit rests on the sill and the lowered sash holds it
- Use the side panels, L-brackets and screws in the box
- Needs a sill that does not flex under weight
- Follow your manual's rules for your unit
How long it lasts: Fine for a lighter unit in a sturdy, modern frame. On an old or soft sill, the weight and vibration loosen it over a season.
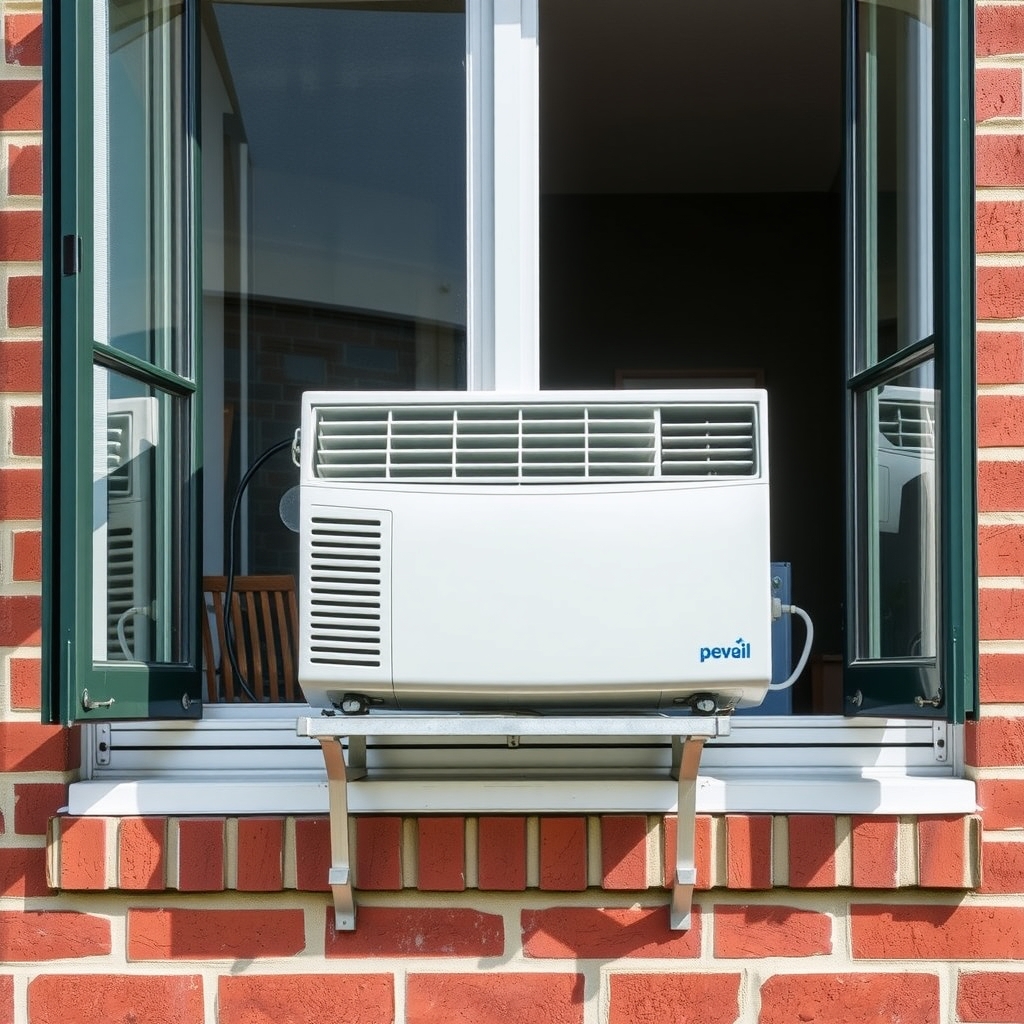
A window AC support bracket
A window AC is heavy and it vibrates. A bracket takes the load off the sill and sash and spreads it to the wall, so the unit stays level and does not creep out of place.
What to get: Window AC support bracket
How long it lasts: Every season. It carries the weight outside the window, so the sill and sash are not stressed.
As an Amazon Associate I earn from qualifying purchases.
What you'll need
-
Tape measure
Check the window width against the manual
You have it -
Drill and screwdriver
For the bracket and the side panels
You have it -
A second person
Units are heavy. Do not lift one alone
Free - Our pick Illustration
Window AC support bracket
Pick one rated above your unit's weight
- Illustration
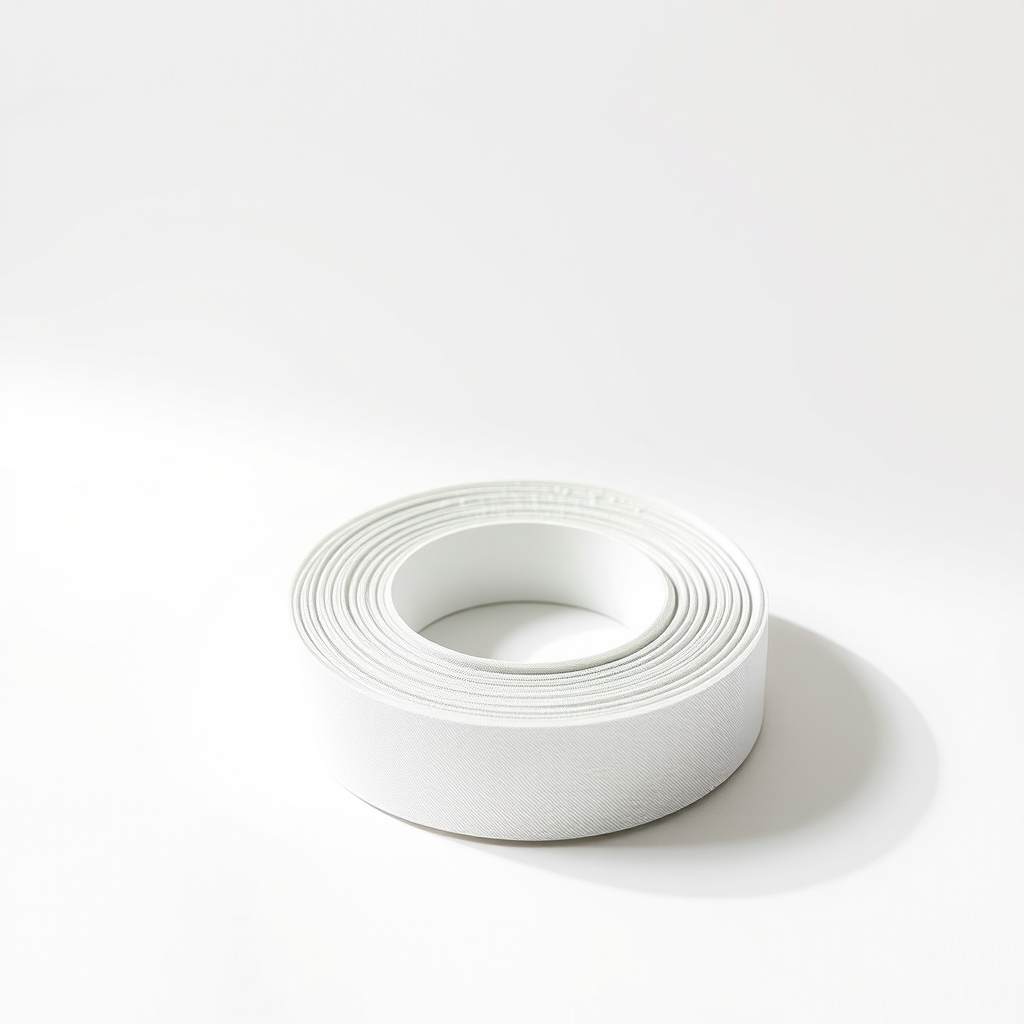
Foam weatherstrip tape
Seals the sash and the side panels once it is in
Why it happens
All the weight rests on the sill
Sills are not built to hold 50 lb or more of vibrating metal for months. Soft wood sags and a thin metal track can bend.
The sash is doing a job it was not made for
A lowered sash clamps the top of the unit, but it is there to hold the unit in place, not carry it. Vibration slowly works it loose.
The unit tilts the wrong way
If the back sags toward the room, condensation drains inside instead of outside. Most manuals call for a slight tilt toward the outside.
Old frames and storm windows
Older sills slope, rot or are thick with layers of paint, and storm panels and sash weights get in the way. These are the frames that need extra support.
Try this first (free)
Do these in order, starting with the simplest.
-
1. Check the window and the wall
Tool used: Tape measurePress the sill with a screwdriver tip. If it is soft or crumbles, do not install a unit there. Measure the opening's width and compare it with the range in the manual.
-
2. Find the outlet first
Plug the unit straight into a grounded outlet that matches the label. Do not use an extension cord or a power strip. Check the unit's amp rating against the circuit.
-
3. Fit the bracket before the unit
Tool used: Drill and screwdriverMark the spot under the window as the bracket's instructions say. Pre-drill. Use wood screws in wood, and masonry anchors in brick or concrete. If you rent, ask your landlord before drilling into the exterior wall.
-
4. Lift the unit onto the sill
Tool used: A second personRemove the window screen and open the sash fully. With two people, lift the unit onto the sill and bracket, with the outside end tilted slightly lower, as your manual shows.
-
5. Lower the sash and extend the side panels
Bring the sash down snug on the unit's top rail and fit the top lock. Pull the accordion panels out to the frame and screw them in as the manual says.
-
6. Seal the gaps and test
Tool used: Foam weatherstrip tapePress foam strip between the sash and the unit and along the panel edges. Plug it in and run it for 15 minutes. Check that no water drips inside and that no gaps are left.
IllustrationCheck price on AmazonTool for this step
Foam weatherstrip tape · Seals the sash and the side panels once it is in
When free fixes aren't enough
Add a bracket if the unit is heavy, the sill is old or soft, or the unit sticks out well past the frame. Signs you need one: the unit sags toward the room, the sash will not stay snug, it creaks, or it shifts when the compressor starts. Some buildings require a support, so check your lease or condo rules. A bracket cannot hold in a wall that is soft or crumbling. If the wall behind the siding is rotten, repair it first or choose a portable or through-the-wall unit.
Buy the fix
Still stuck after the free fixes? These are the products we would look at.
| Pick | Product | Fixes | Who it's for | Buy |
|---|---|---|---|---|
| Best pick | Window AC support bracket | a heavy unit stressing the sill and sash | Anyone installing a medium or large unit, an older house with a soft or slanted sill, or a window where the unit sits well outside the frame. | Check price |
| Budget pick | Foam weatherstrip tape for window ACs | air leaks around the unit after it is in place | Everyone, after the install, whether or not you use a bracket. | Check price |
Window AC support bracket
Fixes: a heavy unit stressing the sill and sash
Look for: A weight rating above your unit's weight, which is on its spec label; Steel with a coating that does not rust; An adjustable arm to match your wall and sill depth; Mounting hardware for your wall type, or the right anchors bought separately.
- Who it's for
- Anyone installing a medium or large unit, an older house with a soft or slanted sill, or a window where the unit sits well outside the frame.
- Honest downside
- You rent and cannot drill. Ask first, since many landlords say no. A light unit on a solid sill may be fine with the kit in the box.
Foam weatherstrip tape for window ACs
Fixes: air leaks around the unit after it is in place
Look for: Closed-cell foam that springs back; Self-adhesive backing; Thick enough for the gaps beside the unit and under the sash.
- Who it's for
- Everyone, after the install, whether or not you use a bracket.
- Honest downside
- Your gaps are wider than an inch or so. Use insulated panels, as in the related page.
As an Amazon Associate I earn from qualifying purchases. We don't show prices because they change, so use the button to see today's price.
How we picked: How we picked: this page is based on window air conditioner install manuals, building and landlord safety guidance, and the fixes owners report in reviews of support brackets. We do not test products by hand.
Safety before you lift
- Many units weigh 50 lb or more. Get a helper, and lift with your legs.
- Work from inside. Never lean out of a window to adjust it.
- In a bedroom, keep another exit, or make sure the unit can come out fast.
- Keep a ladder or step stool steady and clear of the window.
If your window is not a standard double-hung
Casement windows, which crank outward, and sliding windows need a different mount. Many units are made only for double-hung windows. Check the manual first. If it does not fit your window type, look for a unit made for it, or a portable or through-the-wall model.
What to skip
Props like books, bricks or a chair under the unit
Anything stacked under a window AC can slip, crush or tip. The lowered sash is not meant to bear the weight either. A fall from a window can hurt someone below, so use a proper bracket instead.
Frequently asked questions
Do I need a bracket for a window air conditioner?
How do I install a window AC in an old house?
Which way should a window AC tilt?
Can I plug it into an extension cord?
Related problems
As an Amazon Associate I earn from qualifying purchases. Affiliate disclosure